
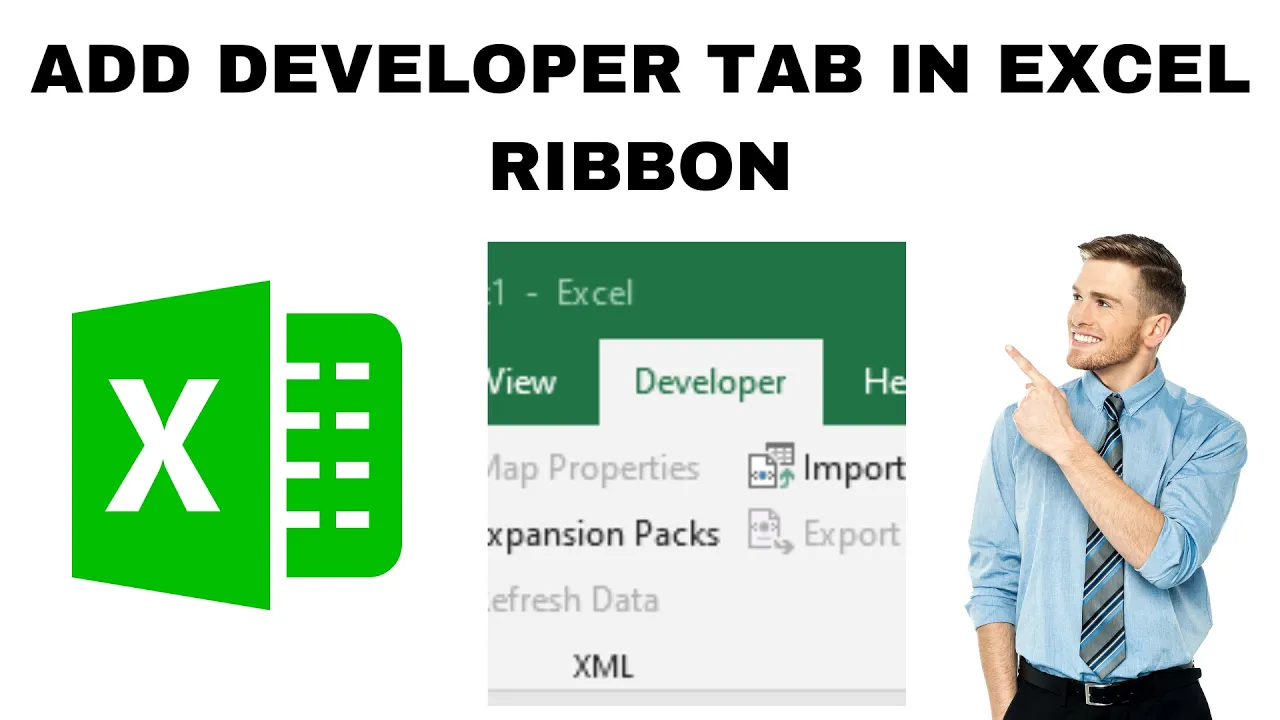
The Developer tab in Excel is a special feature that lets you create macros, use VBA coding, insert form controls, and manage add-ins. However, this tab is hidden by default. In this blog, you will learn easy steps to add the Developer tab to your Excel ribbon, so you can access powerful tools to automate tasks and customize your spreadsheets like a pro.
How to Add Developer Tab in Excel (Windows)
Follow these simple steps:
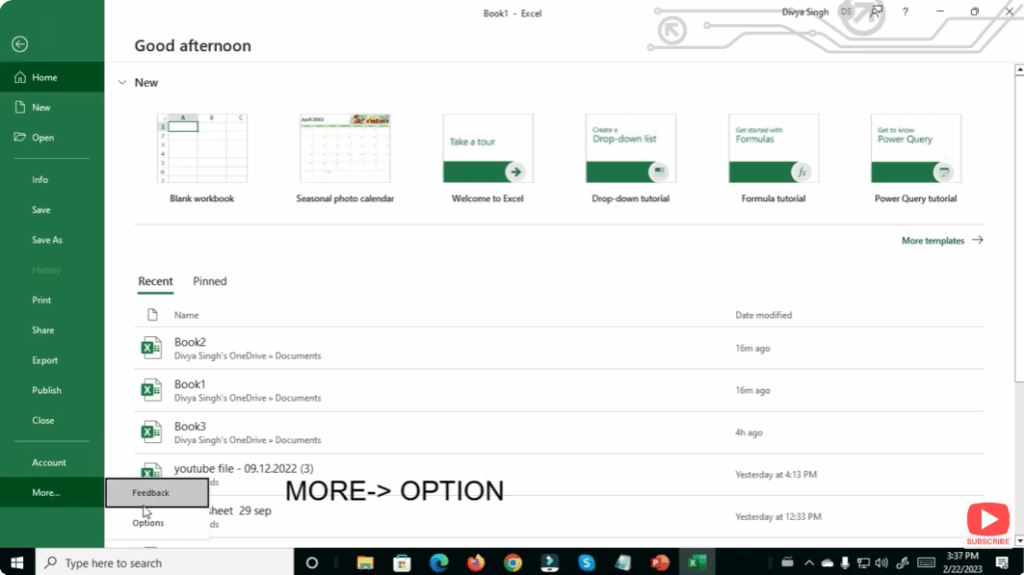
Step 1: Open Excel Settings
- Open Microsoft Excel.
- Click on the File tab (top-left corner).
- Select Options from the left-side menu.
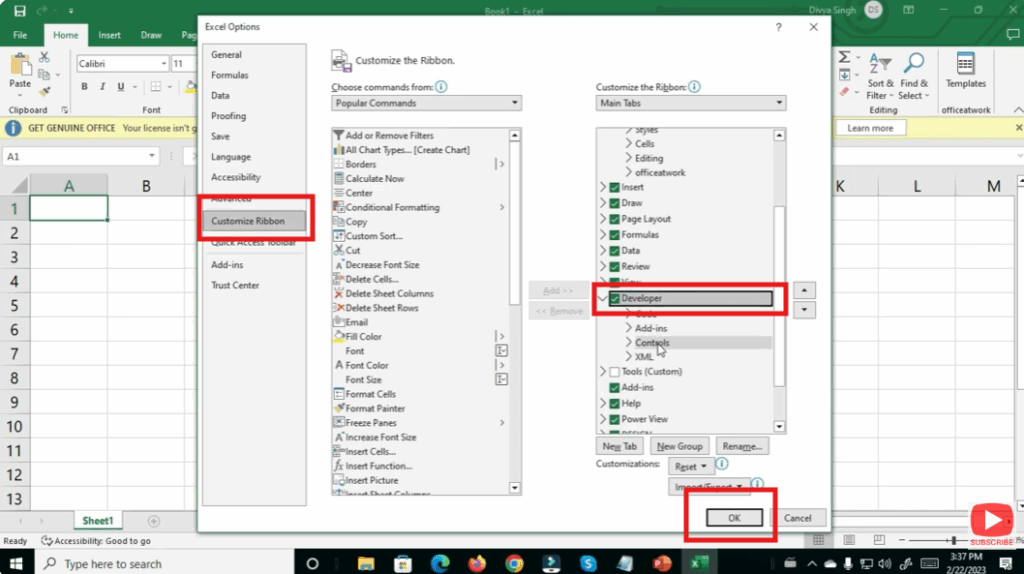
Step 2: Customise Ribbon
- A new window called Excel Options will appear.
- From the left menu, select Customize Ribbon.
Step 3: Enable Developer Tab
- On the right side, find the list called Main Tabs.
- Look for Developer.
- Tick the checkbox next to Developer.
- Click OK.
✔ You’re done!
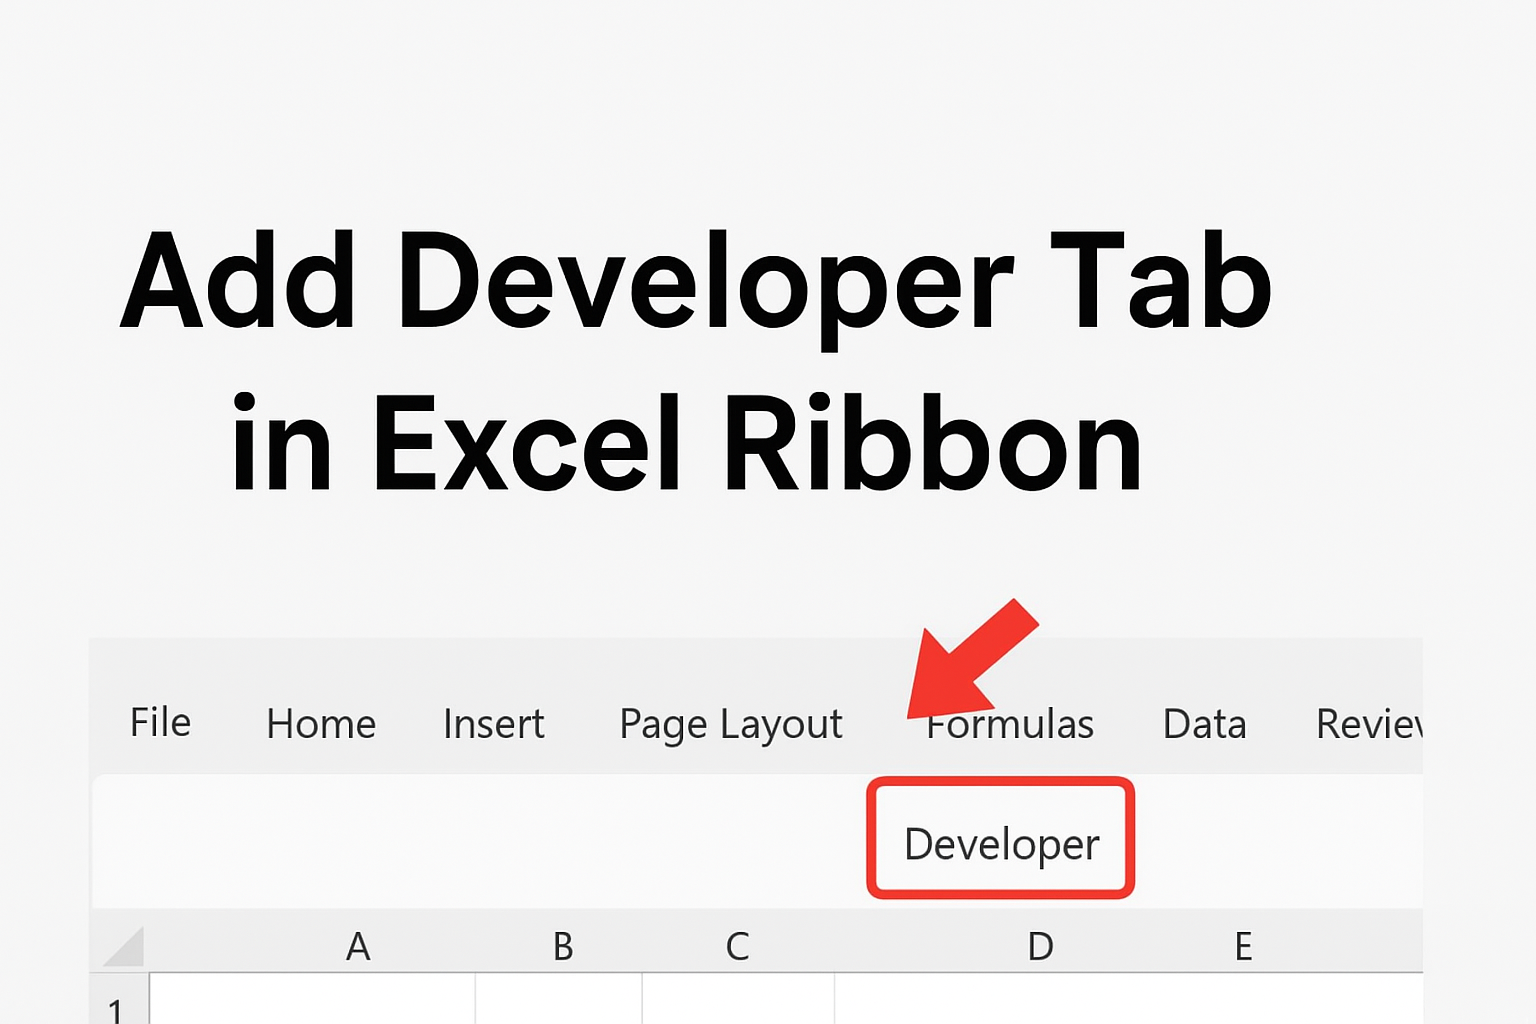
The Developer Tab now appears on your Excel ribbon.
Final Thoughts
Adding the Developer Tab in Excel is simple and only takes a few seconds. Once enabled, you unlock a powerful set of tools for automation and advanced functionality. Whether you’re a beginner or professional, mastering this tab will boost your productivity in Excel.


