

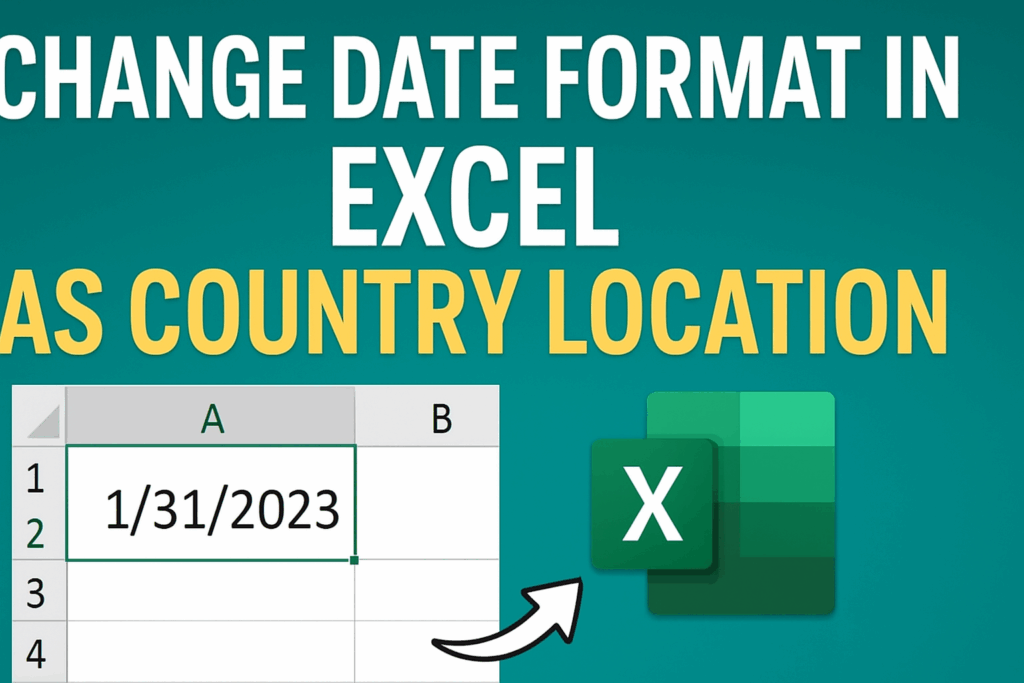
Different countries use different date formats in Excel, like MM/DD/YYYY in the US or DD/MM/YYYY in the UK, which can cause confusion when sharing spreadsheets. Excel lets you easily change date formats to match your country location using Format Cells and regional settings. In this blog, you’ll learn simple steps to select cells, choose your country locale, and apply the right date format so your dates always display correctly.
✔ Step-by-Step: Change Date Format in Excel by Country Location
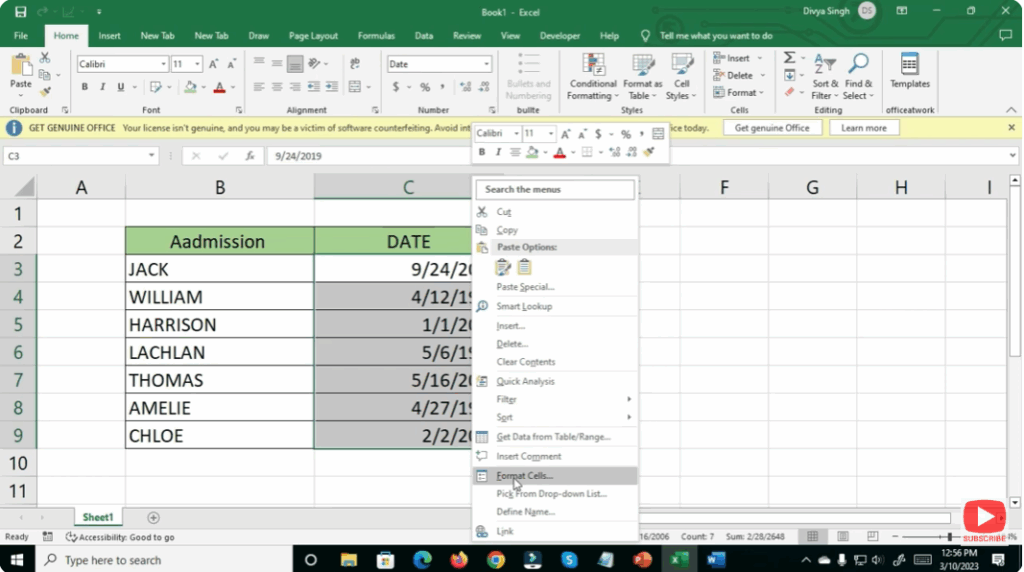
Step 1: Select Your Date Cells
- Open your Excel sheet.
- Highlight the cells that contain the dates you want to format.
Step 2: Open the Format Cells Menu
- Right-click on the selected cells.
- Choose Format Cells from the menu.
- Alternatively, press Ctrl + 1 on your keyboard.
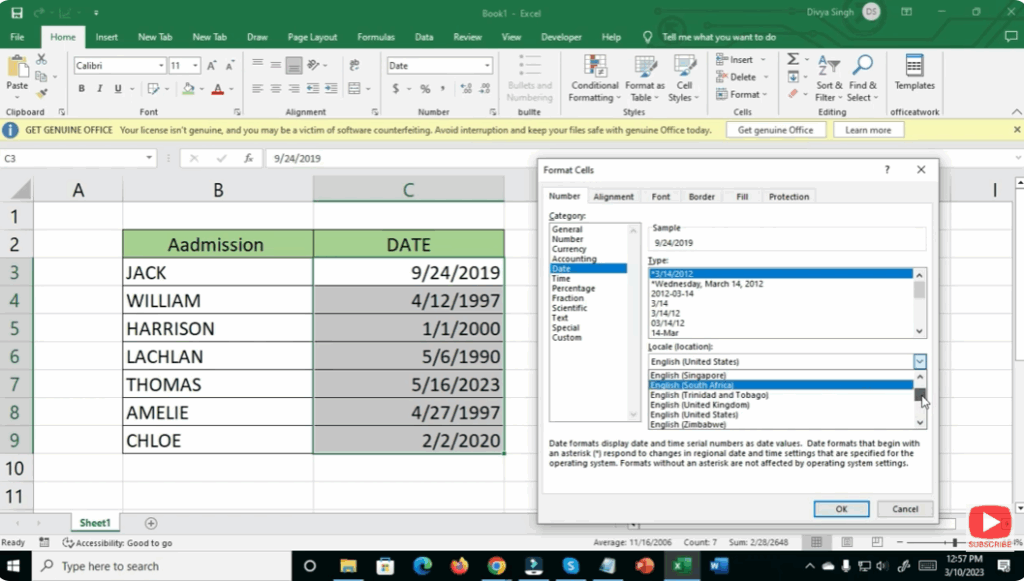
Step 3: Go to the Date Category
- In the Format Cells window, click the Number tab.
- From the list on the left, select Date.
Step 4: Choose a Locale (Location)
- Look for the Locale (location) dropdown menu.
- Select the country whose date format you want.
- For example:
- English (United States) → MM/DD/YYYY
- English (United Kingdom) → DD/MM/YYYY
- English (Canada) → YYYY-MM-DD
- For example:
Step 5: Choose a Date Format
- After selecting a country, the list of available date formats changes.
- Pick the one that suits your requirement.
Step 6: Apply the Changes
- Click OK.
- Your selected cells will now display dates in the chosen country format.
✔ Final Thoughts
Changing the date format in Excel based on your country location helps maintain accuracy and makes data more understandable for your audience. Whether you’re preparing reports, managing sheets for global clients, or working on international data, this small adjustment ensures clarity and professionalism.


