
Changing the display language in Windows 10 is simple and helps anyone use their PC in the language they feel most comfortable with. Whether a computer was bought in another country or shared with someone who prefers a different language, this feature makes it easy to switch. After a few quick steps in the settings, menus and options appear in the chosen language, making the computer friendlier and easier to use for everyone. We’ll walk you through it step by step.
Step 1: Open Language Settings
- Click on the Start Menu and type Settings in the search bar. Open the Settings app from the results.
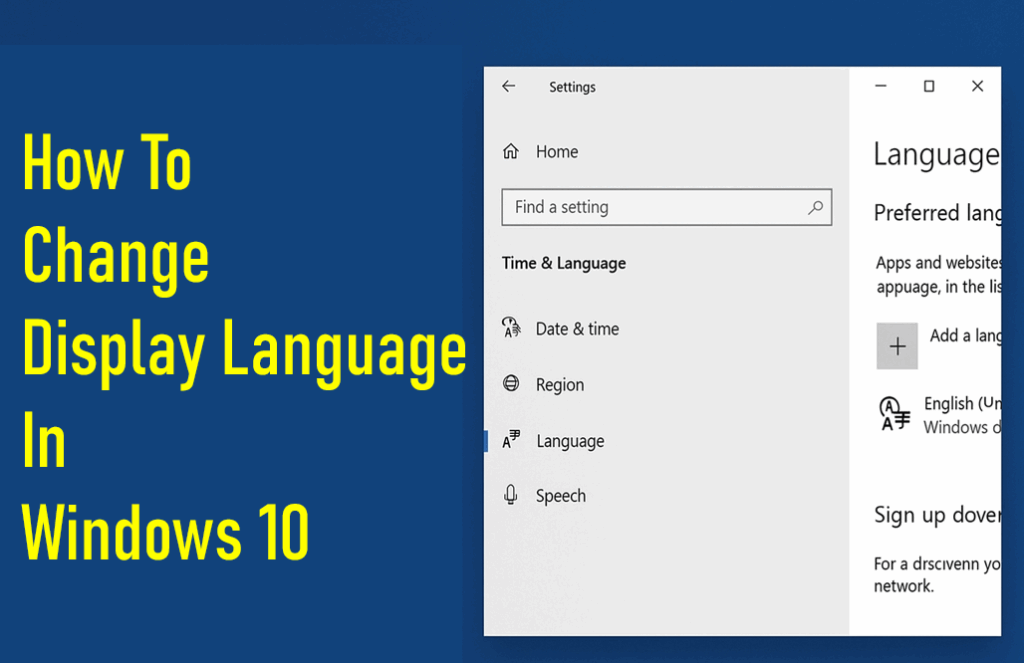
- Click on Time & Language. Then click on the Language tab.
- This will open the language settings window where you’ll see the current display language. In this example, it’s set to English (United States).
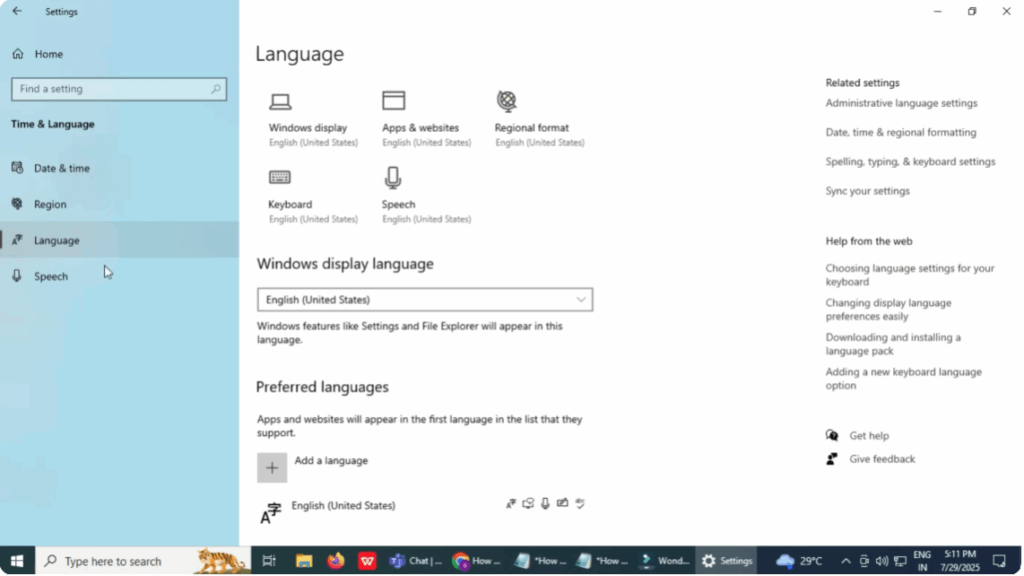
Step 2: Add a New Language
- To add a new language, click on the Add a Language button.
- A window will appear titled Choose a language to install.
- Here you can either scroll through the full list or simply type the language name into the search box.
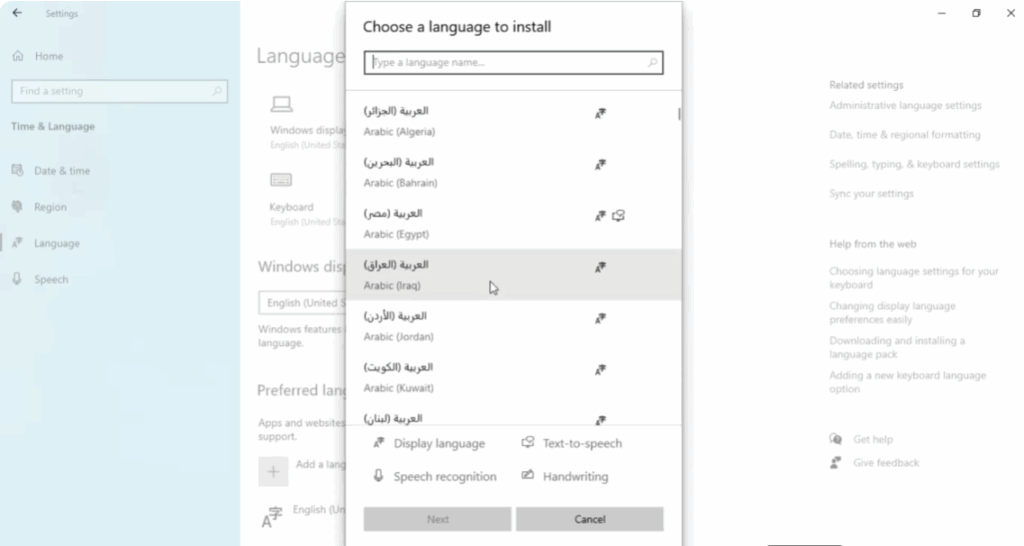
For this demonstration, I’m selecting Russian. You’ll also notice that many languages have regional variations such as Russian (Ukraine) or Russian (Moldova). Choose the one that suits your needs. Once selected, click Next.
Step 3: Install Language Features
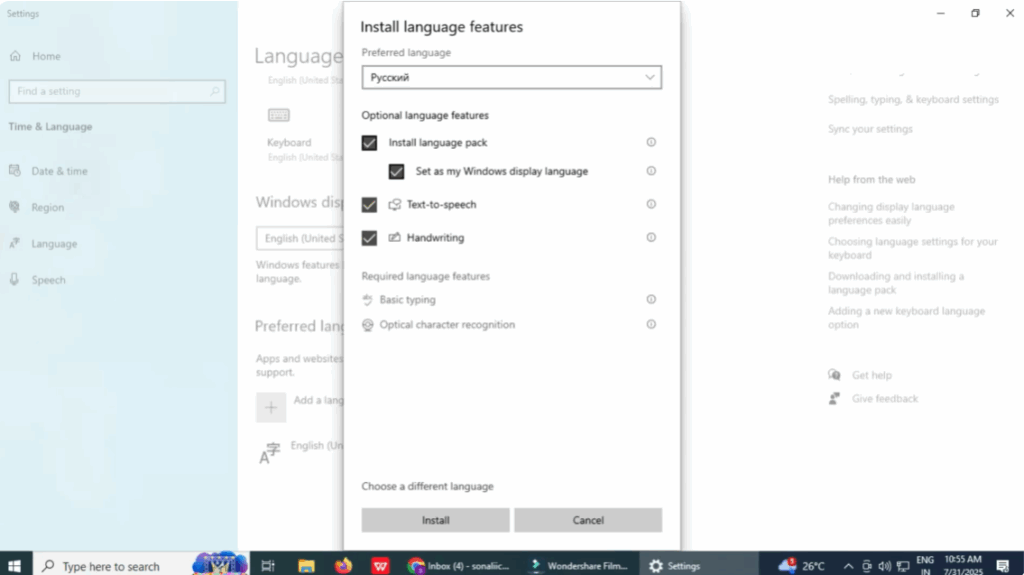
- You’ll now see a screen called Install language features.
- Make sure the option Set as my Windows display language is checked.
- You can also install optional features like text-to-speech, handwriting, or speech recognition depending on your needs.
- Once you’re done, click Install.
Step 4: Wait for the Installation
- Windows will now download and install the new language pack from Microsoft.
- This may take a few minutes depending on your internet speed.
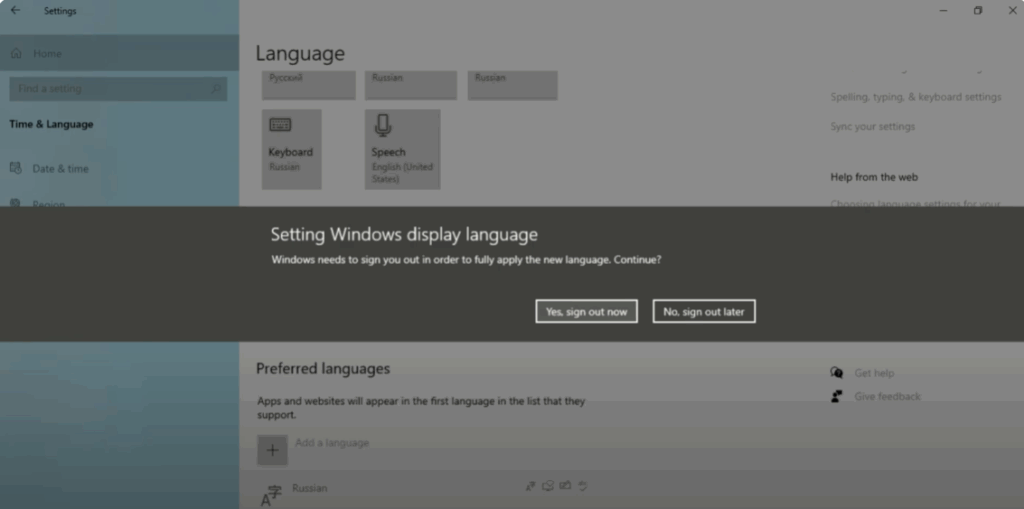
Step 5: Sign Out to Apply the Language
- Once the installation is done, Windows will ask you to sign out to apply the new language.
- You can do it now or later, but the change won’t take effect until you sign back in.
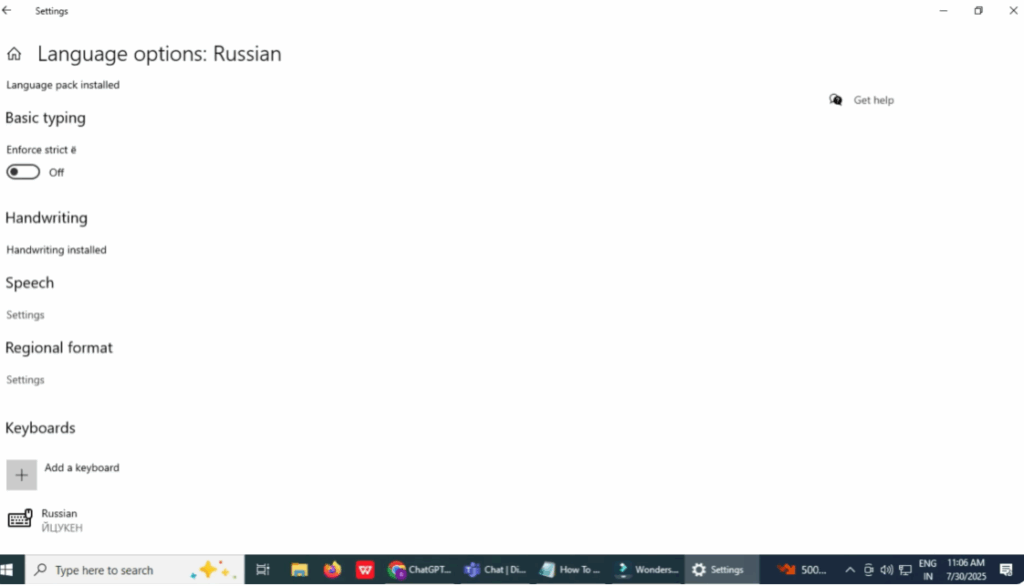
After that, your Windows interface will appear in the new language.
Final Thoughts
And that’s it. You’ve successfully changed the display language on your Windows 10 computer. It’s quick, easy, and only takes a few minutes.


