
Changing your account name on Windows 10 updates the display name shown on the login screen, Start menu, and File Explorer, whether using a local or Microsoft account. The process differs slightly for each type—for Microsoft accounts, edit online; for local accounts, use Control Panel or netplwiz. In this blog, you’ll learn easy step-by-step methods to rename your Windows 10 account safely without losing files or settings.
🧑💻 Method 1: If You Use a Microsoft Account (Online Account Name Change)
If your Windows 10 sign-in is linked to a Microsoft Account, changing the name involves updating your account details online:
- Open your web browser and go to account.microsoft.com — log in with your Microsoft credentials.
- Go to Your info.
- Click on Edit name (or a similar option).
- Enter your desired first and last name → solve CAPTCHA → click Save.
- Sign out of Windows or restart the PC.
- On the login screen and in your account profile, the new name should appear.
Since Microsoft account is synced across devices, this change updates your name on all Windows devices using that account.
🔧 Method 2: If You Use a Local Account (Offline / Stand-alone Account)
Local accounts store display name locally, so you can change it directly within Windows:
- Press Win + R, type
netplwiz, press Enter — this opens the User Accounts window. - Under the “Users for this computer” list, select your account.
- Click Properties.
- In the User name and Full name fields, enter the new name you want displayed.
- Click OK → OK to save.
- Sign out or restart your PC — your new account name will appear on login and user profile.
This changes just the display name — account credentials (password, user folder) remain unchanged.
✅ Method 3 (Optional): Use Control Panel → User Accounts
You can also use the classic Control Panel method:
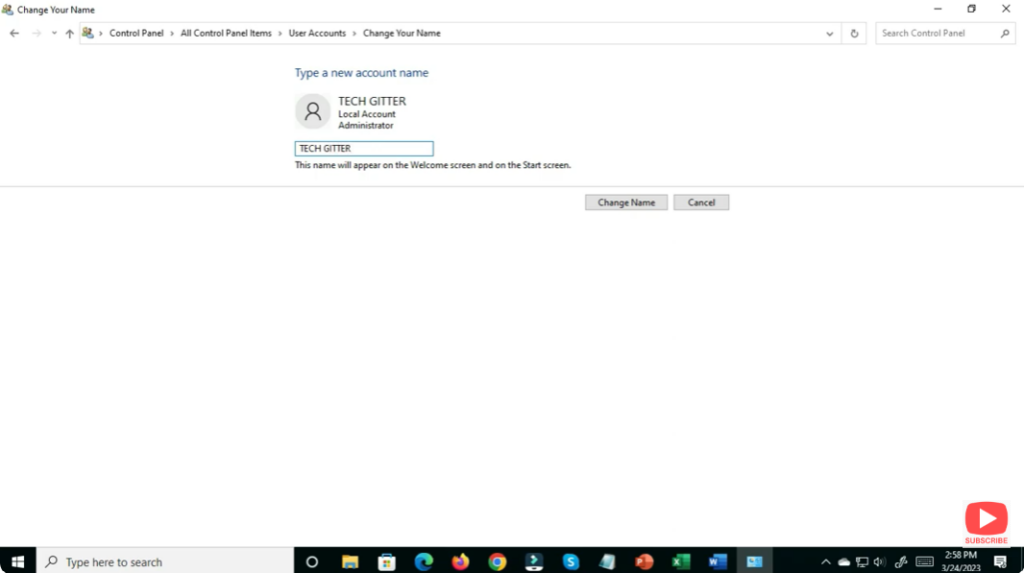
- Open Control Panel → User Accounts → User Accounts → Change your account name.
- Select your account → enter the new name → click Change Name.
- Sign out / sign in again to see the change take effect.
This is a simpler alternative for local accounts if you prefer the GUI.
✅ Final Thoughts
Changing your account name on Windows 10 is easy — just depends on whether you use a Microsoft Account or a local account. It’s a handy tweak whether you’re refreshing your PC’s identity, giving it to someone else, or just want a more personal touch.


