
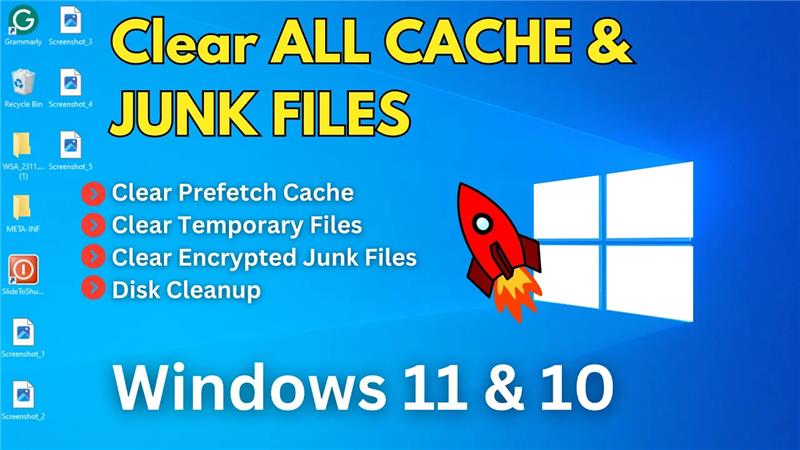
Hello friends, welcome back to my channel Tech Gitter. In today’s guide, we’ll review the steps to clear all the cache and junk files from Windows 10, 11, or any other Windows computer. It’s super easy, and by doing this, your computer’s performance will improve and load faster. So make sure to read the entire article without skipping any steps. Let’s get started!
Step 1: Clear Prefetch Cache
First, press Windows + R together to open the Run window.
Here, type prefetch and click OK.
A folder will open with a list of files.

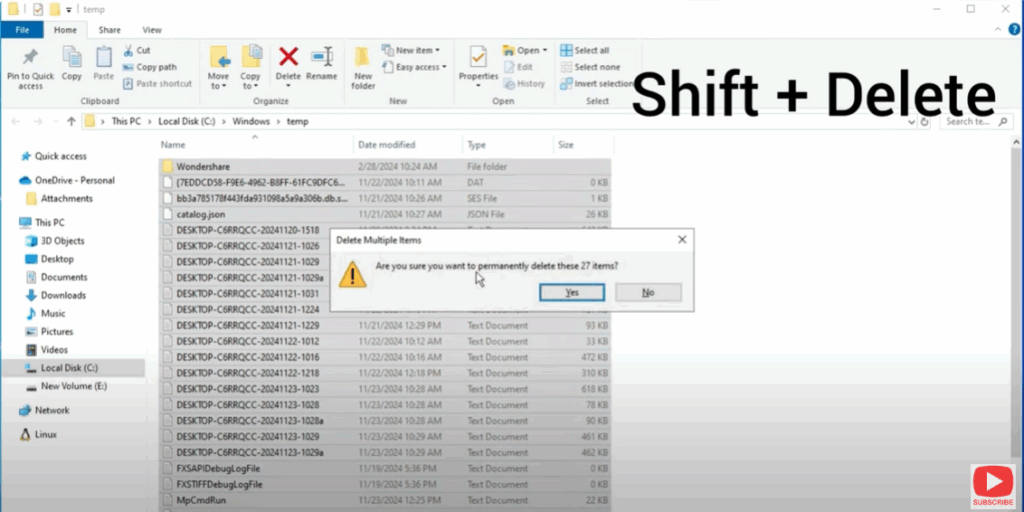
- Select all the files by pressing Ctrl + A
- Then press Shift + Delete on your keyboard to permanently delete them.
You’ll be asked if you want to permanently delete these files. Click Yes to confirm.
Step 2: Clear Temporary Files
Once that’s done, press Windows + R again to open the Run window.
Now type temp and click OK.
This will open a new window with temporary files.
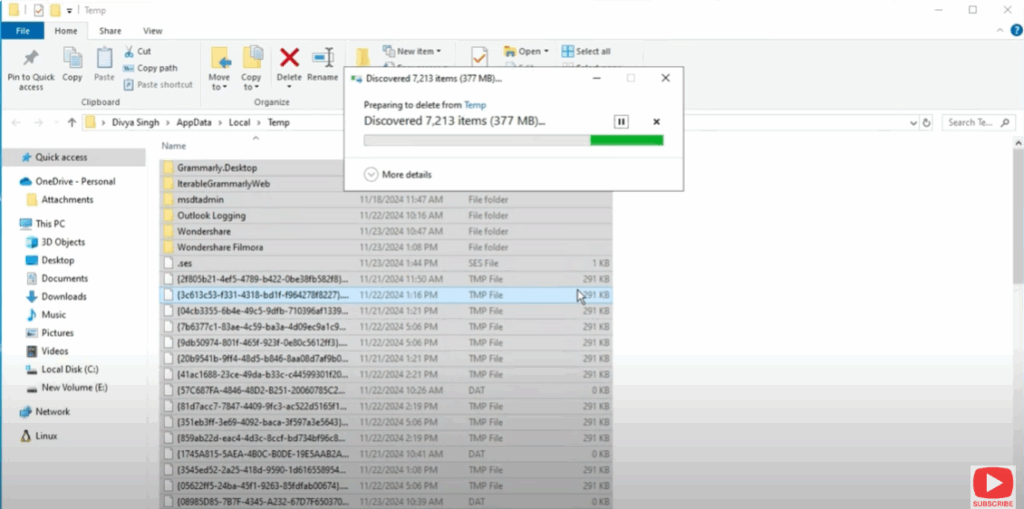
- Press Ctrl + A to select all the files
- Then press Shift + Delete to remove them.
Step 3: Clear Encrypted Junk Files
Now, press Windows + R once more.
This time, type %temp% and click OK.
Here, you’ll find a lot of encrypted junk files that are not created by you and aren’t necessary.
- Select all the files by pressing Ctrl + A
- Then press Shift + Delete to remove them.
⚠️ Sometimes some files might not be deleted because they’re being used by a program. If that happens, simply leave those files and click “Do this for current item” to skip.
Step 4: Disk Cleanup
Let’s move to the last step.
Press Windows + R again and this time type cleanmgr and click OK.
This will open the Disk Cleanup utility.
By default, the C drive (where your operating system is installed) will be selected. Just click OK.
In the Disk Cleanup window, make sure you check all the options such as:
- Recycle Bin
- Temporary Files
- Thumbnails
- Delivery Optimization Files
- Temporary Internet Files
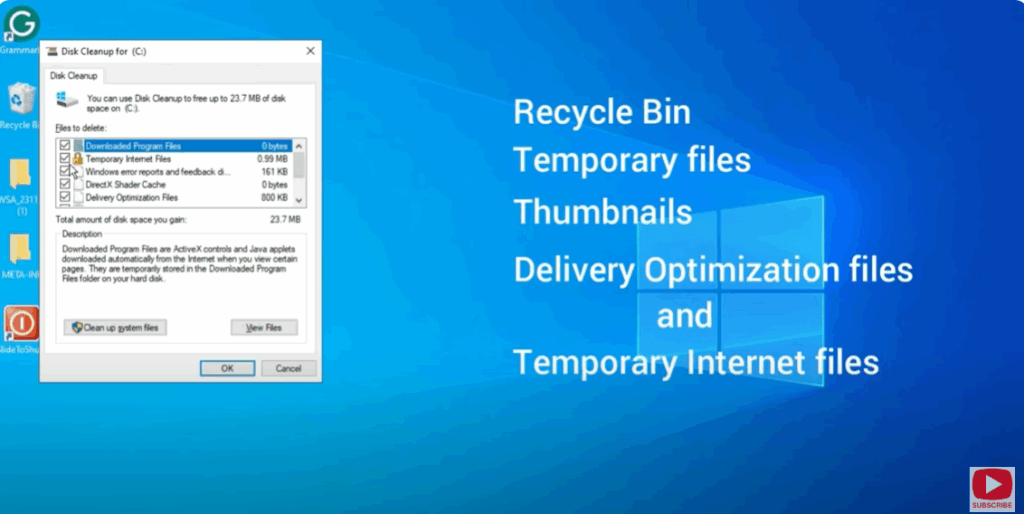
Once you’ve selected everything, click OK to delete the files.
Final Words
That’s it! By following these simple steps, you’ll have cleared all the cache and junk files from your computer, which will help improve its performance.
If you found this guide helpful, make sure to like the video, and if you’re new to the channel, don’t forget to subscribe for more useful tips and tricks.
Thanks for reading, and have a great day!


