
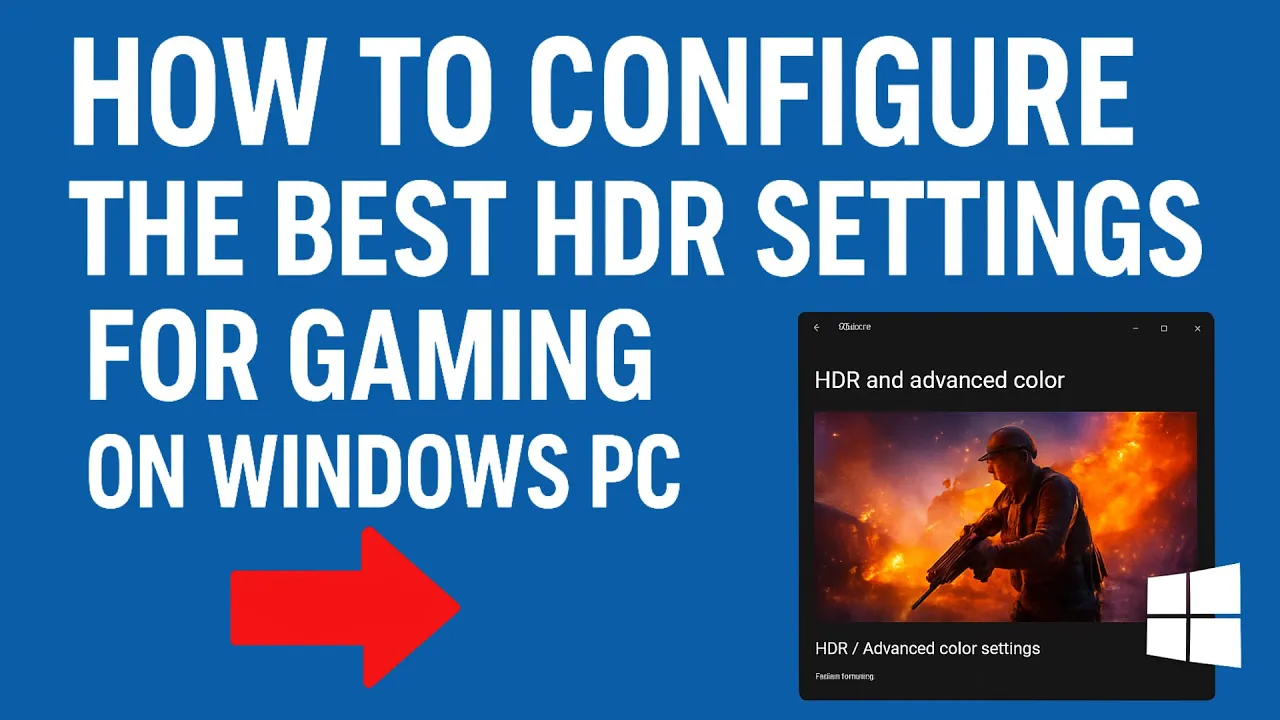
Playing games with HDR (High Dynamic Range) on your Windows PC can make everything look brighter, sharper, and more realistic. HDR helps your screen show deeper colors, better contrast, and more details—perfect for modern games that support it. But if HDR isn’t set up correctly, the visuals may look too dark, washed out, or unnatural. The good news is, configuring HDR settings is quick and easy once you know where to look. In this beginner-friendly blog, we’ll explain in simple language how to configure the best HDR settings for gaming on Windows PC, so you can enjoy stunning graphics and smoother gameplay.
Step-by-Step: Configure HDR Settings in Windows
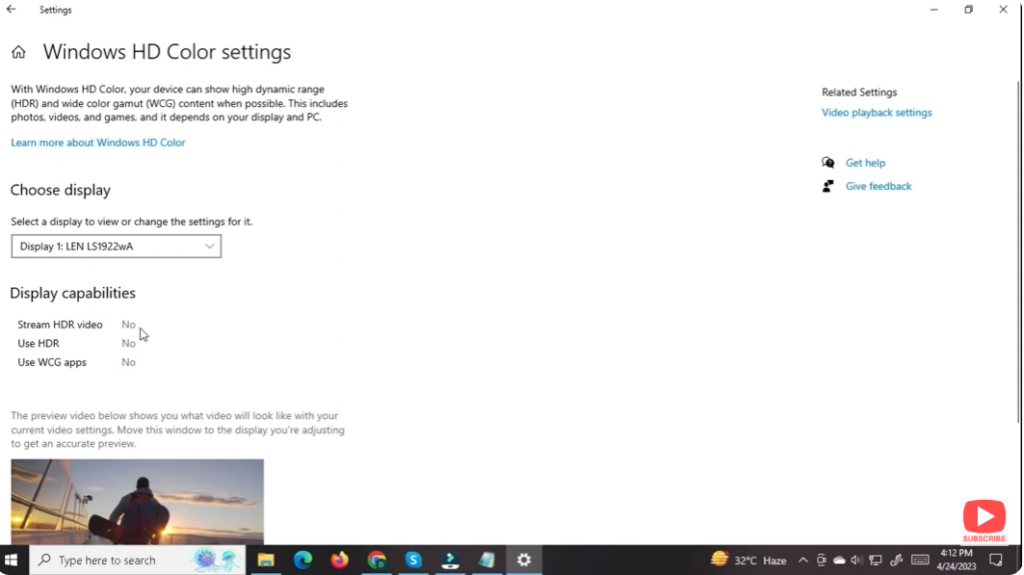
1. Enable HDR in Windows Settings
- Right-click on the desktop.
- Click Display settings.
- Scroll down and choose HDR.
- Toggle Use HDR to ON.
If your display supports HDR, Windows will turn on HDR mode instantly.
2. Use Windows HDR Calibration Tool
To improve color and brightness accuracy:
- Go to Settings > System > Display > HDR
- Click HDR display calibration
- The app helps you adjust:
- Minimum luminance (black levels)
- Maximum luminance (peak brightness)
- Color saturation
Make sure to follow the instructions carefully for the best results.
3. Adjust SDR Content Brightness
When HDR mode is ON, SDR (non-HDR) apps may look darker than normal.
Fix it by doing this:
- Go to Settings > System > Display > HDR
- Find SDR content brightness
- Increase the slider to make SDR apps appear normal.
4. Turn On Auto HDR (Optional)
Auto HDR adds HDR-like effects to non-HDR games.
To enable:
- Go to Settings > System > Display > HDR
- Toggle Auto HDR to ON
This is extremely useful for older games that don’t support HDR natively.
5. Enable HDR in Your Game Settings
Most modern games have built-in HDR support, but you must enable it:
- Launch your game
- Open Graphics or Display settings
- Turn on HDR or HDR10
- Calibrate:
- Peak brightness
- Paper white (midtone brightness)
- Color vibrance
Follow the in-game calibration instructions to match your display’s HDR capabilities.
6. Use GPU Control Panel for Extra Optimization
NVIDIA Users
- Open NVIDIA Control Panel
- Go to Display > Change Resolution
- Select:
- Highest refresh rate
- Highest bit depth (10-bit recommended)
- Enable Output Dynamic Range: Full
AMD Users
- Open AMD Adrenalin
- Go to Display
- Enable:
- 10-bit pixel format
- HDR options if available
7. Calibrate Your Monitor’s HDR Mode
Open your monitor’s on-screen settings (OSD) and adjust:
- HDR Mode (Gaming / Cinema)
- Brightness
- Contrast
- Local Dimming (set to High)
- Color Temperature (6500K recommended)
Every display is different, so tweak these settings based on your preference.
Conclusion
Configuring HDR properly can transform your entire gaming experience on Windows. Just follow the steps above—enable HDR in Windows, calibrate display, adjust SDR brightness, and fine-tune settings inside your games. With the right setup, your games will look brighter, richer, and more immersive than ever.


