
Creating a Facebook Business Page in 2025 is a smart and simple way to promote your brand, service, or personal project online. Whether you’re starting a small business, building a personal brand, or just want to share your work with a wider audience, a Facebook Page helps you connect with people easily. You don’t need any special skills—just follow a few basic steps and you’ll be ready to go. In this step-by-step guide, we’ll show you how to set up your page, add important details, and make it look professional so you can start reaching more customers or followers right away. Let’s get started!
Step 1: Open Facebook
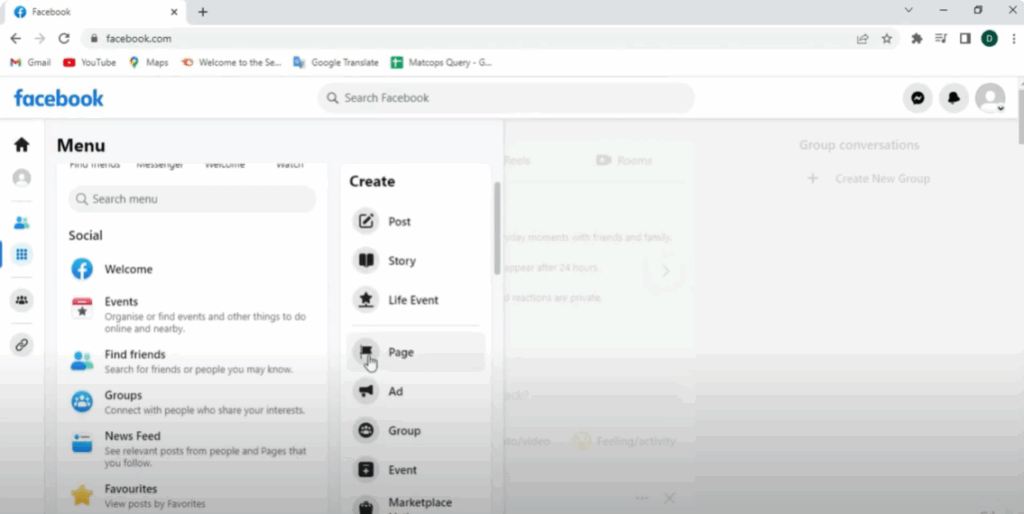
First, open Google Chrome and search for Facebook.com in the search bar. Once you’re on Facebook and logged in, look to the left-hand menu and click on See All. This will open more options. From these, click on Pages.
Step 2: Enter Basic Business Page Details
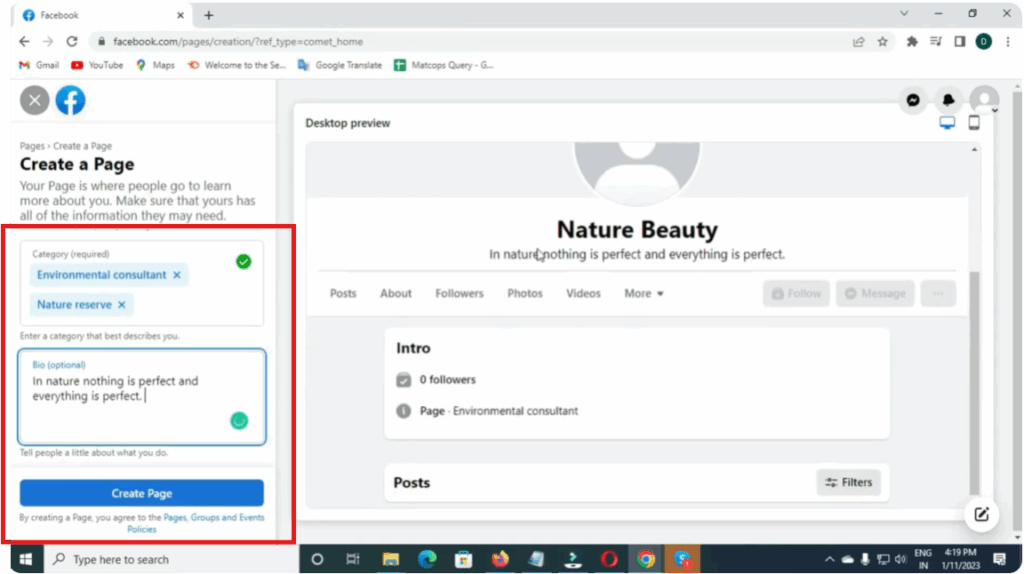
Now, Facebook will display some information about what a page is. Next, you’ll need to enter the basic details of your business page:
- Page Name – This is the name your audience will see.
- Category – Choose something like personal blog, business, finance, or any option that fits your purpose.
- Bio – Write a short description of your page. This bio appears below your page name and explains what your page is about.
After filling in these fields, click on Create Page.
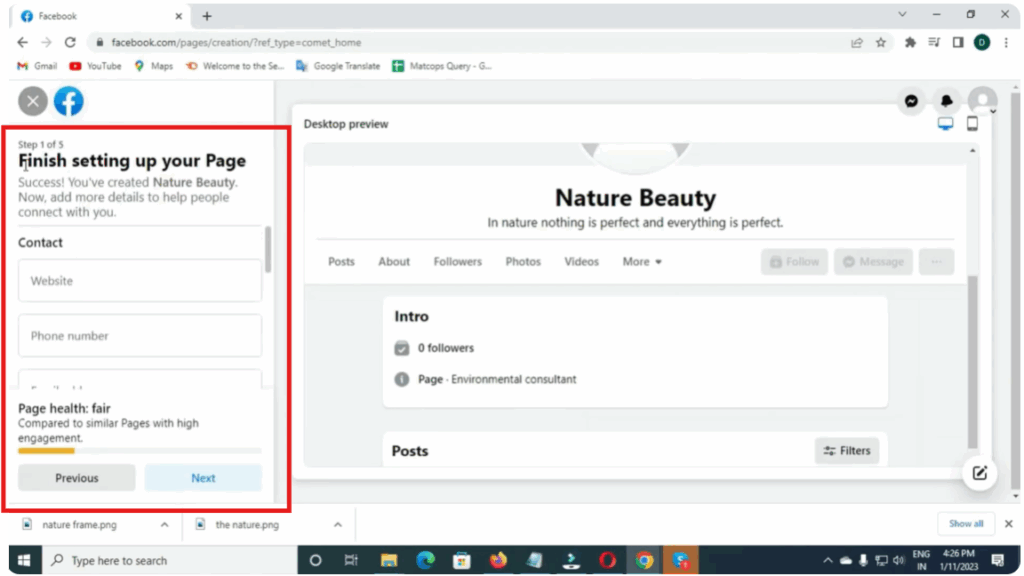
Step 3: Add Business Information
Once your page is created, the next section will ask for more details such as:
- Contact Information – phone number and email.
- Location – if your business has a physical address.
- Business Hours – set opening and closing times for each day of the week.
After entering the information, click on Next to continue.
Step 4: Upload Visuals
Now it’s time to add visuals:
- Profile Picture – usually your logo or something related to your business.
- Cover Photo – appears as the banner at the top of your page.

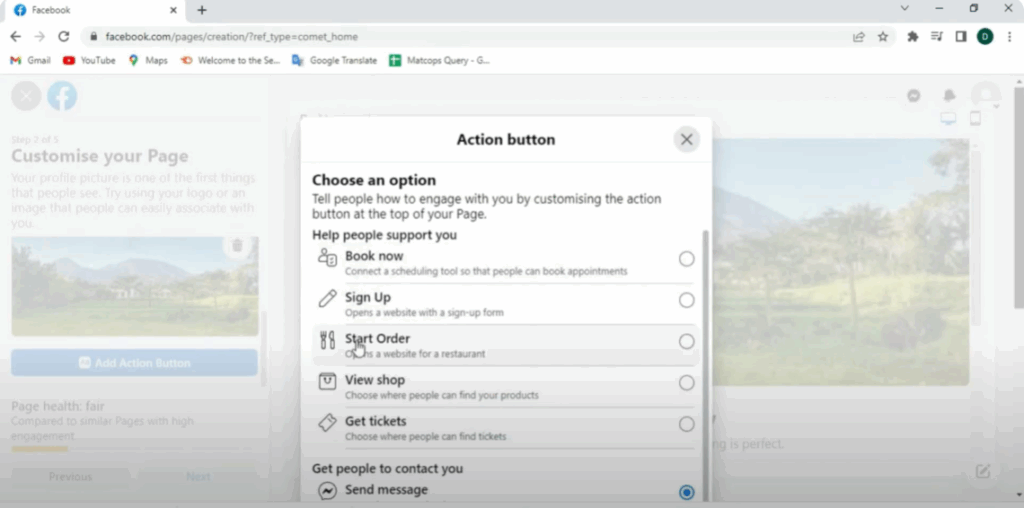
Step 5: Add an Action Button
Facebook will then ask you to add an Action Button (call-to-action). Options include:
- Book Now
- Sign Up
- Contact Us
- Send Message
Choose the one that fits your page and click Next.
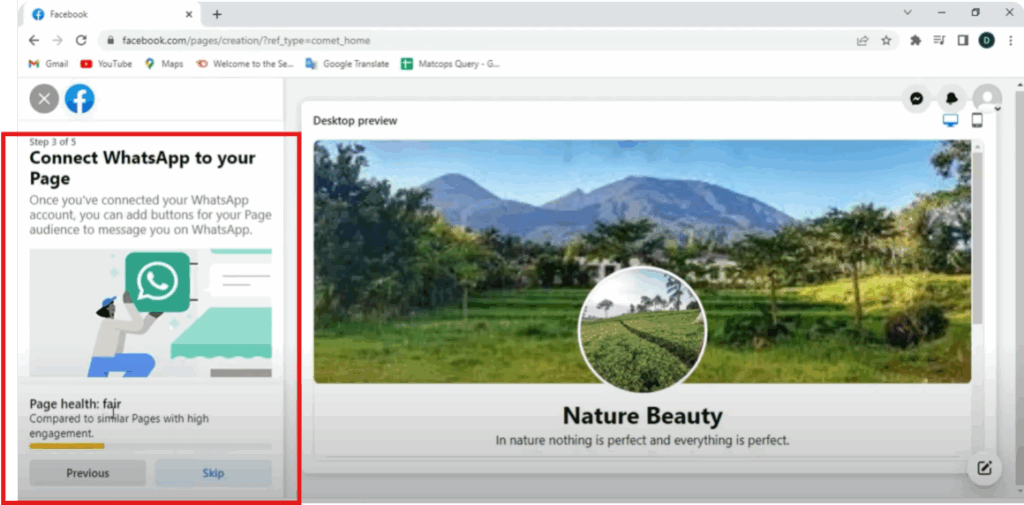
Step 6: Connect WhatsApp (Optional)
You’ll be asked to connect your WhatsApp number for better communication. You can link it or simply click Skip.
Step 7: Finalize Setup
After this, a notification page will appear. Click on Done, and your Facebook business page is now ready.
Managing Your Facebook Business Page
Once created, you’ll see tools and features such as:
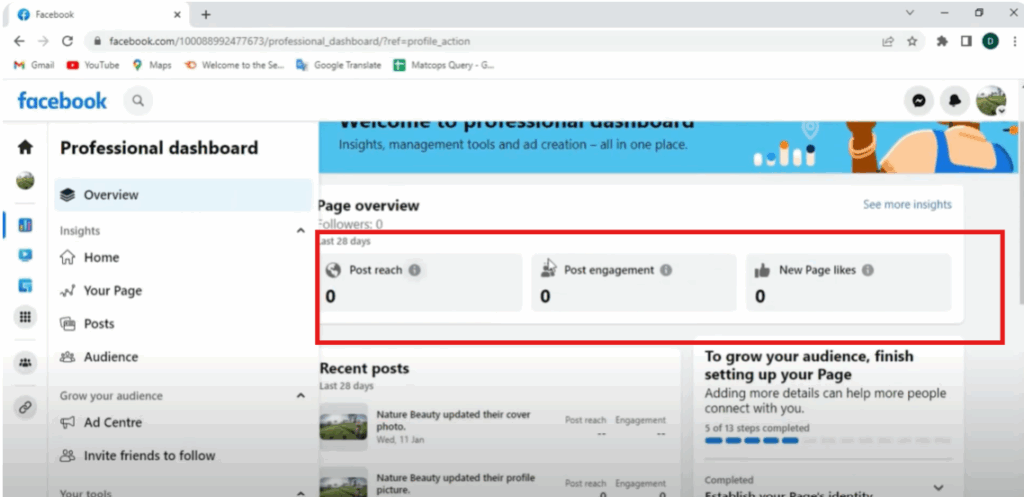
- Professional Dashboard
- Insights
- Promote (for ads and promotions)
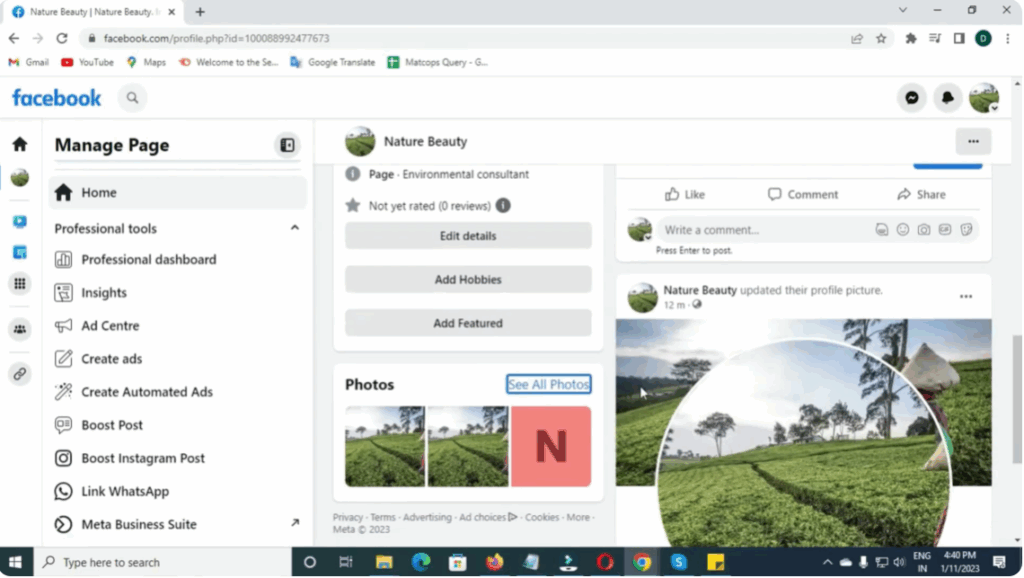
You can edit your details anytime by clicking Edit Page Info and saving changes.
Extra Features:
- Add Hobbies/Interest Tags to your page.
- Post Content like photos, reels, or go live by clicking Create Post.
- Update Profile Picture or Cover Photo anytime by clicking Edit.
- Click Manage to see options like About, Posts, Reach, Engagement, and Likes.
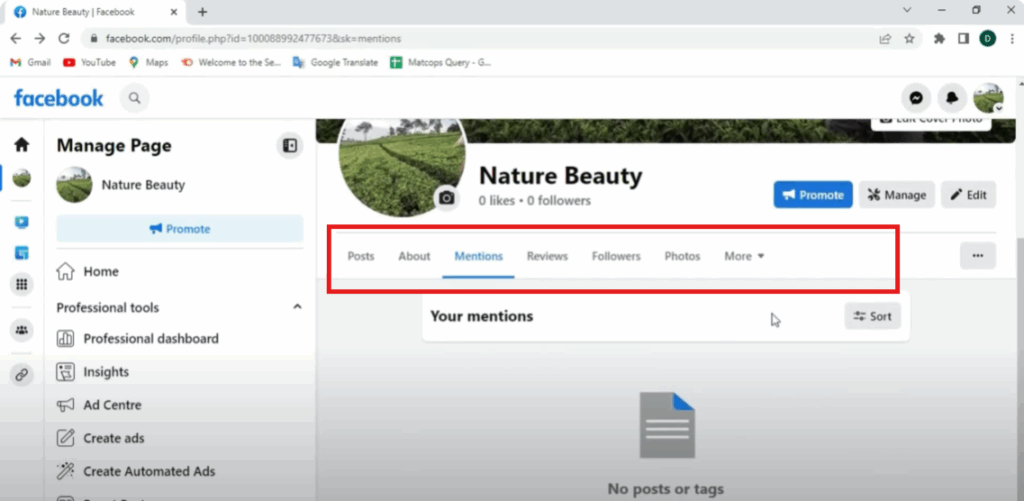
Page Sections to Explore:
- About Section – add all important business details.
- Mentions Tab – track when others tag or mention your page.
- Reviews Section – see feedback from your audience.
- Followers Tab – view the number of followers.
- Photos Tab – displays all uploaded photos and cover images.
- More Menu – additional management tools.
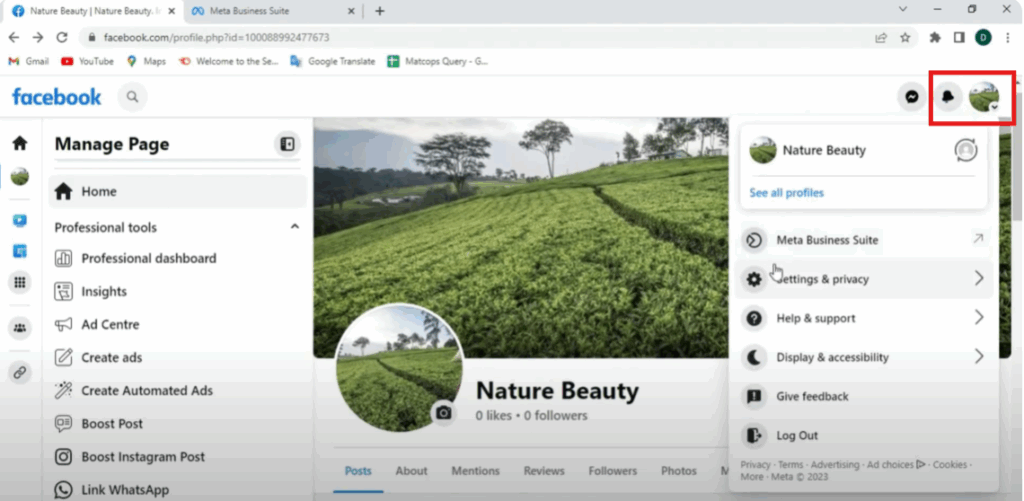
Notifications & Settings
- The Bell Icon at the top shows notifications.
- Clicking your Profile Picture displays options like Meta Tools, Settings, and Log Out.
Posting Quickly
You can also create a post by clicking on Photo, writing your thoughts, and clicking Post. Once posted, viewers can like, comment, and share your updates.
Conclusion
And that’s it! You’ve now created and fully set up your Facebook Business Page.


