
Creating a photo slideshow in PowerPoint is an easy way to showcase memories from vacations, weddings, or family events with professional-looking transitions and music. PowerPoint’s Photo Album feature lets you import multiple pictures at once and automatically creates slides for you. In this blog, you’ll learn simple step-by-step instructions to add photos, apply themes, set timings, add background music, and run automatic slideshows that impress everyone.
✅ Step-by-Step: Create a Photo Slideshow in PowerPoint
Here’s a simple workflow you can follow:
1. Collect All Photos in a Folder
Before launching PowerPoint, gather all images you want in slideshow — put them in a dedicated folder to make selection easier.
This helps keeps the process clean and organized.
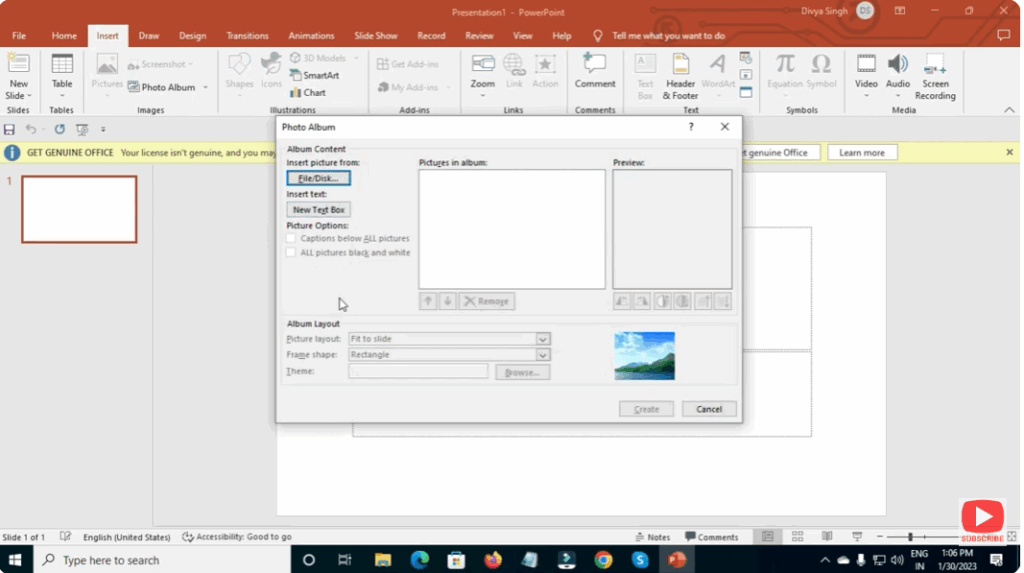
2. Open PowerPoint → Insert Photo Album
- Launch PowerPoint and start a new blank presentation.
- Go to Insert → Photo Album → New Photo Album.
- In the dialog, click “File/Disk…” to browse and select your images. You can select multiple photos at once (Ctrl + click or Ctrl + A).
- After selection, you can reorder photos if needed, choose layout options (e.g. one picture per slide, fit-to-slide, etc.).
- When ready, click Create — PowerPoint will generate a slide for each image.
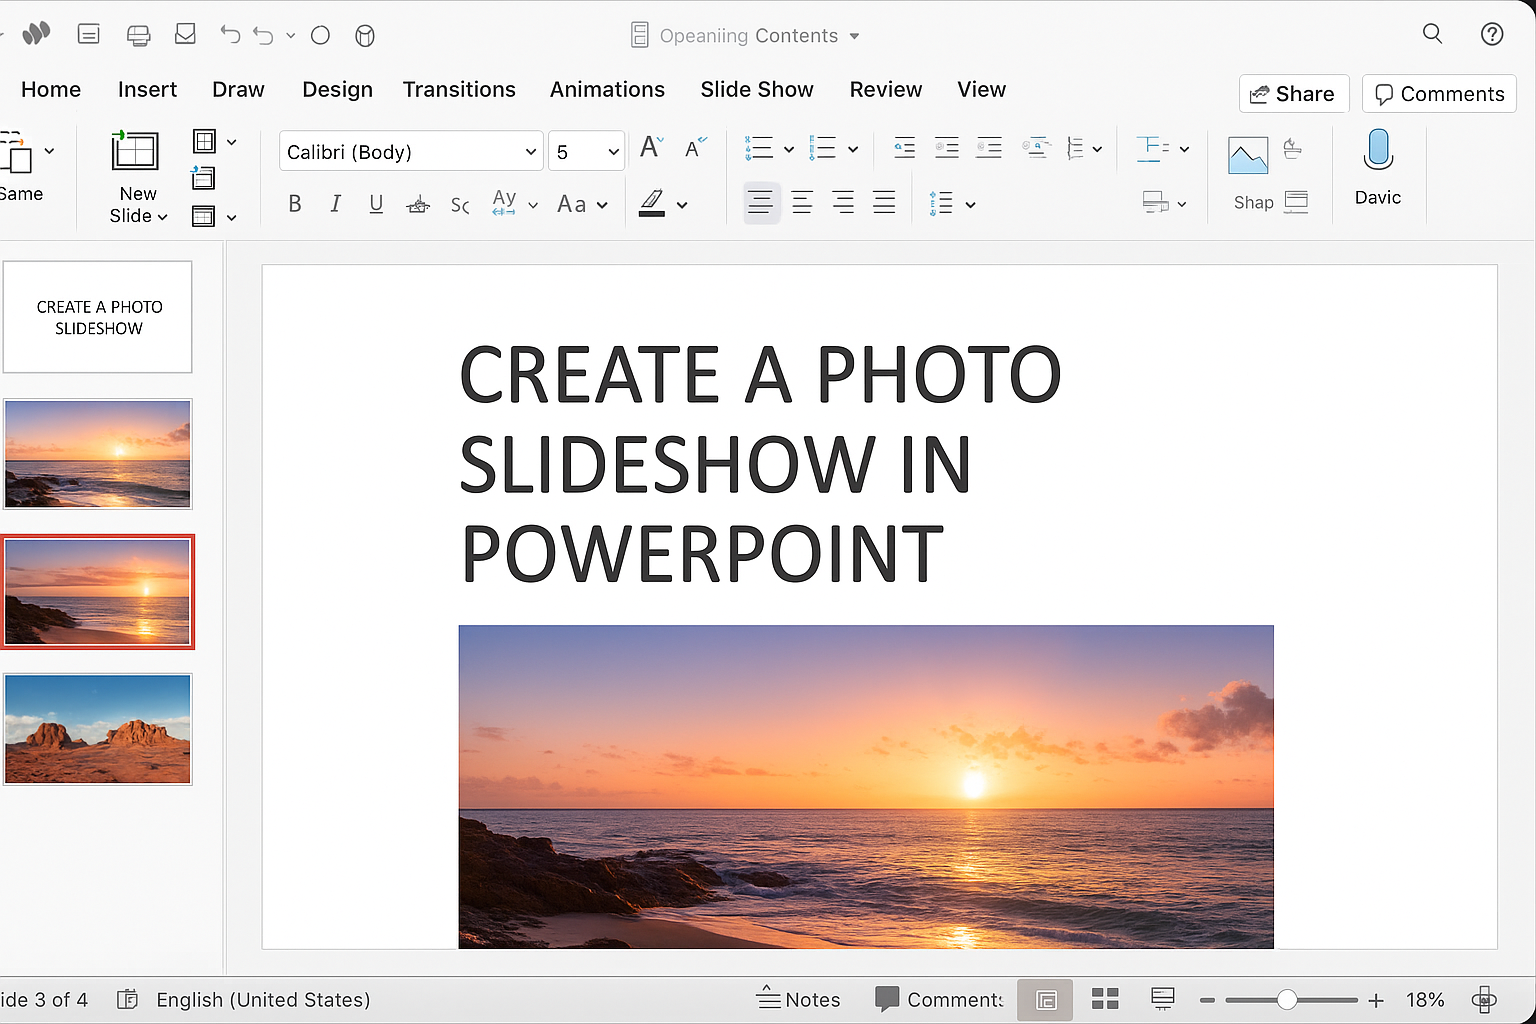
3. (Optional) Add a Title or Opening Slide
You may want a title slide at the beginning — for example, “Vacation 2025” or “Our Project Showcase”.
Just insert a new slide before the album slides, and use a layout like “Title Slide” to add title, subtitle, date, or opening message.
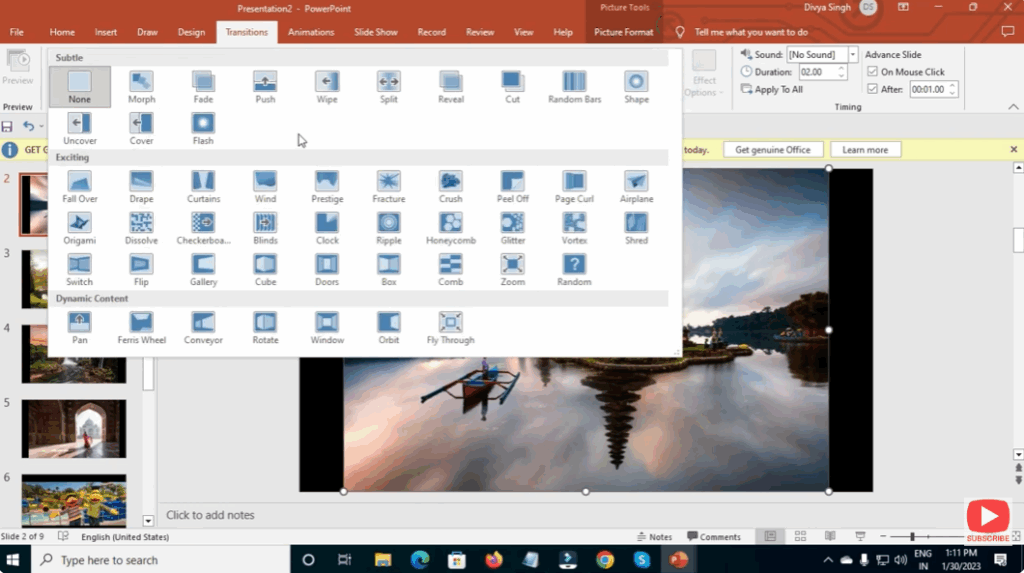
4. Add Transitions / Slide Effects
- Select all slides (click first slide, hold Shift, click last slide).
- Go to the Transitions tab. Choose a transition effect (e.g. Fade, Push, Wipe, etc.).
- To make it uniform, click Apply to All. This ensures all slides transition in the same style.
5. Set Automatic Slide Timing (For Automatic Slideshow)
If you don’t want to manually click through slides:
- Still under Transitions tab → in the “Timing” group → check After → set number of seconds for each slide display (e.g. 3 or 5 seconds).
- Uncheck “On Mouse Click” if present — this ensures slides advance automatically.
6. (Optional) Add Background Music or Audio
- Go to Insert → Audio → Audio on My PC… (or relevant menu for your version).
- Select an MP3 (or other supported audio) file — it will be added to the first slide.
- Then under Playback tab → set Start: Automatically, and check Play Across Slides or Loop until Stopped if you want continuous music.
7. Preview the Slideshow
- Press F5 or go to Slide Show → From Beginning to preview how it looks.
- Watch through — ensure images, transitions, timing, and music flow smoothly.
- If any slide feels too fast/slow — adjust timing or transitions.
8. Save or Export
- Save as typical PowerPoint file (PPTX).
- If you want a stand-alone video: PowerPoint allows exporting slideshows to video formats (e.g. MP4) — making sharing easier on phones, YouTube, or social media.
✨ Conclusion
Creating a photo slideshow in PowerPoint is easy, quick, and flexible — whether you want a simple slideshow of pictures or a polished presentation with transitions, music, and captions.
With Insert → Photo Album → New Photo Album, plus transitions, timing, and optional music — you can create a shareable, professional slideshow in minutes.


