
Creating an invisible folder on your Windows 11 desktop is a fun and useful trick to keep your files hidden from others. Many people think you need special software to hide folders, but the good news is you can do it easily with built-in Windows options. By making the folder name blank and using a hidden icon, you can store files in a way that looks like nothing is there. In this beginner-friendly blog, we’ll explain in easy language how to create an invisible folder on your Windows 11 desktop and hide it step by step, so your private files stay out of sight.
- Right click on any folder you want to hide.
- click on Rename and

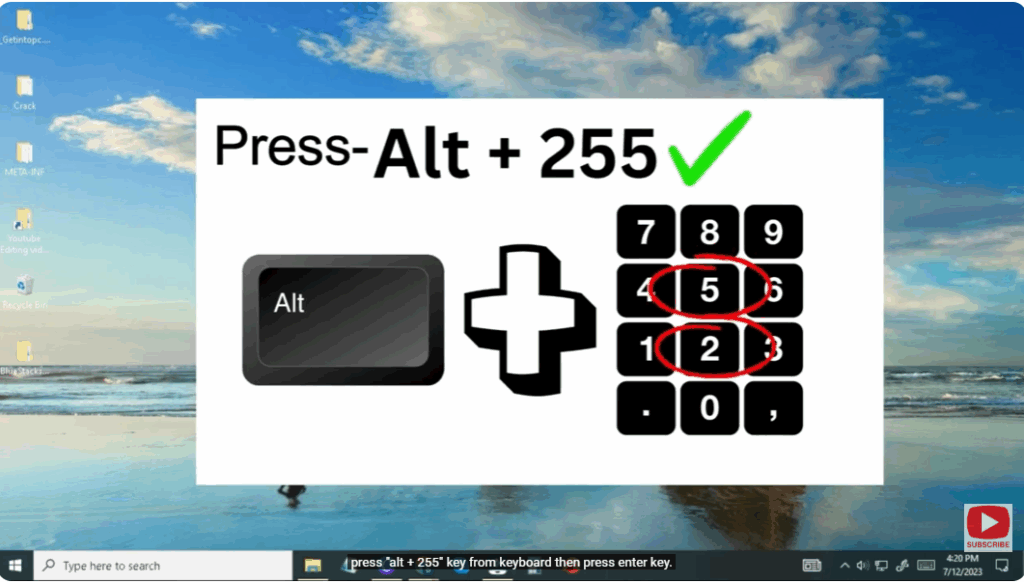
- press “alt + 255” key from keyboard then press enter key.
- You will see that the folder name has been hidden.
Now to hide the folder, right click on the folder and open properties.
Click here to customize
or click Change icon
Select blank option here
apply it and make it ok
your folder will be hidden.
if you want to undo it again
Then again go to the custom option and select the folder icon
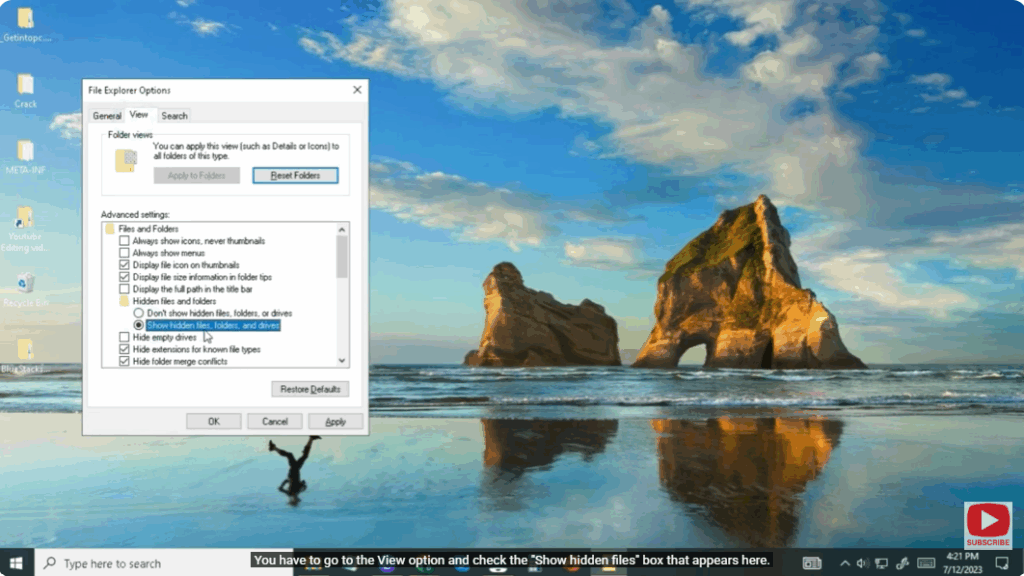
Or you can also UNHIDE the folder by opening another way File Explorer option.
You have to go to the View option and check the “Show hidden files” box that appears here.
apply it or ok.
To unhide the folder name you have to right click on the folder or go to rename option, folder will be unhide again.


