

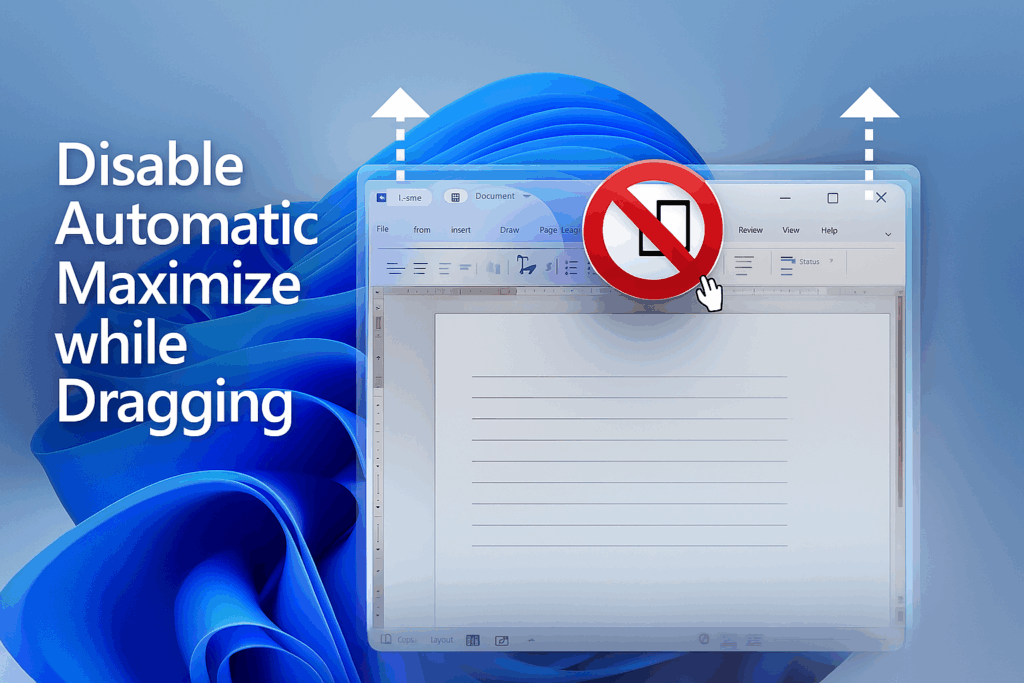
If Windows 10 or 11 automatically maximizes your window when you drag it to the edge of the screen, you can disable this feature to prevent accidental resizing. This behavior is controlled by a feature called “Snap Windows,” which you can turn off in the system settings. Doing so allows you to drag and move windows freely without them snapping or maximizing unexpectedly. In this blog, you will learn simple steps to disable automatic maximize while dragging a window in Windows 10 or 11, giving you more control over your workspace.
🛠 TSteps to Turn Off Auto-Maximize While Dragging
Method 2: Use Registry Editor (Advanced Method)
Warning: Editing the registry is powerful but can be dangerous — always back up your registry before making changes.
- Press
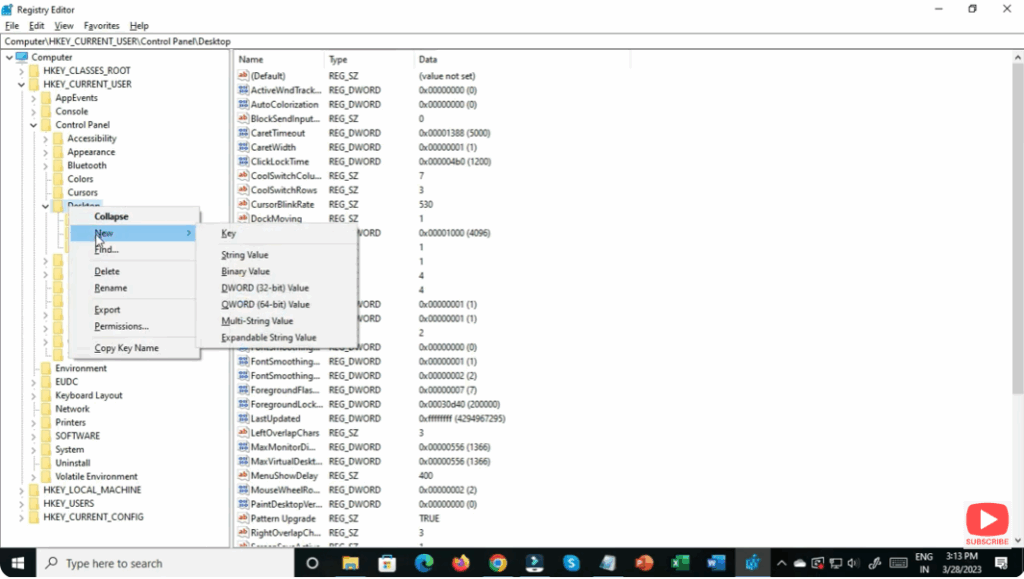
Win + R, typeregedit, and press Enter to open Registry Editor. - Navigate to the key:
HKEY_CURRENT_USER\Control Panel\Desktop - Look for a DWORD (32-bit) value called
DragFromMaximize.- If it doesn’t exist, you’ll need to create it: Right-click → New → DWORD (32-bit Value). Name it
DragFromMaximize.
- If it doesn’t exist, you’ll need to create it: Right-click → New → DWORD (32-bit Value). Name it
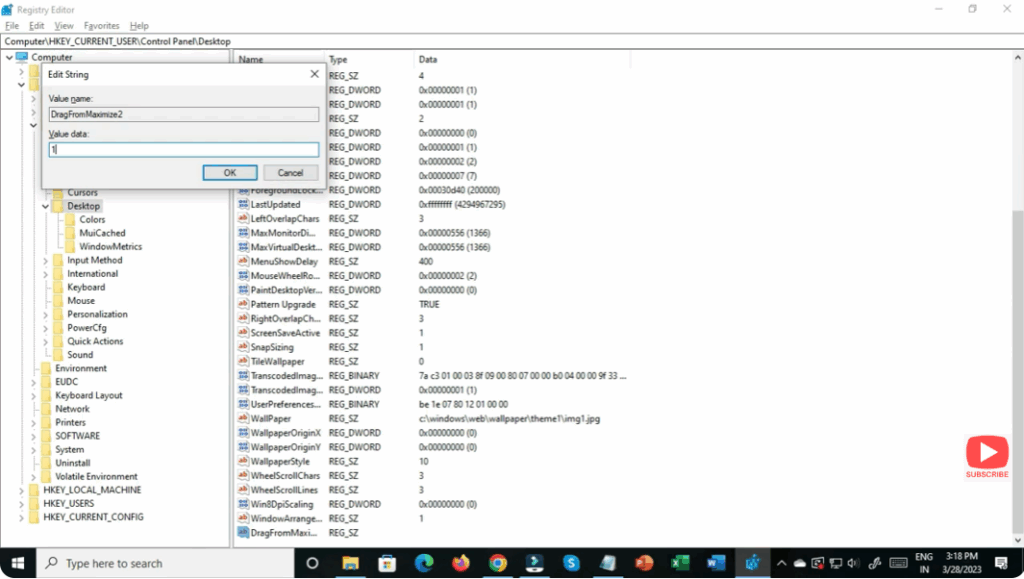
- Double-click
DragFromMaximize, set its value data to 0, and click OK.0disables dragging-to-maximize.1enables it.
- Close Registry Editor, then log off and log on or restart your PC to apply the change.
✅ Final Thoughts
Disabling automatic maximize when dragging a window can make your workflow smoother, give you better control over window placement, and reduce accidental maximization — especially useful for power users, programmers, or those using multiple monitors.
Use the above method if you prefer a safe, UI-based approach. Use the Registry method if you want to force the behavior across all sessions and have more advanced control.


