
Hello friends, welcome back to my channel Tech Gitter Official. In today’s guide, I’m going to show you how to disable or turn off mouse acceleration in Windows 11.
If your mouse pointer doesn’t seem to move the way you expect, that’s likely due to mouse acceleration. Don’t worry—I’ll walk you through two simple methods to fix it step by step.
What is Mouse Acceleration?
Normally, when you move your mouse, the pointer should travel the same distance on the screen, regardless of how fast or slow you move your hand. But with mouse acceleration enabled, the speed of your hand movement affects how far the pointer goes.
This can feel unpredictable, especially if you’re gaming or working on tasks that require precision, like photo or video editing. That’s why many people prefer to turn it off to achieve more consistent and precise control.
Method 1: Disable Mouse Acceleration Using Windows Settings
- Click the Start Menu and select Settings.
- Go to Bluetooth and Devices.
- In the left-hand sidebar, click Bluetooth and Devices again.
- From the available options, click Mouse.
- Open Additional Mouse Settings: On the right, under Related Settings, click Additional Mouse Settings. This will open a new window called Mouse Properties.
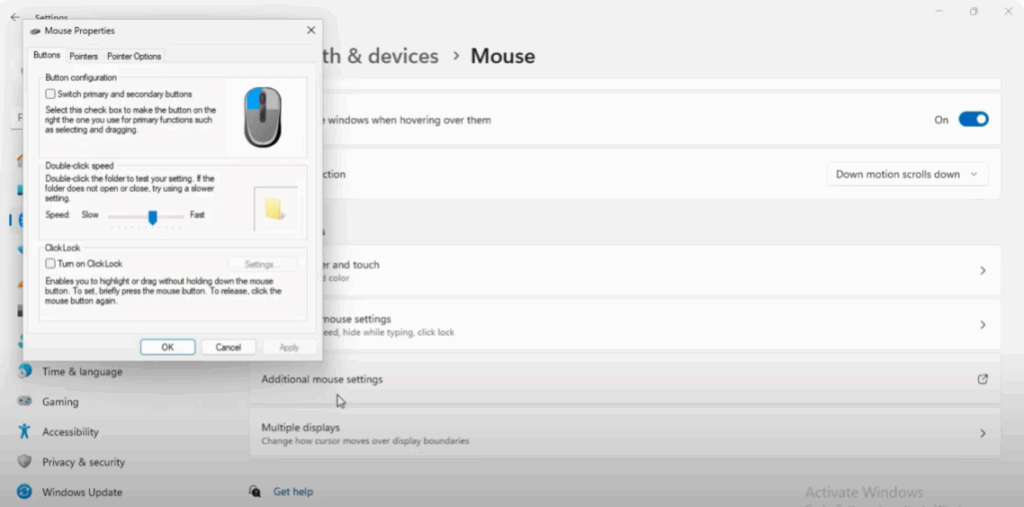
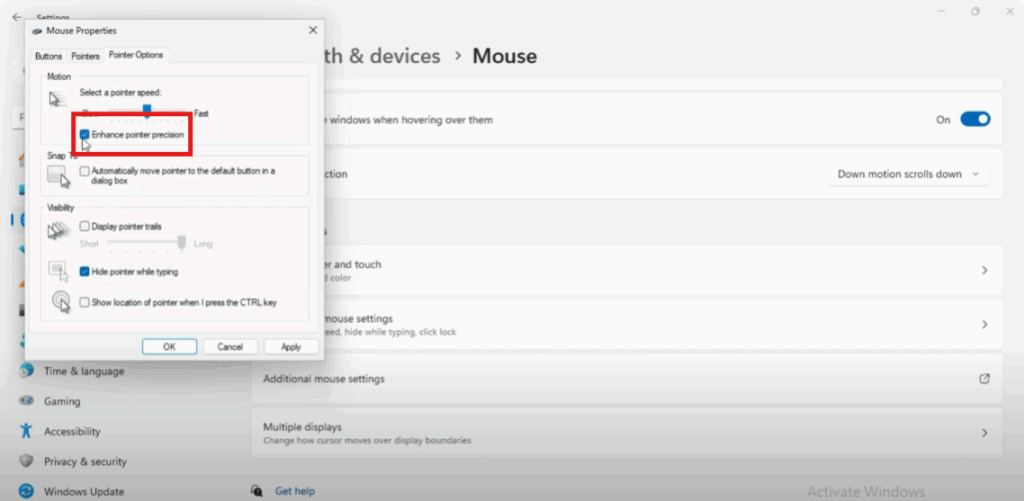
- Go to the Pointer Options Tab: Inside the Mouse Properties window, click the Pointer Options tab.
- Turn Off Acceleration: Uncheck the box labeled Enhance Pointer Precision, then click Apply and OK.
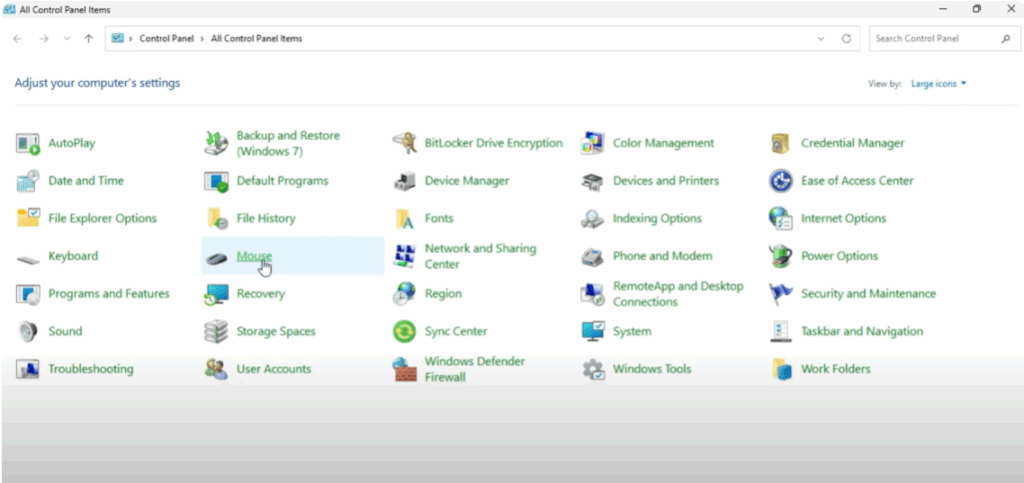
Method 2: Disable Mouse Acceleration Using Control Panel
- Open Control Panel: Press the Windows key, type Control Panel, and open it.
- In Control Panel, make sure the View By option is set to Small icons or Large icons.
- Open Mouse Settings: Click Mouse. This will open the same Mouse Properties window.
- Go to the Pointer Options Tab: Click on the Pointer Options tab in the Mouse Properties window.
- Turn Off Acceleration: Uncheck the box labeled Enhance Pointer Precision, then click Apply and OK.
Final Step: Test It
And that’s it! You’ve successfully disabled mouse acceleration on your Windows 11 PC.
To test it, move your mouse slowly, then quickly. You’ll notice the pointer now travels the same distance every time, giving you more precise and predictable control.
If this guide helped you, drop a comment below and let me know. Thanks for reading, and don’t forget to like, share, and subscribe to Tech Gitter Official for more helpful tutorials.


