

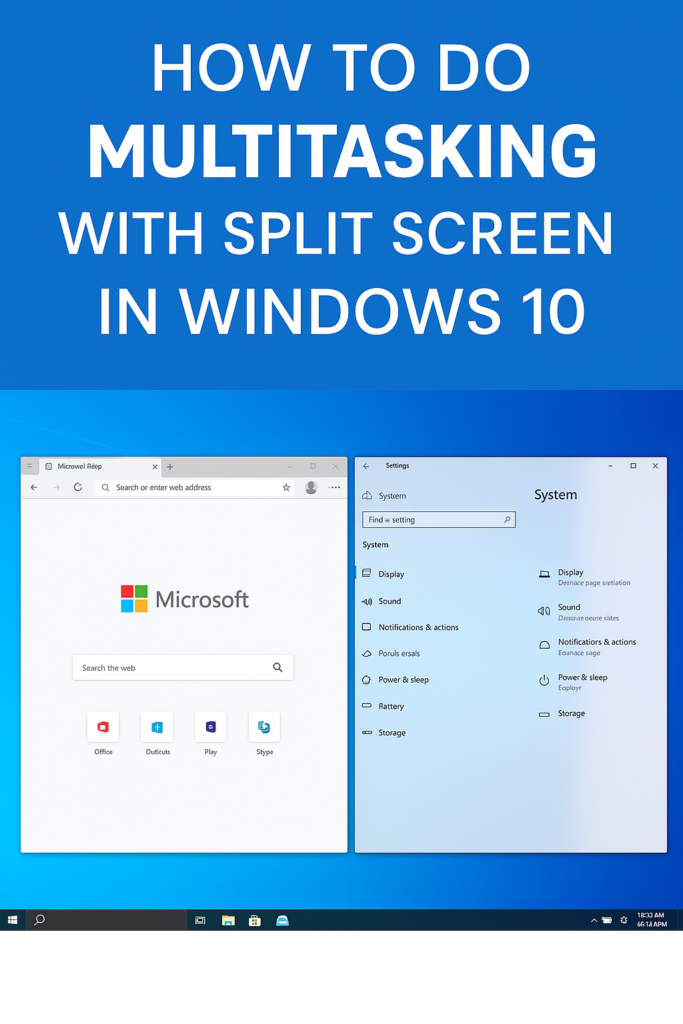
Multitasking with split screen in Windows 10 lets you work on two or more apps side-by-side, making your tasks faster and more organized. Instead of switching between windows, you can see everything at once and easily drag files or compare information. In this blog, you will learn easy and quick ways to use split screen, including keyboard shortcuts and dragging windows, so you can boost your productivity effortlessly.
Method 1: Drag and Snap
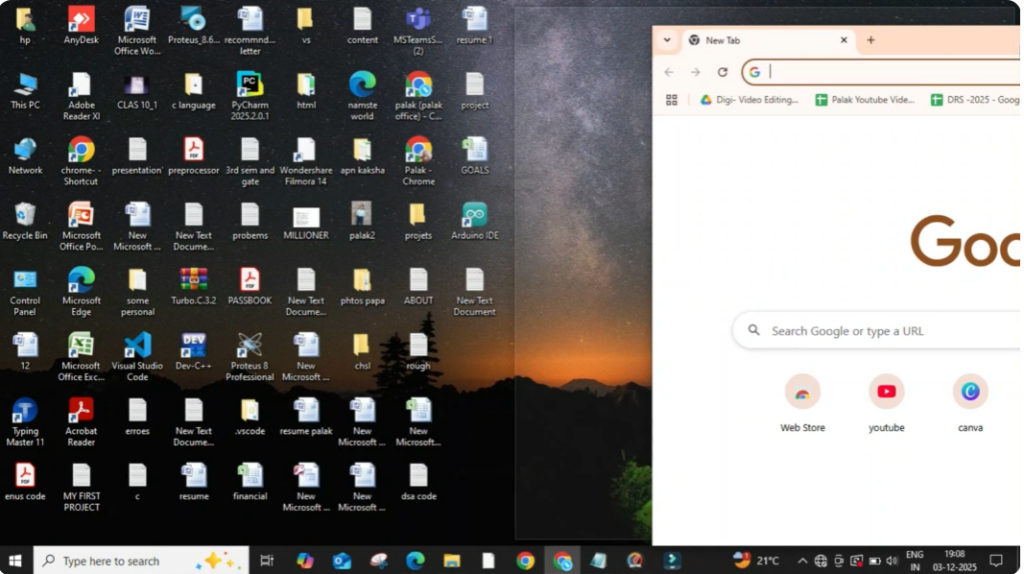
Firstly, open the window that you want to use in split screen. Then, click on minimize. So, the window is not in full screen mode. After that, hold the window from the top bar and drag it toward the right side of the screen. When you see a blackish shadow, release the window. Now the window will snap to the right side automatically.
On the left side you will see multiple window options. Click on any one according to your choice to fill the left half of the screen.
Method 2: Four-Way Split
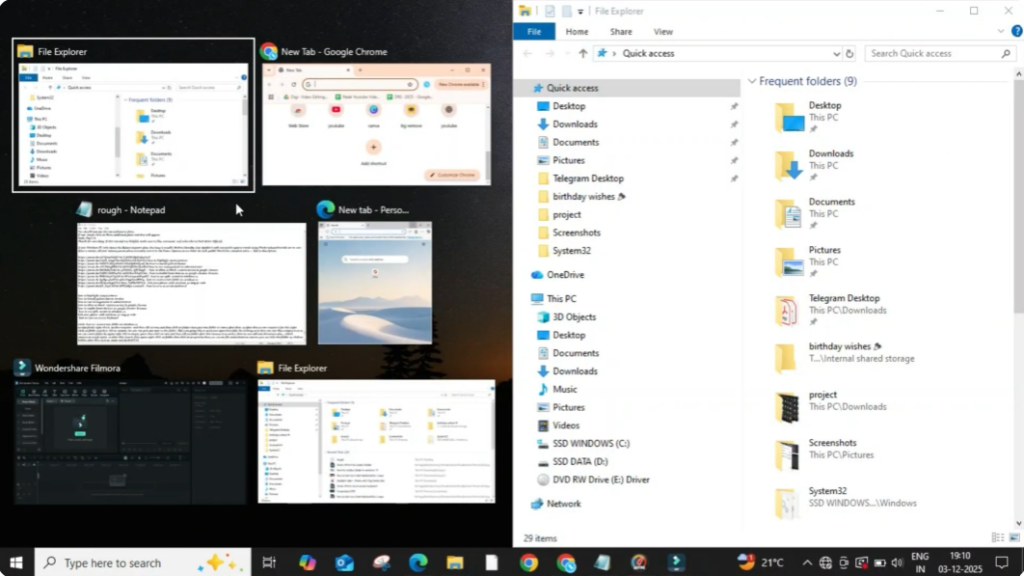
Now let’s move to the second method. In this method you can also use four-way split screen. Firstly open the window and minimize it. Hold the top bar again and this time drag the window toward the upper right corner. When you see a blackish rectangle in that corner, release the window. It will cover one quarter of the screen.
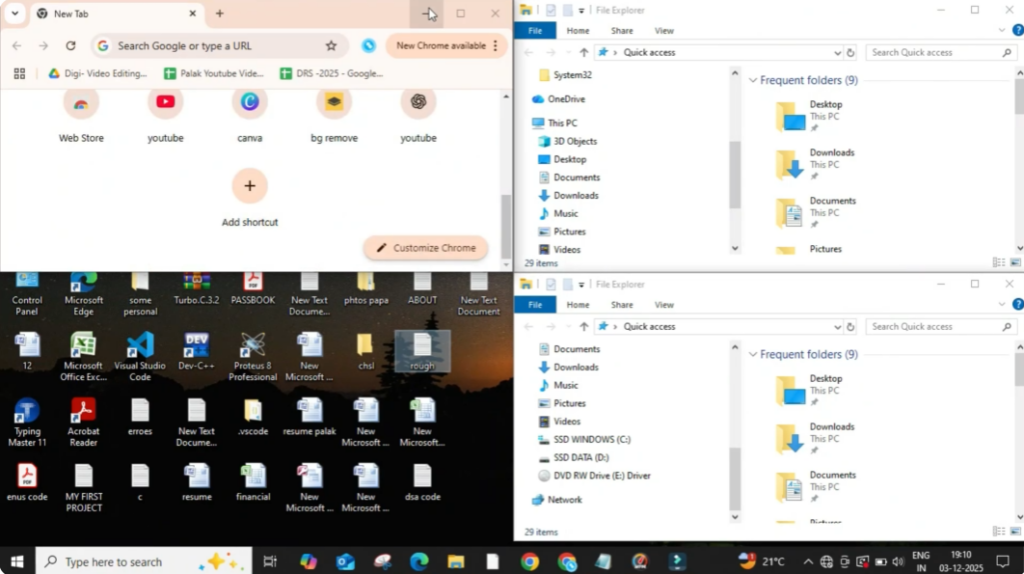
You can repeat the same step in the remaining corners to create a four-way split and add more windows easily.
Method 3: Shortcut Method
Now, let’s move to the third method, which is the shortcut method. Firstly, open the window and minimize it. Click on the top bar of the window to select it. Then, press Windows + Right Arrow. Your window will automatically set on the right half of the screen.
You can now choose another window for the left side and continue working smoothly.


