
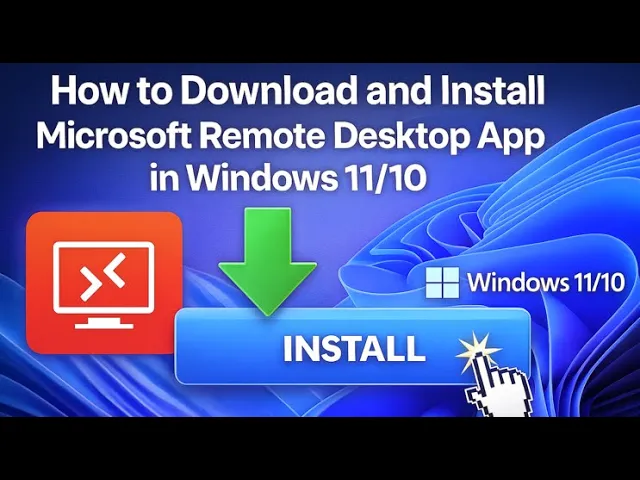
Microsoft Remote Desktop lets you connect to another PC easily from your Windows 10 or 11 device, so you can access files, apps, and work remotely. If you don’t have the app installed, setting it up is simple and quick. In this blog, you will learn easy step-by-step instructions to download and install the official Microsoft Remote Desktop app, allowing smooth remote access without hassle.
How to Download and Install Microsoft Remote Desktop App (Step-by-Step)
Follow these simple steps based on the process shown in the video.
Step 1: Open Microsoft Store
- Click the Start Menu.
- Search for Microsoft Store.
- Open the Microsoft Store app on your PC.
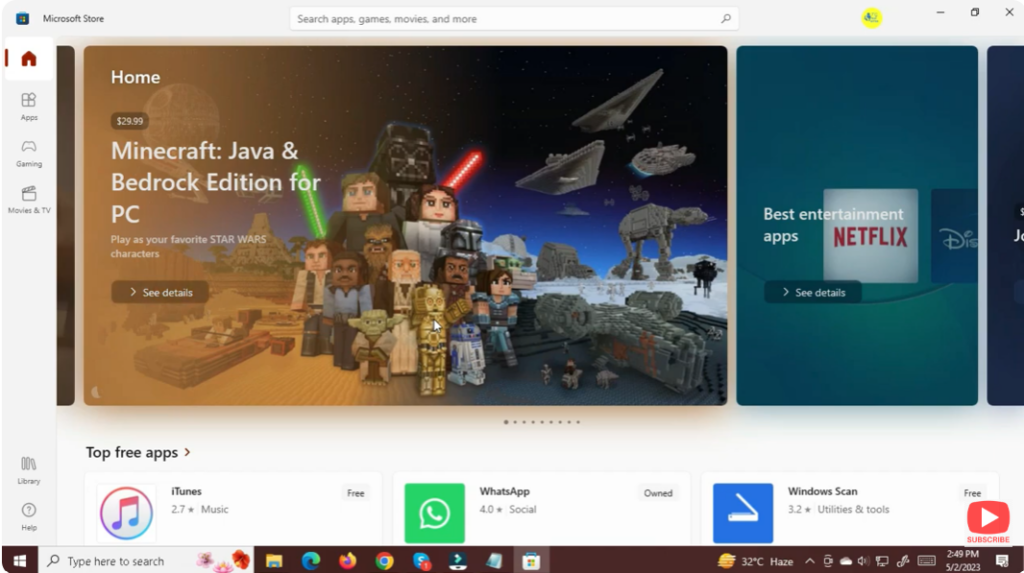
This store is available in both Windows 10 and Windows 11.
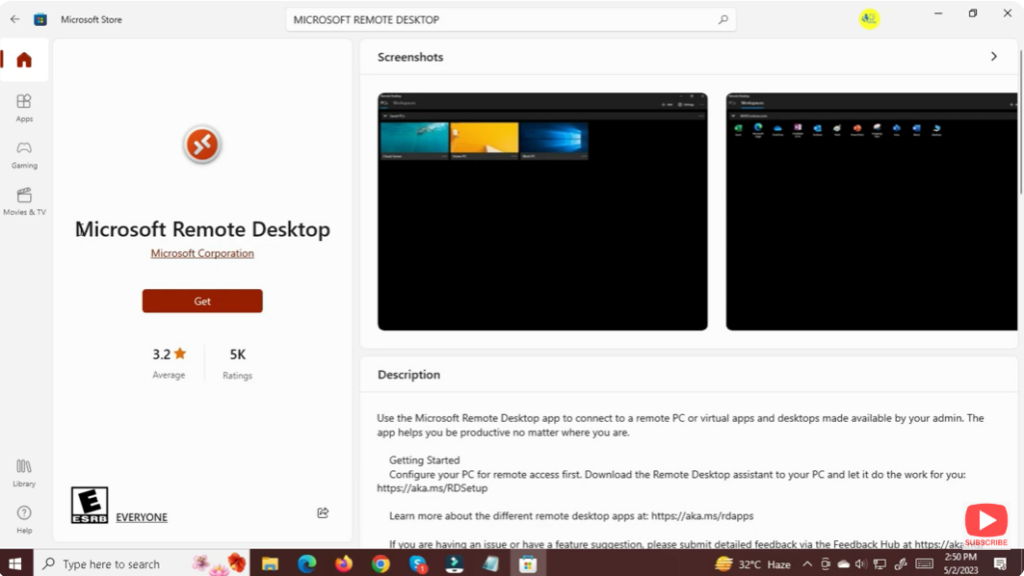
Step 2: Search for Microsoft Remote Desktop
- Inside the Microsoft Store, click the Search bar.
- Type: Microsoft Remote Desktop.
- Press Enter.
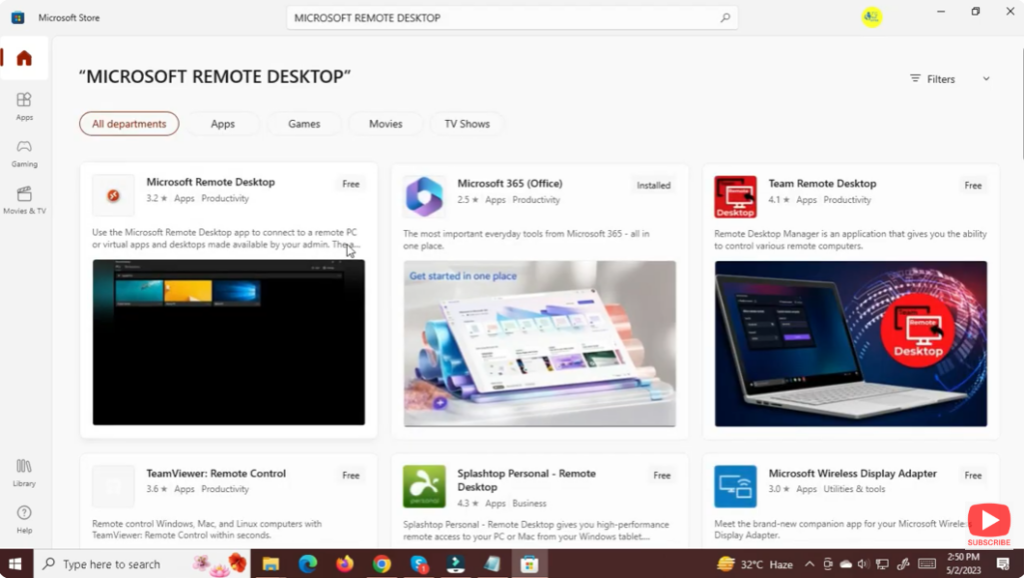
You will see the official app published by Microsoft Corporation.
Step 3: Download the App
- Click on the Microsoft Remote Desktop app.
- Hit the Get or Install button.
- Wait for the download to complete.
The installation takes only a few seconds depending on your internet speed.
Step 4: Launch the Remote Desktop App
Once installed:
- Click Open in the Microsoft Store
OR - Go to Start Menu → Search “Remote Desktop” → Open the App
You will now see the Remote Desktop interface.
Conclusion
Downloading and installing the Microsoft Remote Desktop app in Windows 10/11 is simple and fast using the Microsoft Store. Once installed, you can easily add remote PCs and access them anytime. This tool is perfect for remote work, IT management, and accessing another system securely.


