

The auto-hide taskbar feature in Windows 10 lets your screen stay distraction-free by hiding the taskbar until you move your mouse to the bottom edge. This is especially handy on small displays or when you’re focused on a full-screen app or game. In this blog, you’ll learn a simple, step-by-step guide to enable auto-hide for the taskbar, plus quick tips for customizing its behavior and accessibility options so you can reclaim screen space without sacrificing easy access.
Open Taskbar Settings
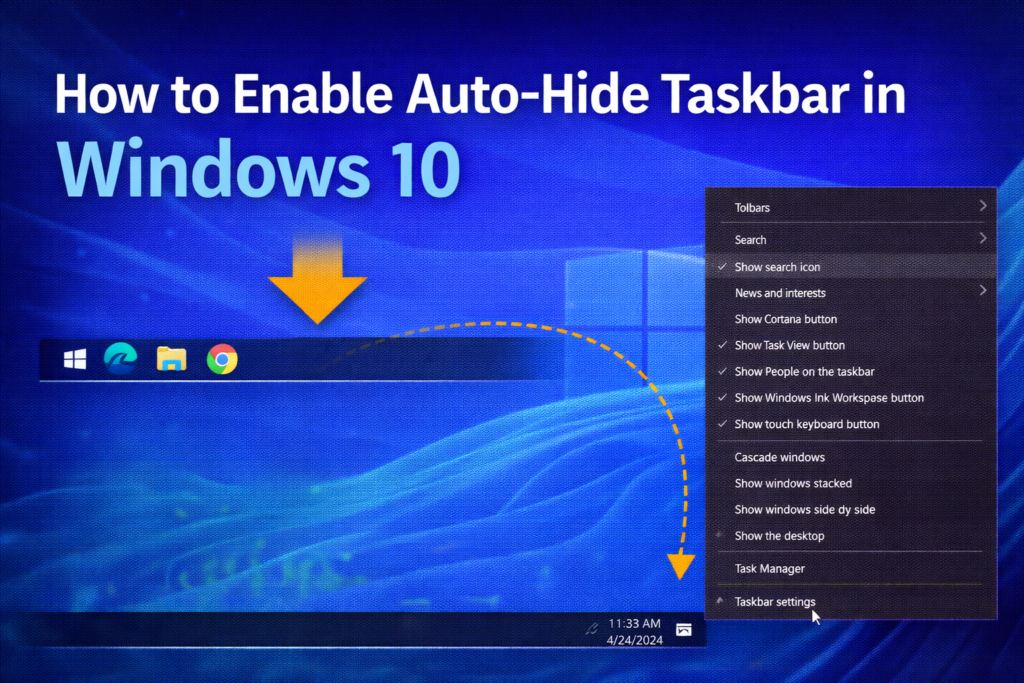
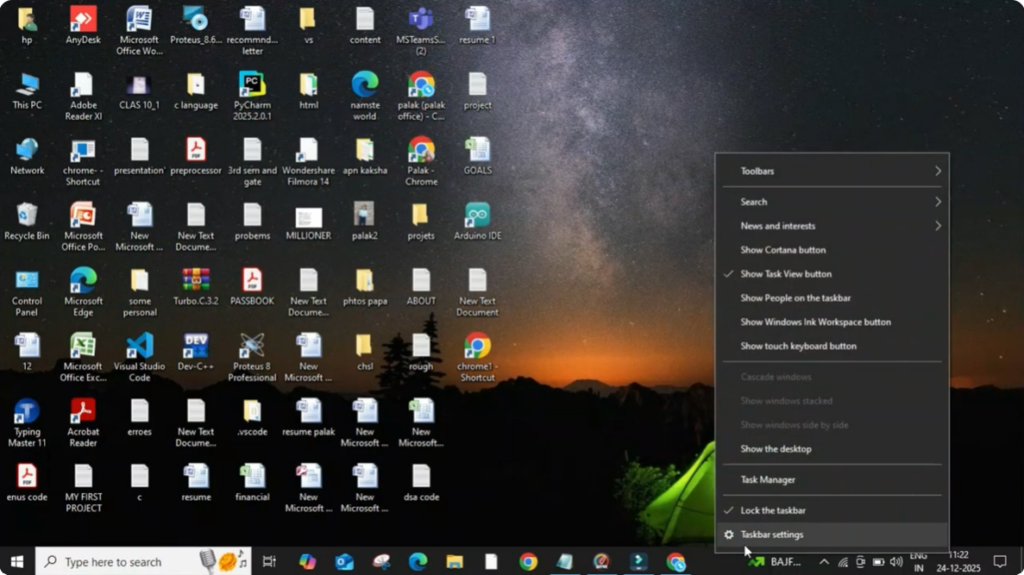
To begin, move your mouse to the bottom of the screen and right-click anywhere on the taskbar. From the menu that appears, click on Taskbar settings. A new settings window will open with multiple options related to taskbar behavior.
Enable Auto-Hide Taskbar Option
Here you will see an option called Automatically hide the taskbar in desktop mode. This setting controls whether the taskbar stays visible all the time or hides itself when it is not being used. Simply turn this option on, and as soon as you do that, the taskbar will automatically disappear from your screen.
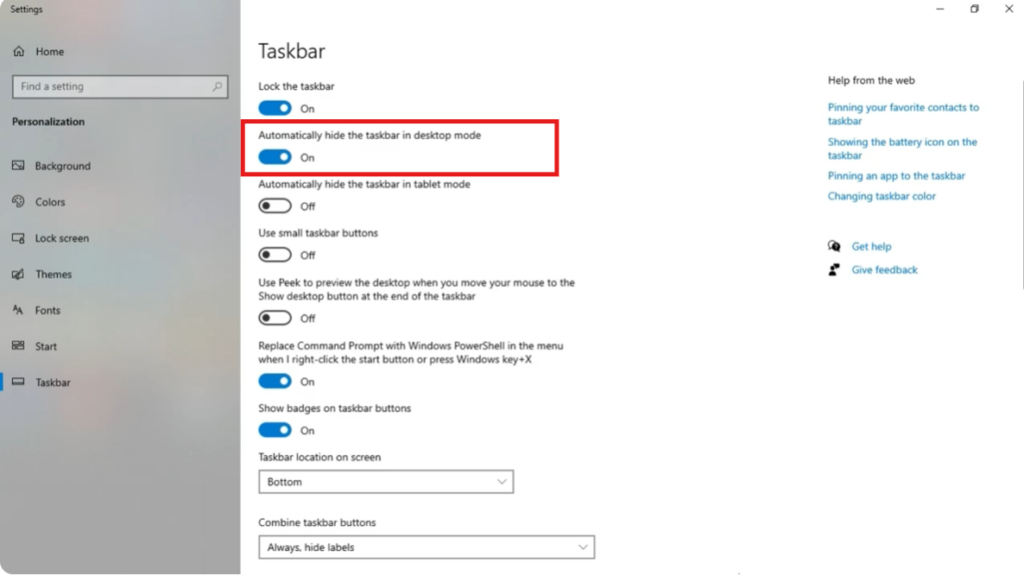
You may also notice another option for tablet mode, but if you are using a PC or laptop in normal desktop mode, you don’t need to change that setting.
Benefits of Hiding the Taskbar
Once the taskbar is hidden, you will get more space on your screen, which is especially useful while browsing the internet, editing documents, or watching videos in full screen. This helps keep your workspace clean and distraction-free.
How to Access the Taskbar Again
Whenever you need to access the taskbar again, just move your mouse cursor to the bottom edge of the screen. The taskbar will instantly reappear, allowing you to open apps or check notifications. As soon as you move the cursor away, the taskbar will hide again automatically.
This feature makes your Windows experience cleaner and more efficient without permanently disabling the taskbar.
Conclusion
That’s it. You have successfully hidden the taskbar in Windows 10.


