

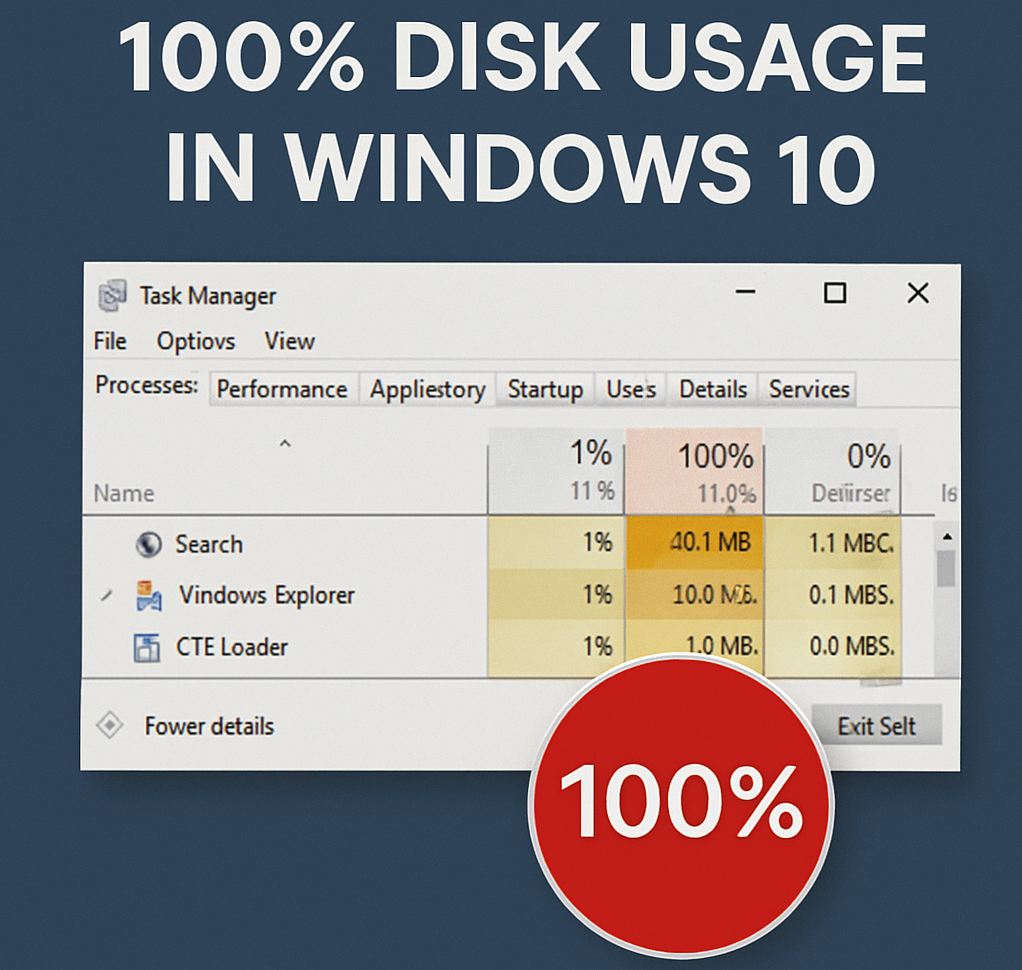
If your Windows 10 PC is running slow and showing 100% disk usage in Task Manager, you’re not alone. This is a common issue that can be caused by certain background services, scheduled tasks, or outdated system updates. Follow these simple steps to fix the problem and get your PC running smoothly again.
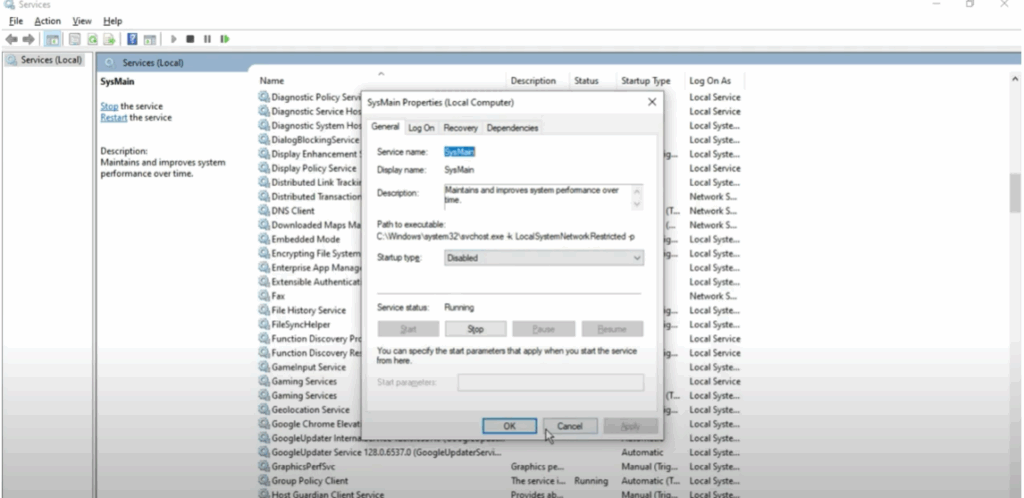
1. Disable the SysMain (Superfetch) Service
SysMain, formerly known as Superfetch, helps pre-load frequently used applications. However, it can sometimes cause high disk usage.
Steps:
- Press Windows + R on your keyboard.
- Type services.msc and click OK.
- In the Services window, press S to find SysMain.
- Right-click SysMain → Properties.
- Set Startup type to Disabled.
- Click Apply → OK.
- Right-click SysMain again and select Stop.
This ensures the service won’t run after a restart.
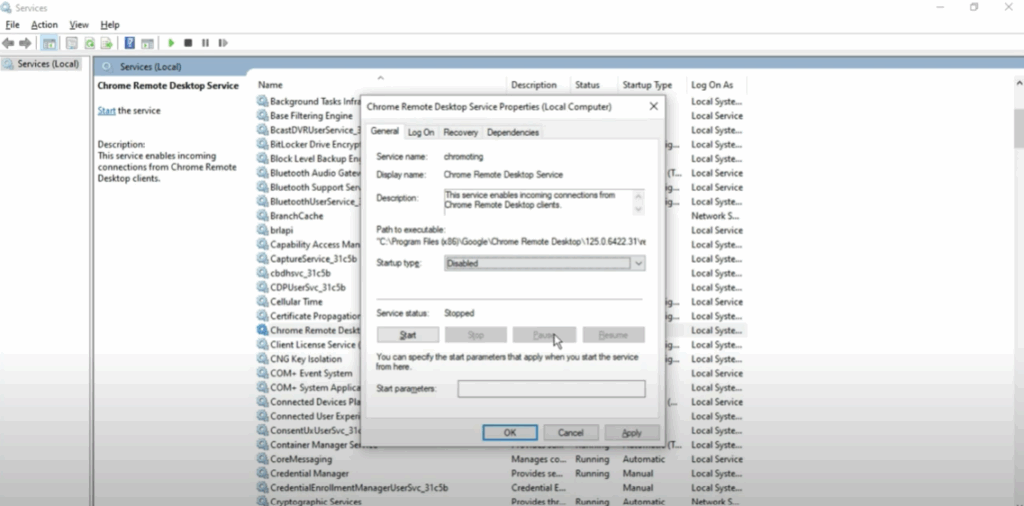
2. Disable the Connected Devices Platform Service
This service is rarely used by most users and can be safely turned off.
Steps:
- In the Services window, locate Connected Devices Platform Service.
- Right-click → Properties.
- Set Startup type to Disabled.
- Click Apply → OK.
- Right-click it again and select Stop.
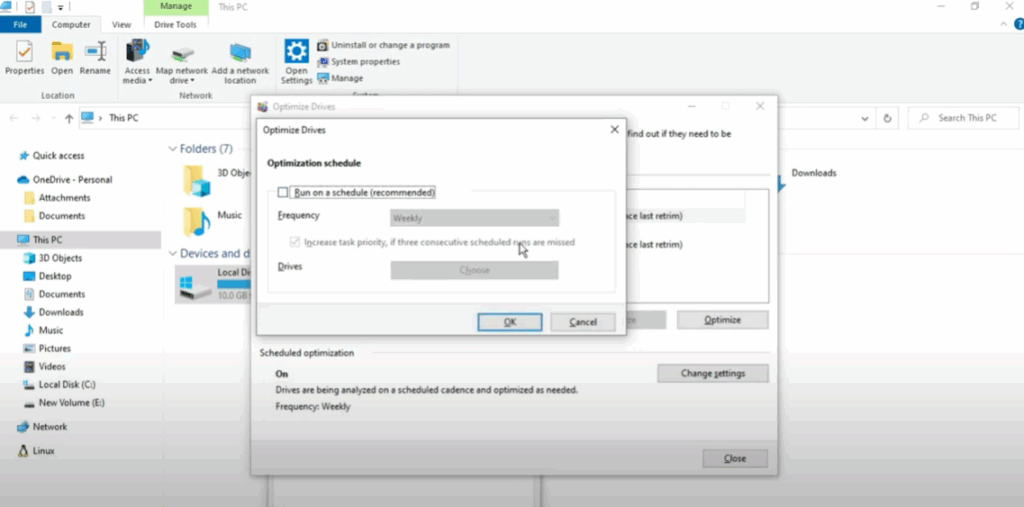
3. Turn Off Scheduled Disk Optimization
Scheduled disk optimization can sometimes contribute to high disk usage.
Steps:
- Open This PC from the Windows search menu.
- Right-click the C: drive → Properties.
- Go to the Tools tab → Click Optimize.
- Check if Scheduled optimization is turned on.
- If it is, turn it Off.
4. Install the Latest Windows Updates
Sometimes high disk usage is caused by bugs in older Windows versions, which Microsoft fixes in updates.
Steps:
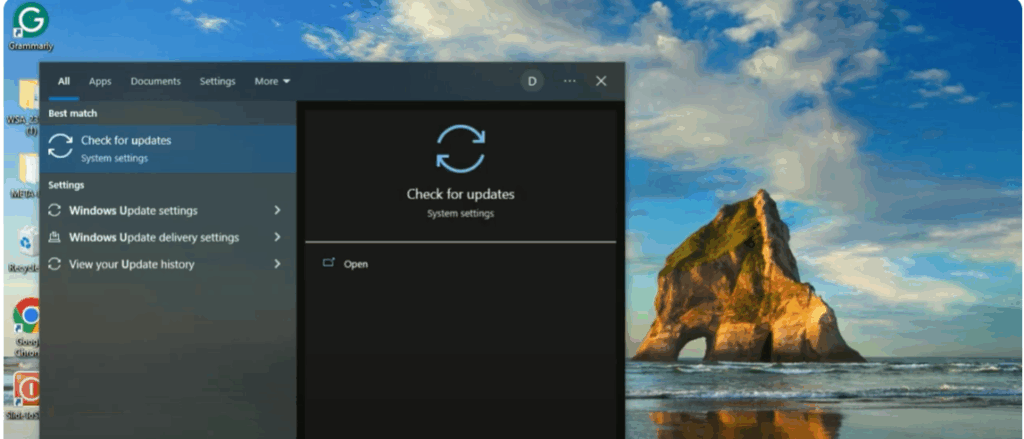
- Type Update in the Windows search bar.
- Select Check for updates.
- Install all available updates.
Final Thoughts
By disabling unnecessary services, turning off scheduled optimization, and keeping Windows updated, you can usually fix the 100% disk usage problem in Windows 10.
If these steps helped you, share this guide with others facing the same issue. For more tech tips, stay tuned!


