
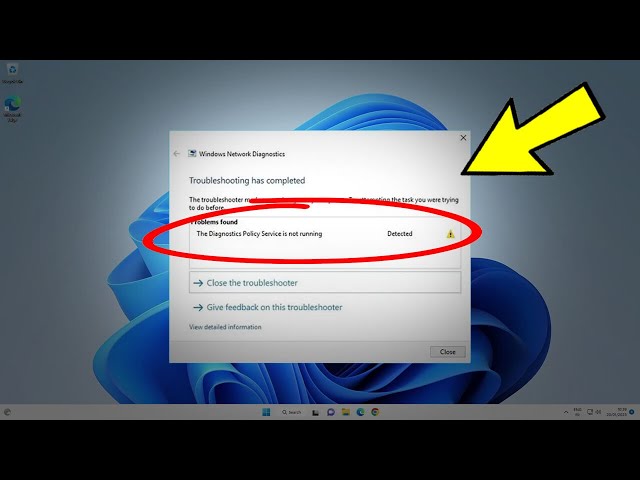
Hello friends, welcome to my channel Tech Gitter. In today’s video, I will show you how to fix the Diagnostics Policy Service is not running issue in Windows 11.
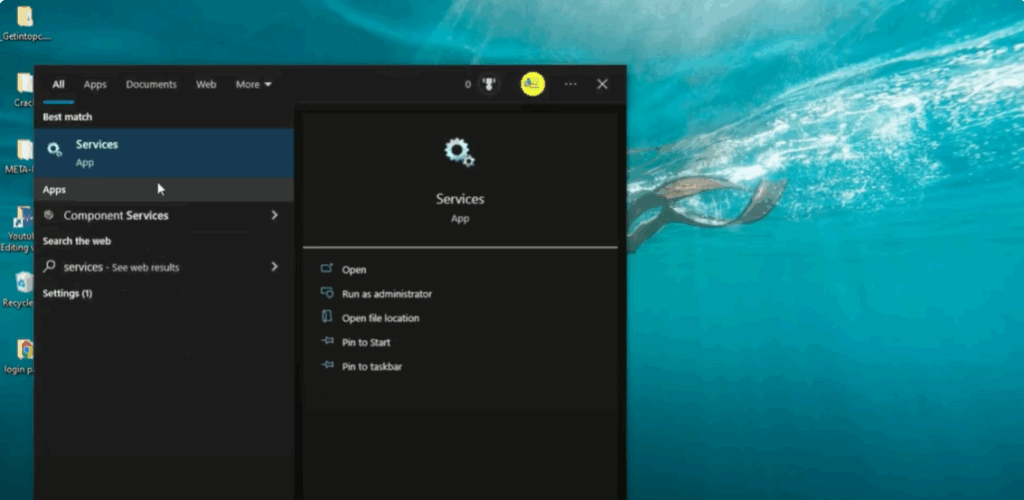
Step 1: Open Services Manager
Go to the Windows Start menu and type services in the search bar. Click on the Services app from the search results to open the Services Manager window.
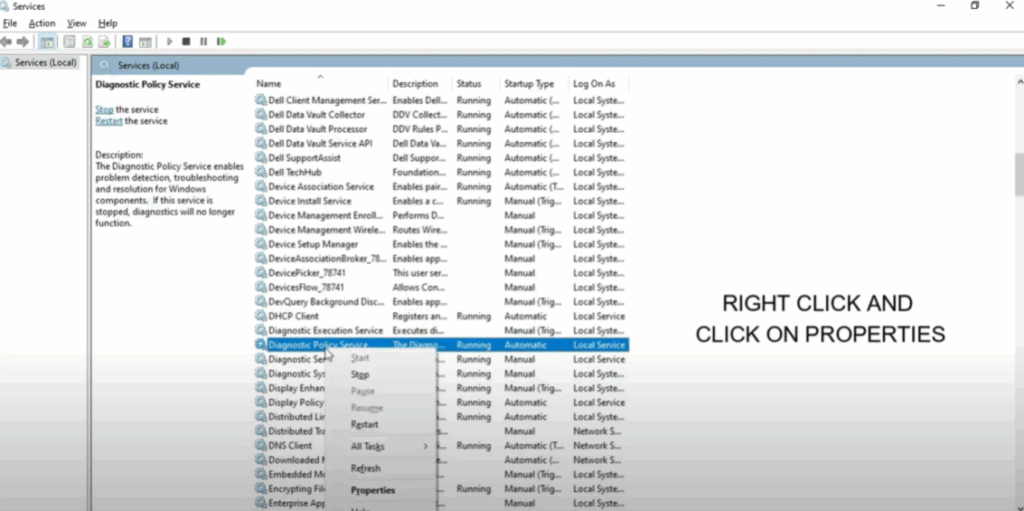
Step 2: Locate and Configure the Service
- In the list of services, locate Diagnostic Policy Service.
- Right-click on it and select Properties.
- In the Properties window, set the Startup type to Automatic.
- If the service is not currently running, click the Start button to start it.
- Click Apply, then OK to save the changes. Close the Services window.

Step 3: Run Command Prompt as Administrator
- Go to the Windows Start menu again and type cmd or command prompt in the search box.
- Right-click on Command Prompt and select Run as administrator.
Step 4: Execute the Commands
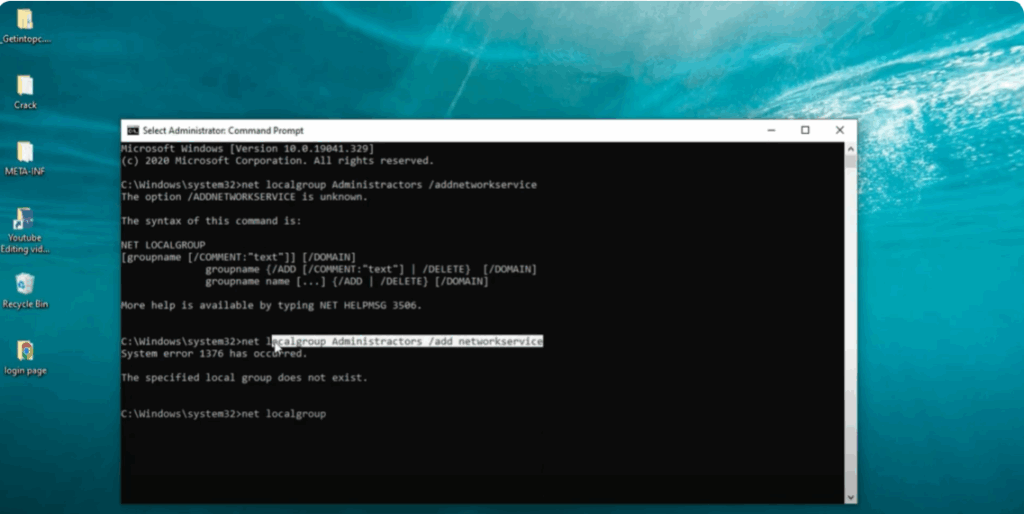
When the Command Prompt opens, type the following command and press Enter:
net local group administrators/ add network service
Now enter the second command:
net local group administrators/ add network service
Next, enter the third command:
net local group space
Now copy the second command again and paste it here. Once the command is executed, you can close the Command Prompt window.
Hope this video has helped you fix the problem of Diagnostics Policy Service not running in Windows 11.
If you liked the video, make sure to like it. And if you are new to the channel, subscribe to it.


