
Hello friends, welcome to my channel Tech Gitter Official!
In this quick guide, we’ll walk through how to fix the 0x800F0954 error that occurs when installing the .NET Framework on Windows 10 or 11. Follow the steps below carefully to resolve the issue.
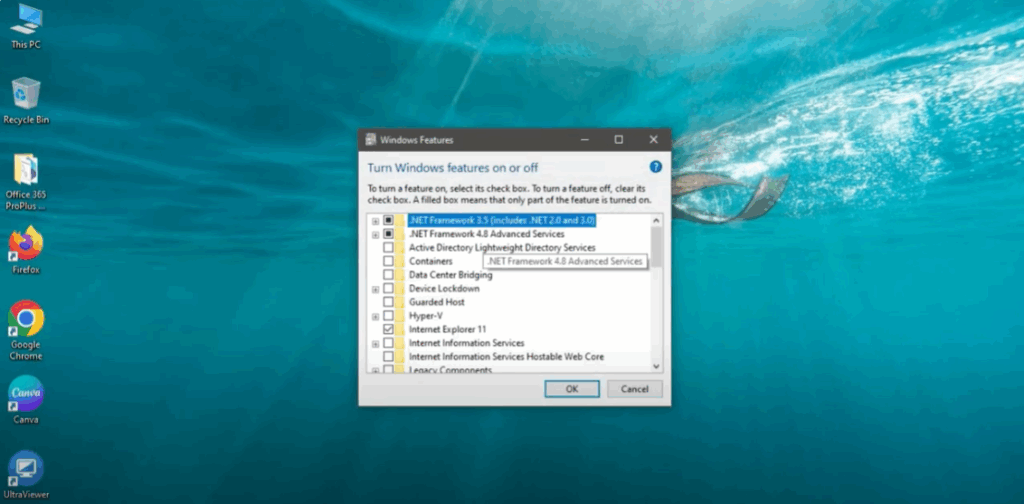
Step 1: Open Windows Features
- Go to the search menu and type Windows Features.
- Click on Turn Windows features on or off.
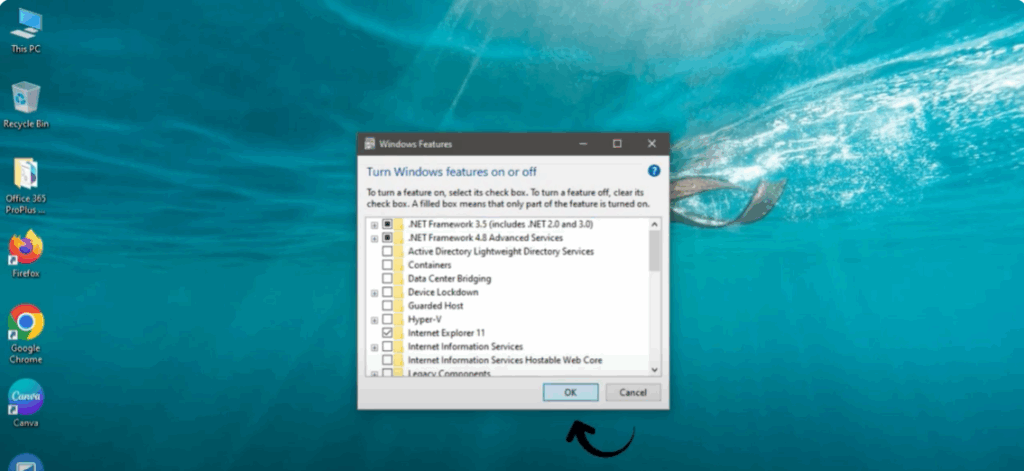
- In the list that appears, make sure to check both boxes:
- .NET Framework 3.5
- .NET Framework 4.8
- Once both boxes are checked, click OK.
- Windows will search for the required files. Once it’s done, close the window.
Step 2: Restart Your PC
After enabling the features, restart your PC to apply the changes.
Step 3: Recheck Windows Features
- After your PC restarts, go back to the Windows Features menu again.
- Make sure both .NET Framework 3.5 and 4.8 are still enabled.
- Click OK again and let Windows download and install any remaining files from Windows Update.
- Once done, close everything.
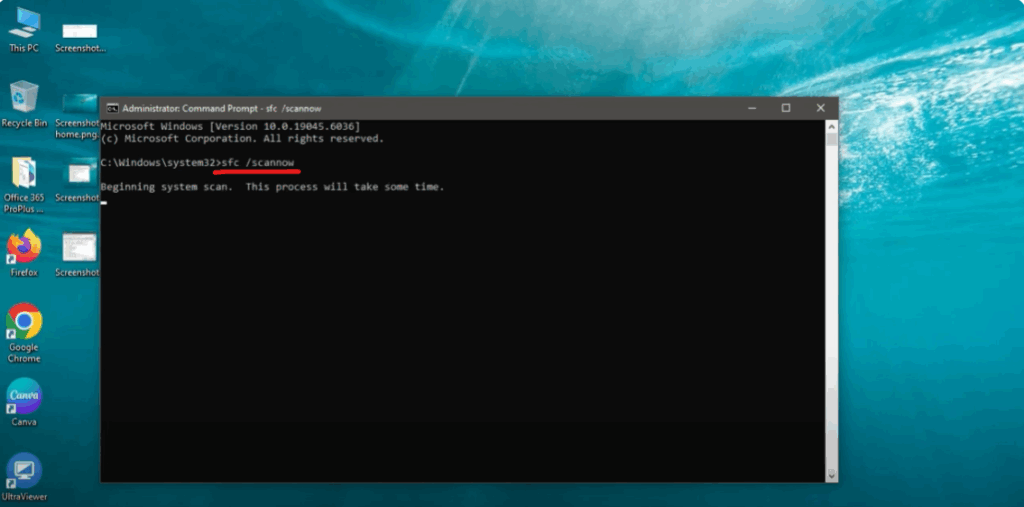
Step 4: Run Command Prompt as Administrator
- Go to the search menu and type cmd.
- Right-click on Command Prompt and select Run as administrator.
- When prompted, click Yes.
- In the Command Prompt window, type the following command and hit Enter:
sfc /scannow - Let the scan complete. It may take several minutes, so ensure it reaches 100% completion.
Step 5: Restart Again
Once the scan is finished, restart your PC one more time.
Final Step: Error Fixed!
You have now successfully fixed the 0x800F0954 error and installed the .NET Framework on your Windows system.
Thanks for reading!
Don’t forget to like, share, and subscribe to Tech Gitter Official for more useful tech tips and tutorials.


