
Getting Discord on Windows 11 is super easy and only takes a few minutes. Discord is one of the most popular apps for chatting, gaming, and connecting with friends or communities. If your old version isn’t working properly or you just want to install a fresh copy, downloading a new Discord is the best way to go. In this beginner-friendly blog, we’ll explain in simple language how to get yourself a new Discord on Windows 11 step by step, so you can start chatting and enjoying all its features without any hassle.
✅ Step-by-Step: How to Install Discord on Windows 11
1. Go to the Official Discord Website
- Open your web browser (Edge, Chrome, Firefox, etc.).
- Navigate to the official Discord site: discord.com
- On the homepage, click the “Download for Windows” button.
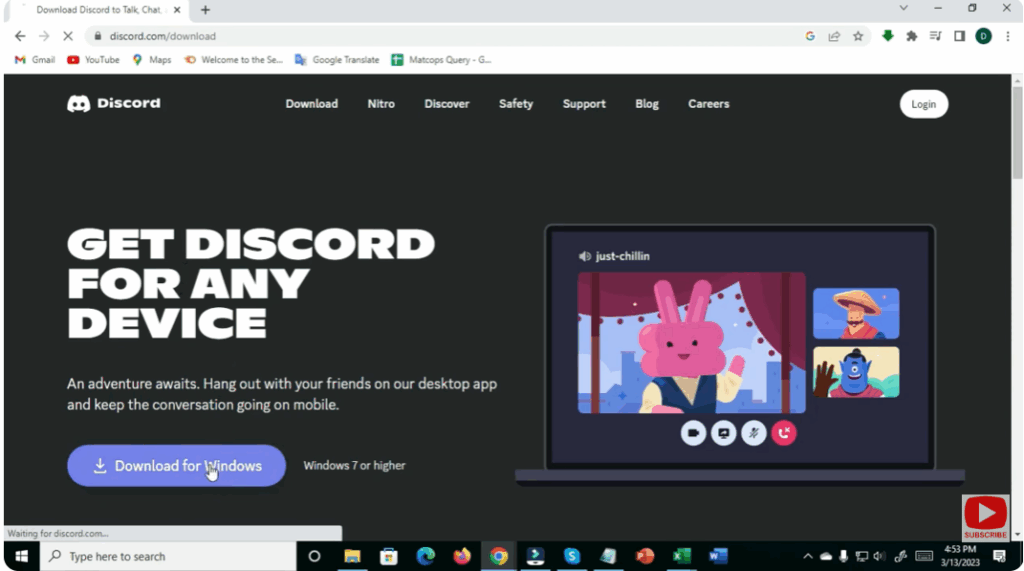
⚠️ Important: Always download from the official site (not random third-party sites) to avoid corrupted or unsafe installers.
2. Log In or Create Your Discord Account
- The first time you open Discord, you’ll see a login screen.
- If you have an account — enter your email/username and password.
- If you don’t — click Register to create a new account (requires email, username, password).
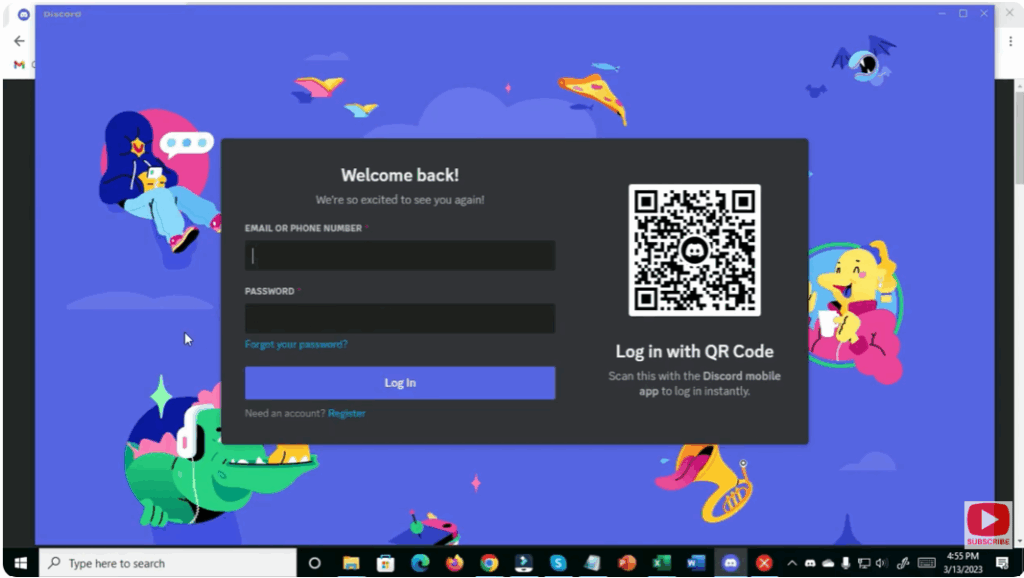
Once logged in, you’re ready: you can join servers, chat with friends, join voice/video calls, and more.


