

Inserting a symbol in Excel is a simple way to make your spreadsheets clearer and more professional. Whether you need currency signs like ₹ or $, math symbols like √ or ±, or even arrows and special characters, Excel has them all built in. Instead of typing plain text, adding the right symbol can make your data easier to understand and visually appealing. The good news is, Excel gives you quick options to insert any symbol you want with just a few clicks. In this beginner-friendly blog, we’ll explain how to insert symbols in Excel step by step, so you can use all kinds of symbols in your sheets.
✅ How to Insert a Symbol in Excel — Step-by-Step
Here’s the standard, built-in way (works in Excel 2016, Excel 365, and most versions):
- Select the cell where you want the symbol to appear.
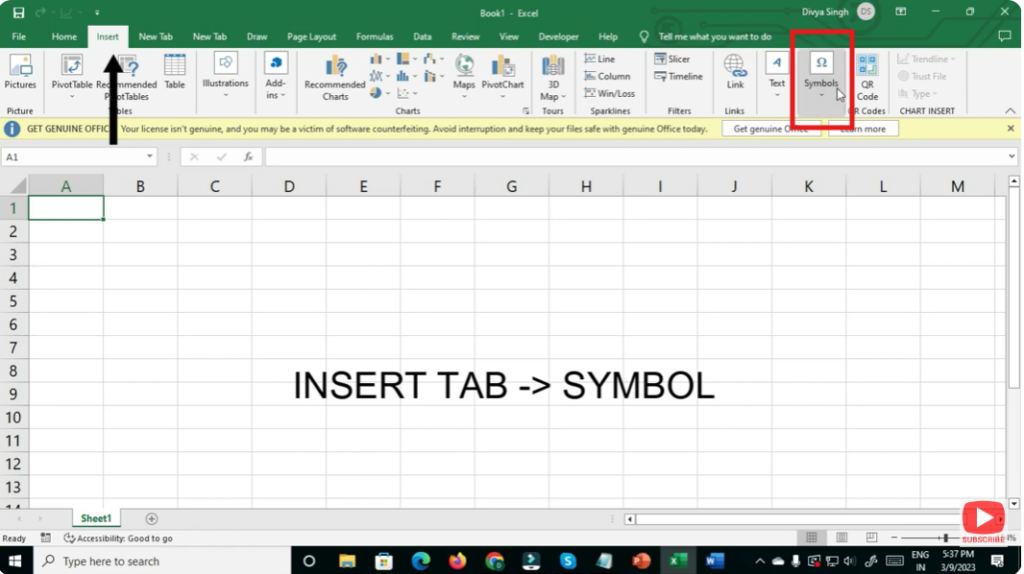
- Go to the Ribbon → Insert tab → Click “Symbol” (in the Symbols group).
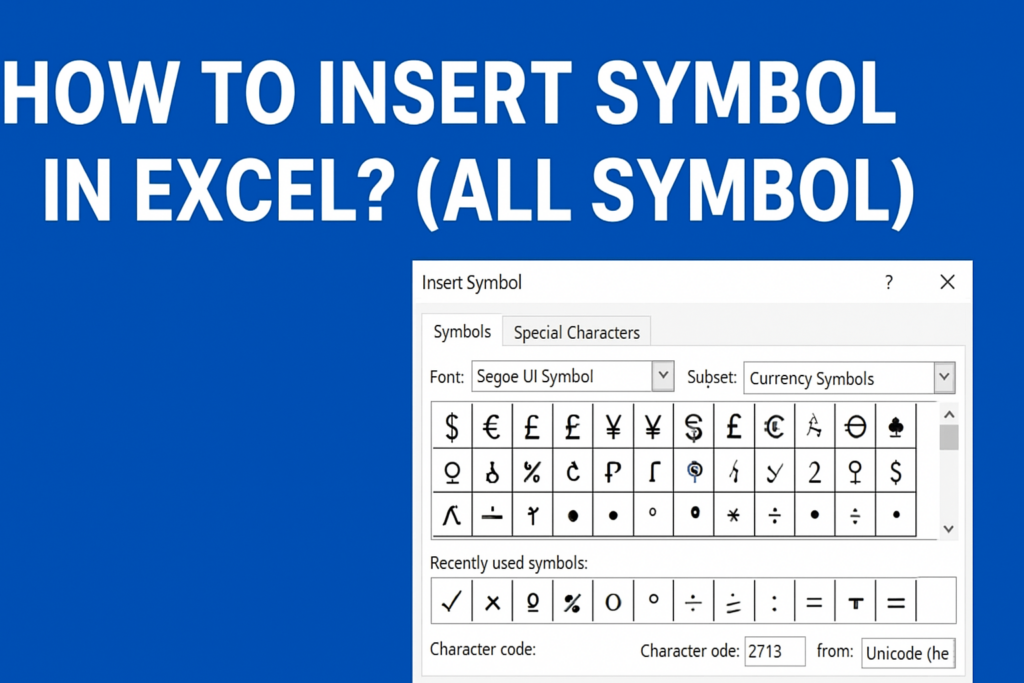
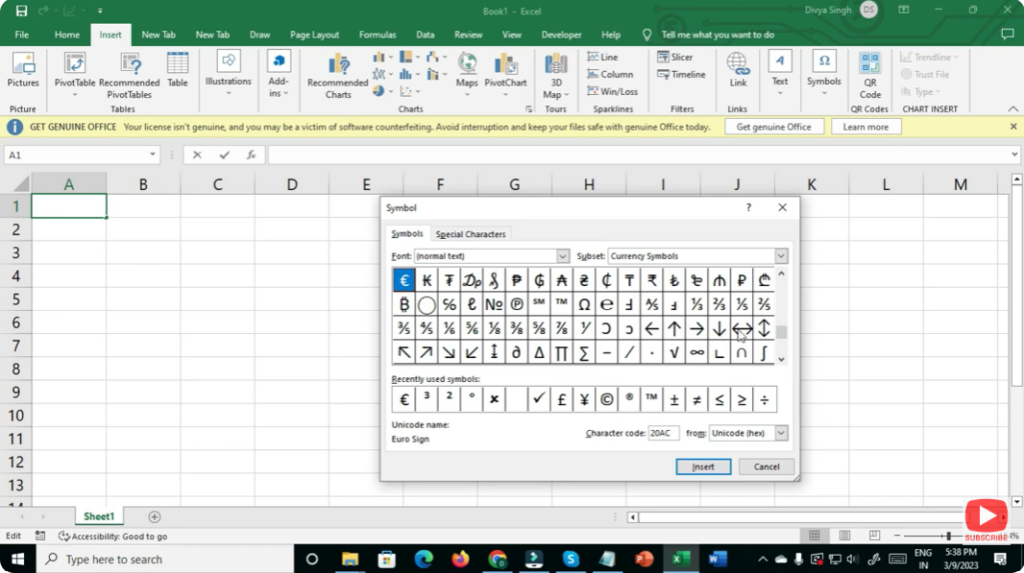
- A Symbol dialog box pops up. Here you have lots of options:
- Use the Font dropdown to select a symbol-rich font (e.g. Segoe UI Symbol, Wingdings, Webdings).
- Use the Subset dropdown (or scroll) to browse related symbols — e.g. Currency Symbols, Mathematical Operators, Arrows, Greek letters, etc.
- Click the symbol you want, then click Insert (or double-click the symbol). The symbol will appear in the selected cell.
- Click Close when you’re done — or keep inserting more symbols if needed.
Once inserted, the symbol behaves like normal text: you can change font size, color, alignment, wrap text, etc.
✅ Final Thoughts
The ability to insert symbols — from currency and math signs to pictorial icons, check-marks, logos, foreign characters — unlocks a lot of flexibility in Excel. Whether you’re making reports, marking status, dealing with international data, or designing nicer spreadsheets — symbols help you communicate more clearly.


