

Installing Facebook Messenger on Windows 11 is simple and helps you stay connected with friends and family right from your PC. You can download the Messenger app easily from the Microsoft Store and set it up in just a few minutes. This lets you chat, video call, and share files without opening a browser. In this blog, you’ll learn step-by-step how to install Facebook Messenger on Windows 11 and start using it quickly and smoothly.
Steps to Install Facebook Messenger on Windows 11
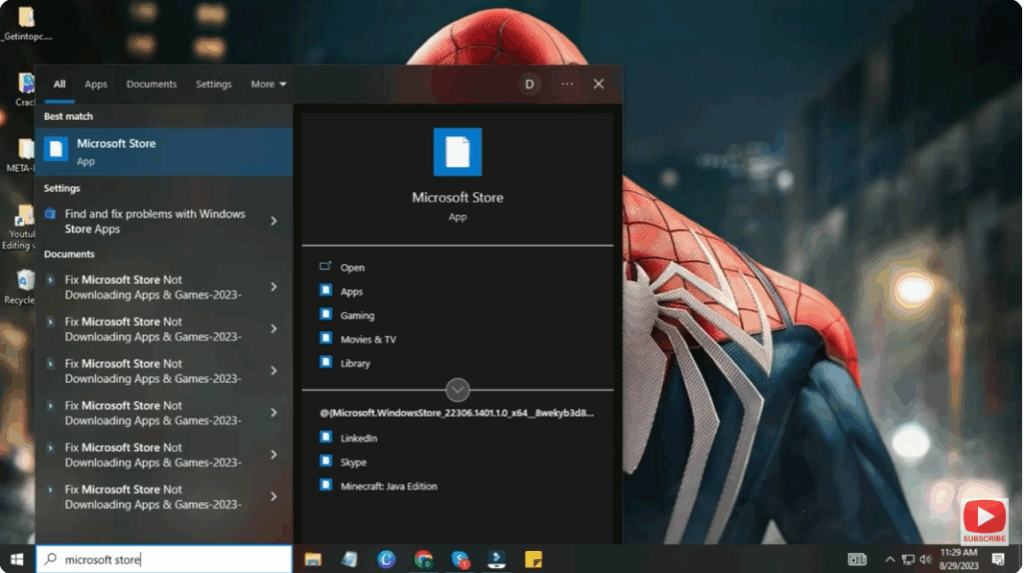
Step 1: Open Microsoft Store
- Click the Start Menu on your Windows 11 PC.
- Search for Microsoft Store and click to open it.
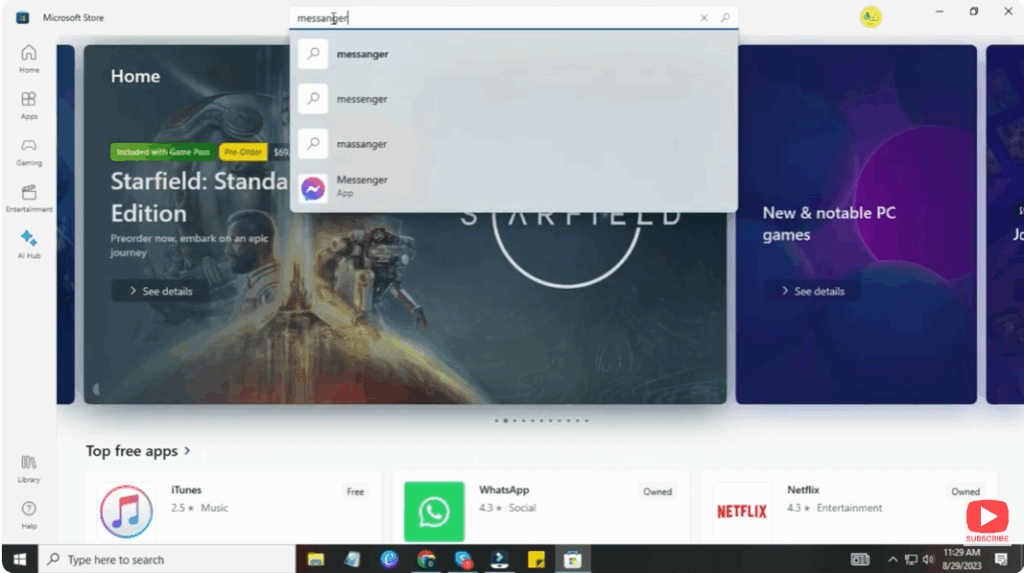
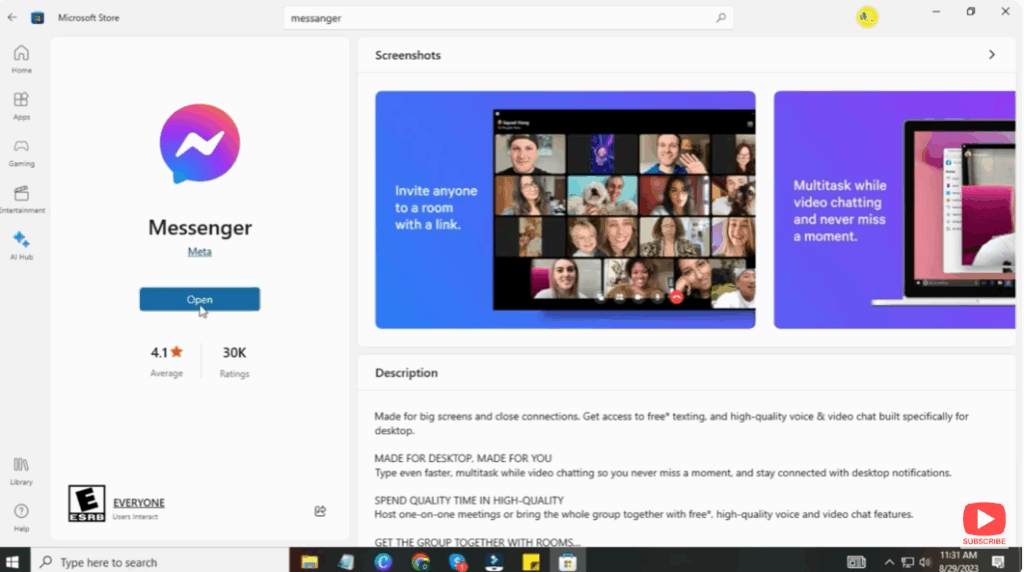
Step 2: Search for Messenger
- In the Microsoft Store search bar, type Messenger.
- Look for the official Messenger app by Meta Platforms, Inc.
(Make sure it’s the official one.)
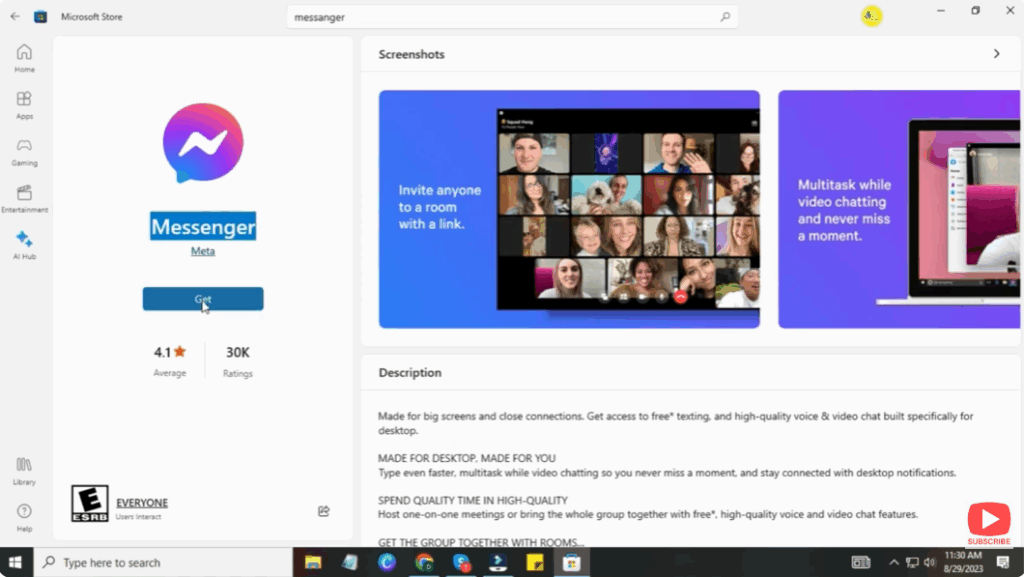
Step 3: Install the Messenger App
- Click on Messenger from the search results.
- Now click on the Get or Install button.
- Wait until the app finishes downloading and installing.
Step 4: Launch Messenger
- Click Open to launch Messenger.
- You can also find it later in the Start Menu.
Step 5: Login to Your Facebook Account
- Enter your Facebook Email/Phone Number and Password.
- Click Log In.
- Your chats will now appear on the desktop, and you can start messaging right away.
Conclusion
Installing Facebook Messenger on Windows 11 is simple and helpful for users who want faster access to their messages and calls. With the desktop version, communication becomes more efficient while working or studying on your computer.


