
The Windows Subsystem for Android (WSA) lets you run Android apps directly on your Windows 11 or 10 PC without needing an emulator, making it easier to use your favorite mobile apps on a bigger screen. Installing WSA is simple if your system supports virtualization, and you can get it through the Microsoft Store along with the Amazon Appstore for easy app downloads. In this blog, you’ll find easy step-by-step instructions to install and set up Windows Subsystem for Android, so you can enjoy Android apps right on your Windows computer.
🔧 Step 1: Enable Virtualization
To use Android apps, Virtualization must be turned ON.
For Intel:
- Restart your PC.
- Enter BIOS (usually F2, Del, or F10 while booting).
- Look for Intel Virtualization / VT-x and enable it.
- Save and restart.
For AMD:
Enable SVM Mode in BIOS.
🧰 Step 2: Enable Required Windows Features
- Press Windows + R
- Type:
optionalfeatures - Enable:
- Virtual Machine Platform
- Windows Hypervisor Platform
- Click OK and Restart.
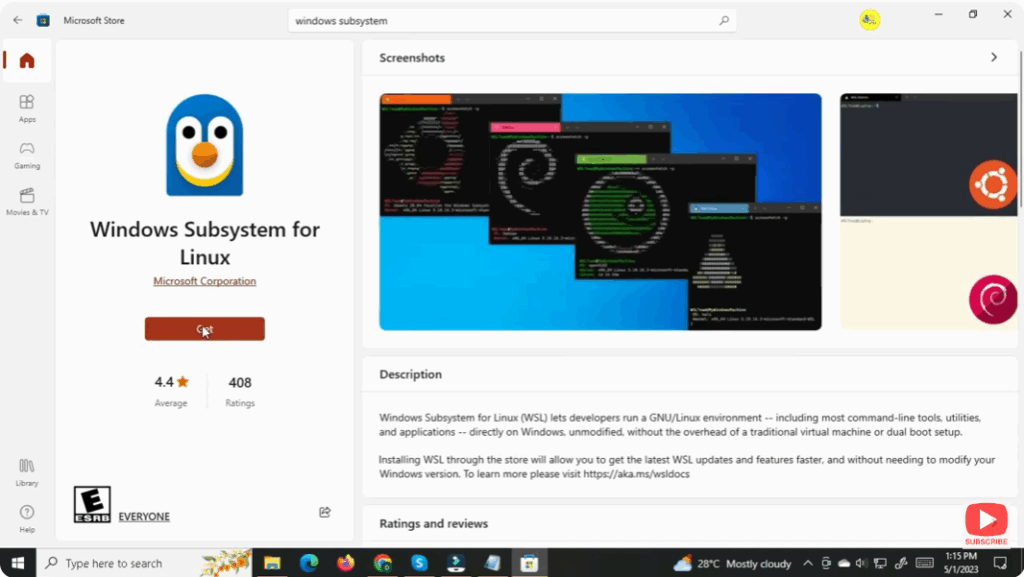
🏪 Step 3: Install Windows Subsystem for Android from Microsoft Store
- Open Microsoft Store
- Search for Amazon Appstore
- Click Install
- This will automatically install Windows Subsystem for Android (WSA)
Once installed, restart your PC.
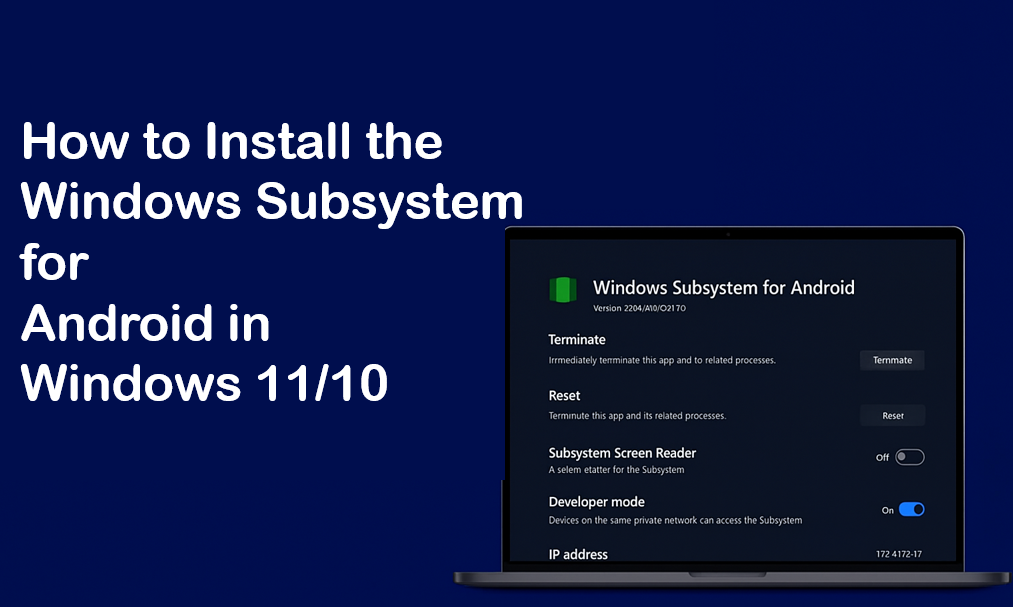
📱 Step 4: Launch and Configure WSA
- Press Start Menu → Search Windows Subsystem for Android
- Open it
- Turn Developer Mode ON
- Save Settings
Now your PC is ready to install Android Apps.


