
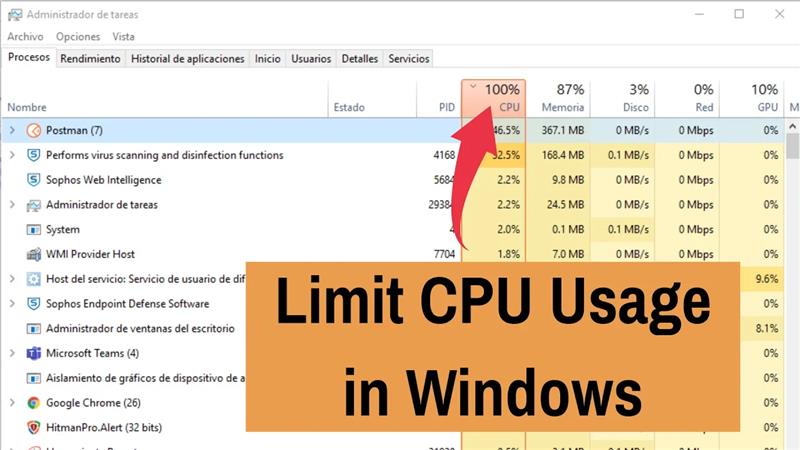
Sometimes, a program on your Windows computer may use too much CPU, which can slow down your PC and make it less responsive. To fix this, you can limit how much CPU a program uses, so your computer runs smoother and faster. In this blog, you will learn simple steps to limit the CPU usage of any program in Windows, helping you manage your system resources better and improve overall performance.
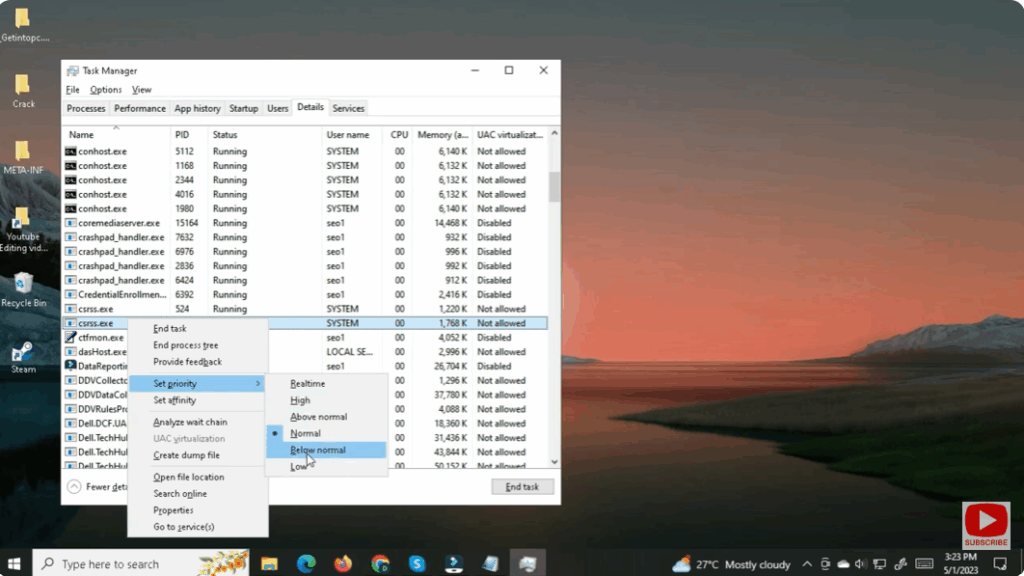
1. Change Process Priority in Task Manager
You can reduce how much CPU time a program gets by lowering its priority.
- Press Ctrl + Shift + Esc to open Task Manager.
- Go to the Details tab.
- Right-click the process you want to limit → Set priority → choose Below normal or Low.
- Below Normal limits CPU resources but still allows the process to run.
- Low gives it minimal CPU share when other tasks are active.
- Confirm the warning. This method helps but only applies while the process runs — the setting resets once you close the program.
✅ Final Thoughts
Limiting CPU usage for a specific program in Windows is quite doable using built-in tools like Task Manager (priority and affinity) or by adjusting power plan settings. For persistent or more precise control, third-party tools like Process Lasso or BES are highly effective.


