
Locking or unlocking your keyboard on a Windows 10 PC or laptop is a handy way to control when your keyboard works, especially if you want to prevent accidental key presses or temporarily stop input. Whether you need to lock your keyboard for cleaning or to avoid interruptions, Windows offers simple methods to do this without any extra software. In this guide, we’ll show you easy, step-by-step instructions on how to lock or unlock your keyboard using built-in Windows features like the Filter Keys option or keyboard shortcuts, so you can manage your keyboard effortlessly.

🔒 How to Lock the Keyboard
Follow these simple steps:
- Go to your physical keyboard.
- Press and hold the Right Shift key.
- You need to hold the right Shift key (not the left one) for this trick.
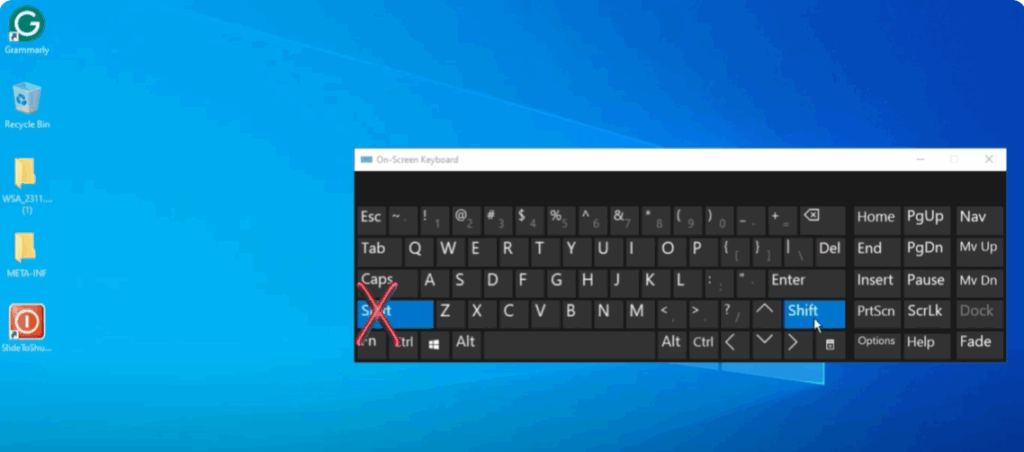
- Keep holding the Shift key for 8 seconds or more.
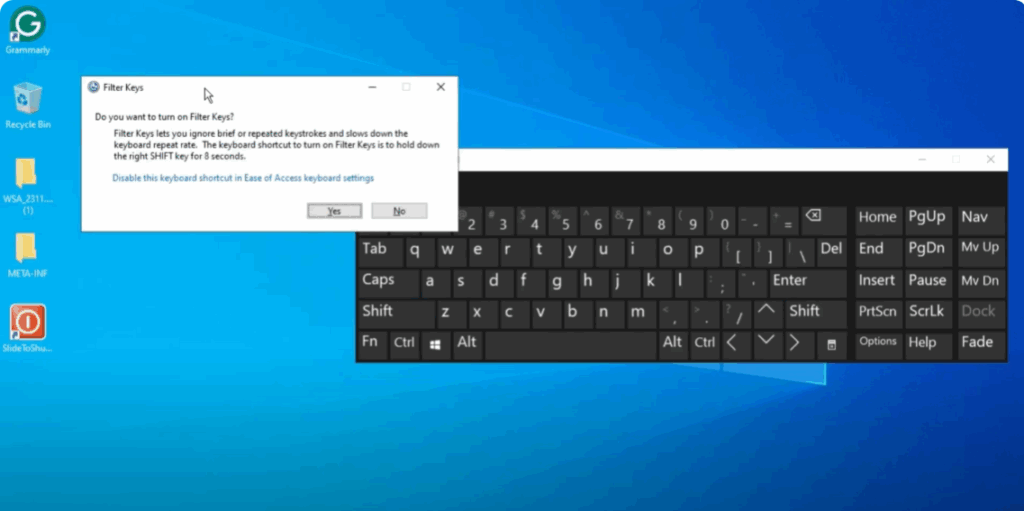
- After that, you’ll hear a long beep and a message will pop up on your screen saying: “Disable this keyboard shortcut in Ease of Access keyboard settings.”
- This is the shortcut to lock the keyboard. Once you click Yes, your keyboard will be locked.
Now, when you try typing, nothing will happen — no key presses will register. Your keyboard is successfully locked.
🔓 How to Unlock the Keyboard
To unlock your keyboard, just follow these steps:
- Go back to your keyboard.
- Press and hold the Right Shift key again for 8 seconds or more.
- You’ll hear the long beep once more.
- After the beep, open Notepad or any text editor — now you’ll be able to type again.
You can see that something is being typed — your keyboard is now unlocked.
And that’s it! You’ve successfully locked and unlocked your keyboard on Windows 10.


