
Managing JavaScript settings in Google Chrome is essential for controlling how websites interact with your browser. JavaScript powers most modern web features—from interactive forms to dynamic content—but sometimes you may want to disable it for privacy, security, or faster browsing. On the other hand, enabling it ensures you get the full functionality of websites like online stores, social media, and productivity tools. In this beginner-friendly blog, we’ll walk you through how to manage JavaScript settings in Chrome, so you can customize your browsing experience to suit your needs.
Open Google Chrome Settings
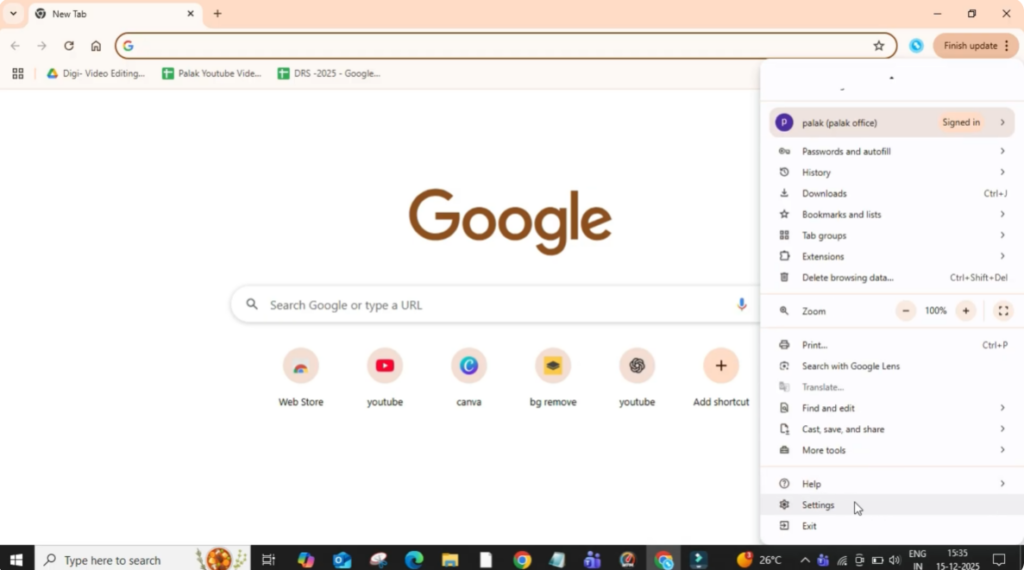
Firstly, open the Google Chrome browser on your computer. After that, click on the three dots located at the top right corner of the browser window. This menu contains all the main browser settings and customization options. From here, scroll down and click on Settings to access Chrome’s configuration page.
Search for JavaScript Settings
Once the settings page opens, go to the search bar at the top and type Java. Using the search bar helps you quickly find related settings without scrolling manually. After typing, several options will appear. From these options, click on Site Settings, where Chrome manages permissions for websites.

Access JavaScript Permissions
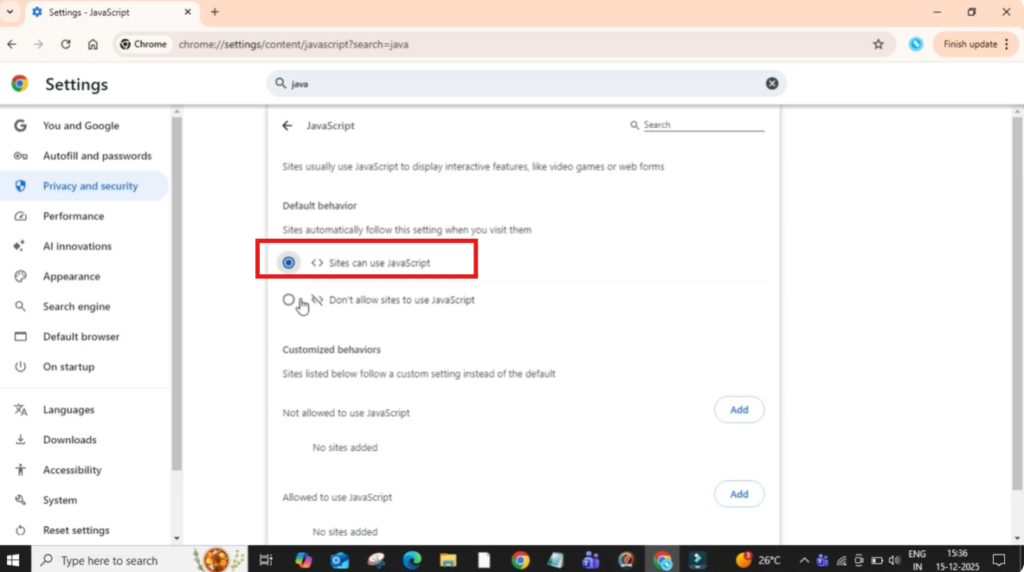
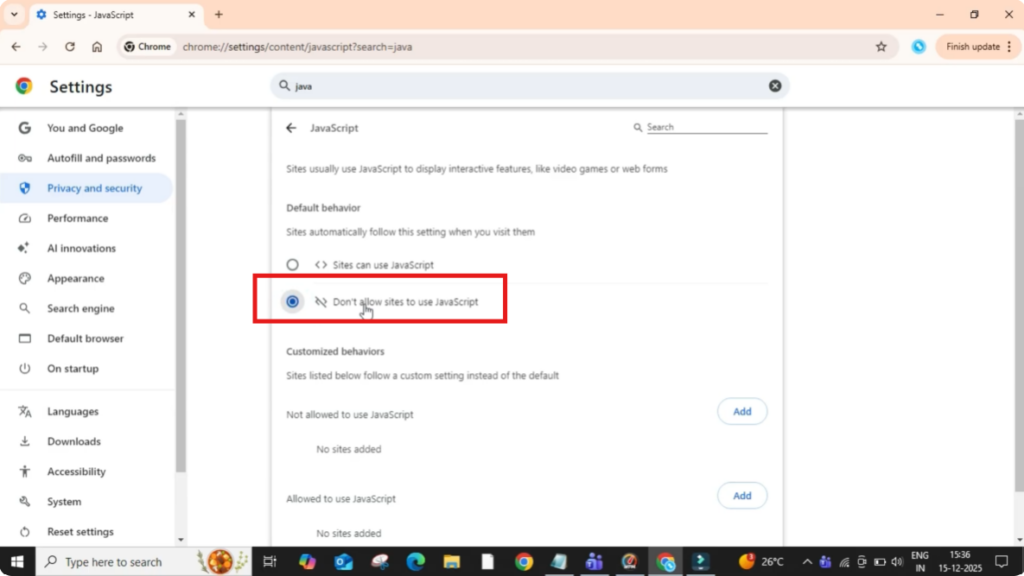
Now, under the Content section, click on JavaScript. This section controls how websites are allowed to run scripts in your browser. Here you will see two main options for JavaScript usage.
Enable JavaScript in Chrome
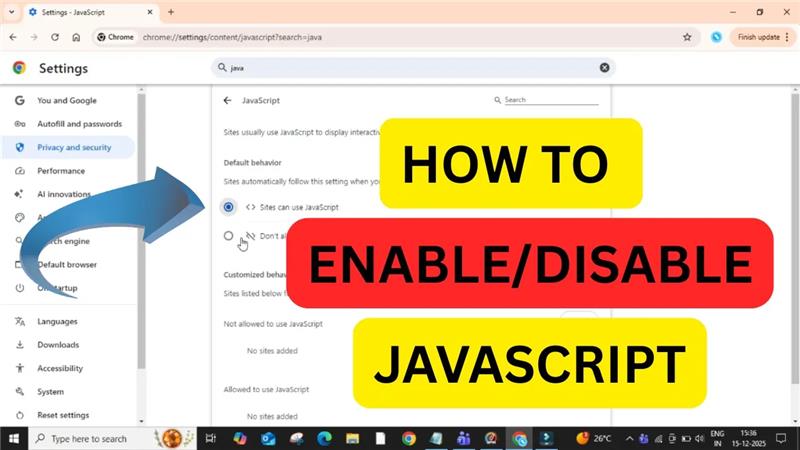
If you want to enable JavaScript, select the option Sites can use JavaScript. This is the recommended setting because many websites rely on JavaScript for features like forms, videos, animations, and interactive content. Keeping this option enabled ensures websites work properly.
Disable JavaScript in Chrome
If you want to disable JavaScript, select the option Don’t allow sites to use JavaScript. This can be useful if a website is misbehaving, loading incorrectly, or if you want to block scripts for security or testing reasons.
Block JavaScript for Specific Websites
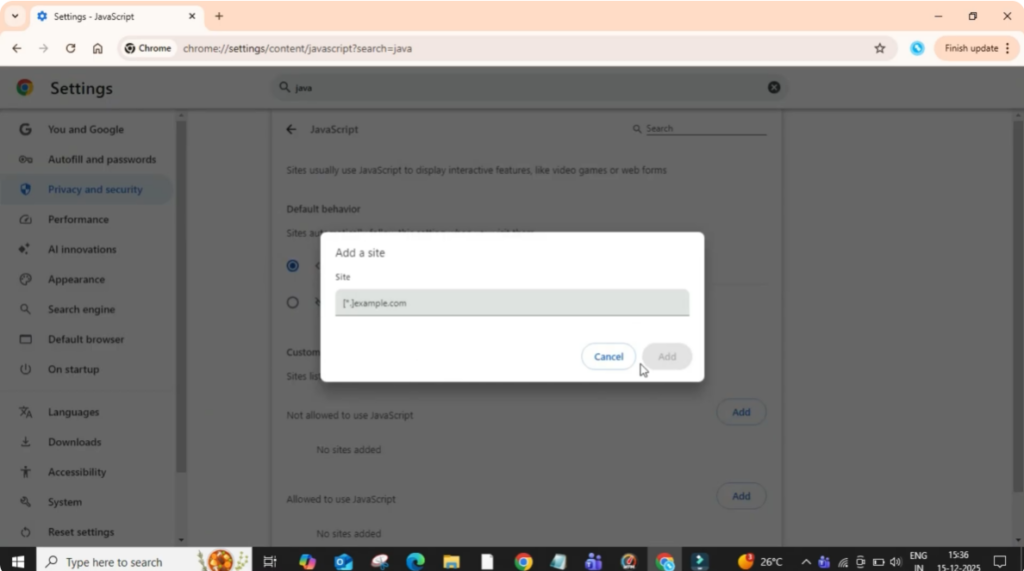
Below this, you also have the option to manage individual websites. If you want to block JavaScript only for specific sites, click on the Add button under the Not allowed section. After that, enter the website link you want to block and click on Add. This way, JavaScript will be disabled only for that website while remaining enabled for others.
Conclusion
That’s it. You have successfully learned how to enable or disable JavaScript in the Chrome browser.


