

Hello friends, how are you all? This is Tech Gitter.
Today we are going to show you another quick tutorial on how to recover deleted files from your PC.
In this video, we will use two methods to recover files. Using the first method, you can easily recover your lost files. Most of you might have tried this trick before, but it is not possible that your deleted files will be completely recovered by doing this.
Suppose you have deleted some files from your computer/PC before and you want to recover them—then this tutorial is useful for you.

Method 1: Recover Files from Recycle Bin
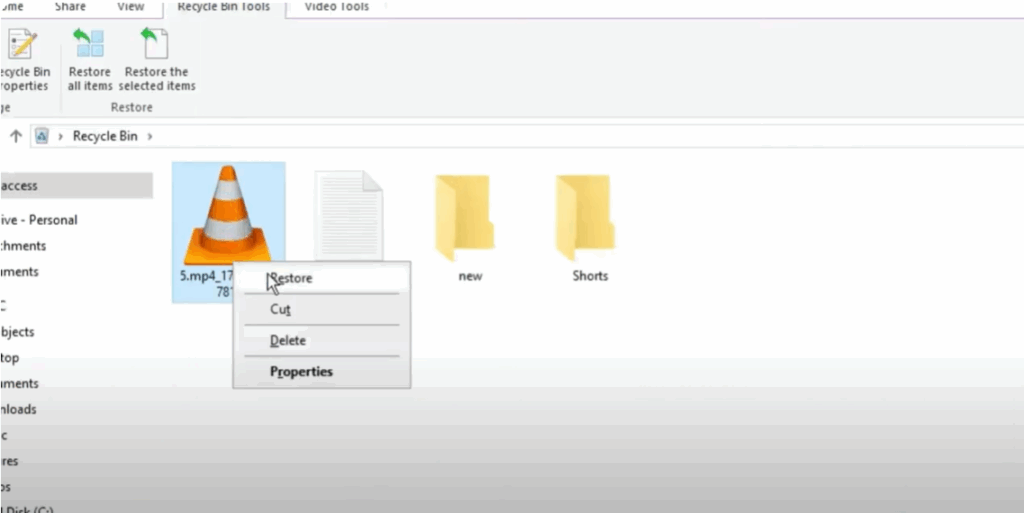
The first and foremost thing we need to do is open our Recycle Bin.
If you don’t have a Recycle Bin icon on your desktop, you can search for it by going to the Windows Start menu.
So we have opened our Recycle Bin and it is empty.
If there was any item there, then we can easily restore it. To restore, we have to right-click on the file or folder and then click on Restore.
You will see that the location from which you deleted these files will be restored to that place.
It is possible that even after verifying the Recycle Bin, you may not find a solution to your problem. Never mind! We will recover the files using Method 2. By using this method, you will recover your files 100%.
So stay tuned to the video.
Important Note Before Proceeding
Before moving on to the next steps, let us tell you that recovering any data deleted from the computer is a bit difficult.
But in today’s video, we are going to tell you the solution to your problem with the help of this complex method, by which your deleted files will be completely recovered.
So watch the video completely without skipping so that you do not miss any steps.
Method 2: Recover Files Using Recuva
Here we will use Recuva to recover files.
To use it, we have to download it, then install it, and after installation run it on our desktop.
We will see it step-by-step in the video.
So let’s start.
Step 1: Download Recuva
We have to start with Chrome. Open Google Chrome on your desktop.
Here I’m going to type Recuva and press Enter.
Let me tell you that Recuva is a free file recovery tool that we can use to recover deleted files from any source. To do this, we have to download it and then install it.

This is a free open-source file recoverer which has been developed by CCleaner, so we will use its free version only.
We will download it by clicking on the free version line.
Here I will advise you to download it for free. If you want to use the Pro version, then you can use Recuva Pro.
Click on the Free Download button and download it.
Step 2: Install Recuva
The solution does not end here. After downloading and installing, we have to set it on our desktop and make some settings which we will discuss further in the video.
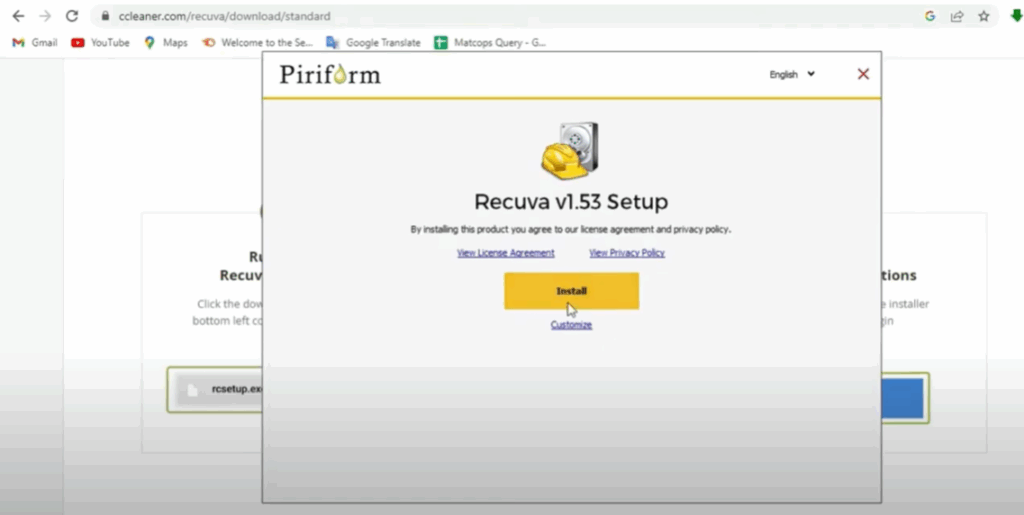
Recuva has been downloaded here. Open the downloaded file.
You will see a screen like this. To install, we have to click on the yellow button.
After the installation is complete, we have to run it on the PC.
An important information before running: this is a third-party program, so I’m going to uncheck this box “release notes” and proceed by clicking on Run Recuva.
Using Recuva Wizard
So friends, welcome to Recuva Wizard.
You will see some information on the screen—read it before proceeding in the video—in which you’ll be told that the wizard will help you recover your deleted files.
You have to answer some simple questions and Recuva will do the rest.
Also, if you do not want to use this wizard, just press Cancel and you will get access to the advanced features of Recuva.
Here I am going to click on Next.
Select File Types to Recover
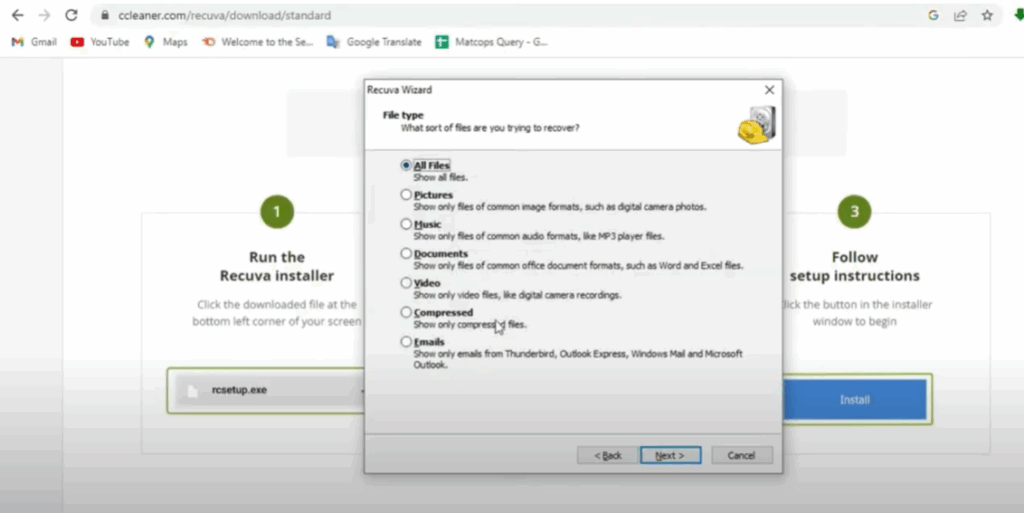
Here you will need to sort your files and decide which files you want to recover.
If you have a more limited search in mind, by all means choose the option that best describes what you are looking for.
I want to recover all my files here, so we will let Recuva find all deleted files. Click Next.
Choose File Location
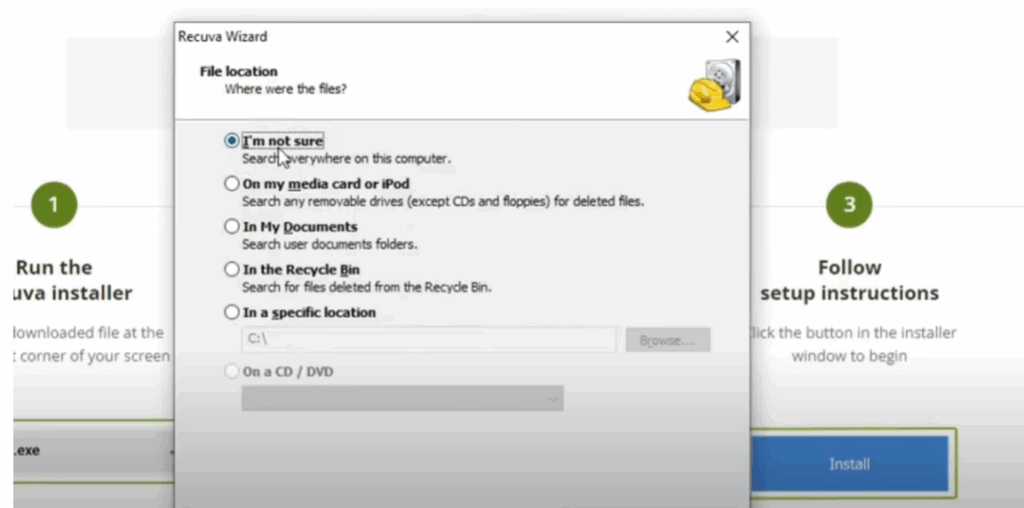
It will then ask you about your file location.
If you think your files have been deleted from a specific section, select it—or you can also choose a specific location.
I choose the “I’m not sure” option here and then click Next.
Enable Deep Scan (Optional)
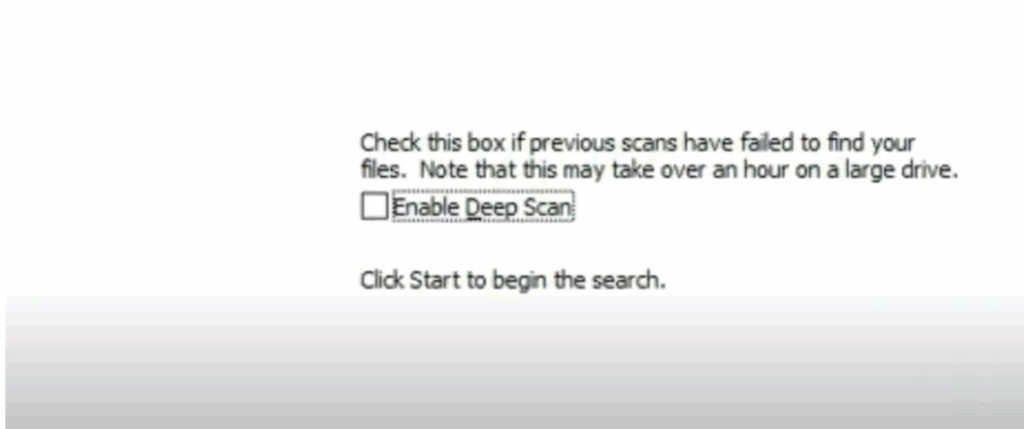
Here we see that another option is Enable Deep Scan.
Recuva usually locates your file without using the Deep Scan option, but if it doesn’t, you can select the Deep Scan option for the most accurate and comprehensive results.
Click Start.
Recuva is ready to search everywhere on this computer storage.
File Recovery Status (Red, Yellow, Green)
After completing the search, you will see a list of files found by Recuva.
Note that the files are indicated by colors: red, yellow, and green.
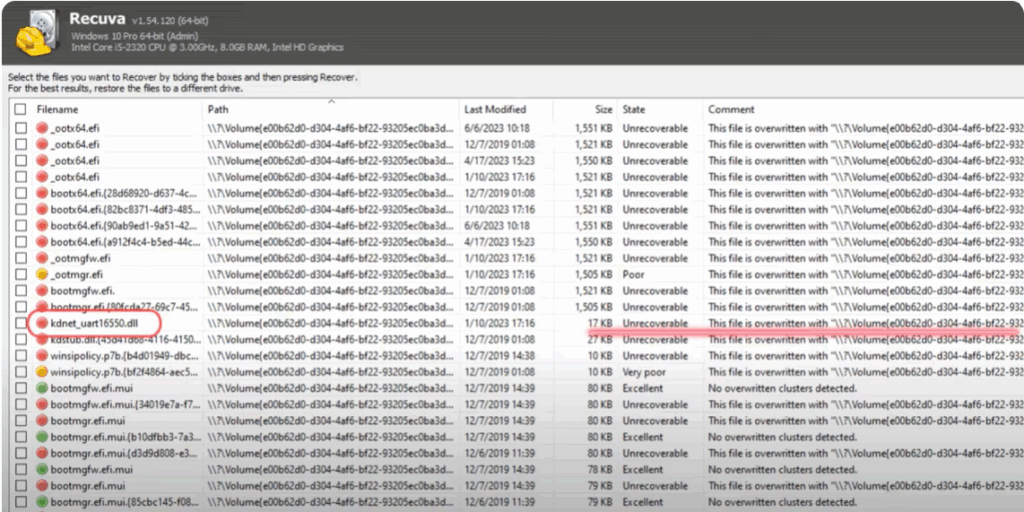
- As we look to the right of this file designated in red (the first highlighted one), we see that its status is not recoverable.
Although you can try to recover it, parts of the file may contain some usable data. However, there is a possibility that the data is lost. - The second file highlighted in green is an excellent chance of recovery.
- Files highlighted in yellow have very low chances of recovery because once you delete the file, it gets overwritten.
Recover the Files
Here we are going to recover a green file.
For this, check the tick box next to the file and click on the Recover button in the bottom right corner of the dialog box.
The next popup will be for you to select your file location.
I am selecting the Desktop location here and then press OK.
Similarly, you can recover the files that you have deleted—as quickly as possible.
Final Words
Hope adopting all these solutions will solve your sound or audio problem. Stay connected to the channel to see more such videos. Thanks for watching the video. Like the video, share it. Have a nice day.


