
![How to Remove Cache & Junk Files in Windows 1011 [Step-by-Step]](https://techgitterofficial.com/wp-content/uploads/2025/09/How-to-Remove-Cache-Junk-Files-in-Windows-1011-Step-by-Step.png)
Is your Windows 10 or 11 PC starting to feel a little slow? Programs might be taking longer to open, or you might be seeing that annoying “low on disk space” message. Often, the culprit is nothing more than a buildup of temporary cache and junk files—like digital clutter that piles up over time. The good news is that giving your computer a quick cleanup is easier than you think! This step-by-step guide will show you simple and safe methods to remove these unnecessary files, helping your PC run faster and freeing up valuable space without any technical hassle.
Steps to Clear Cache and Junk Files
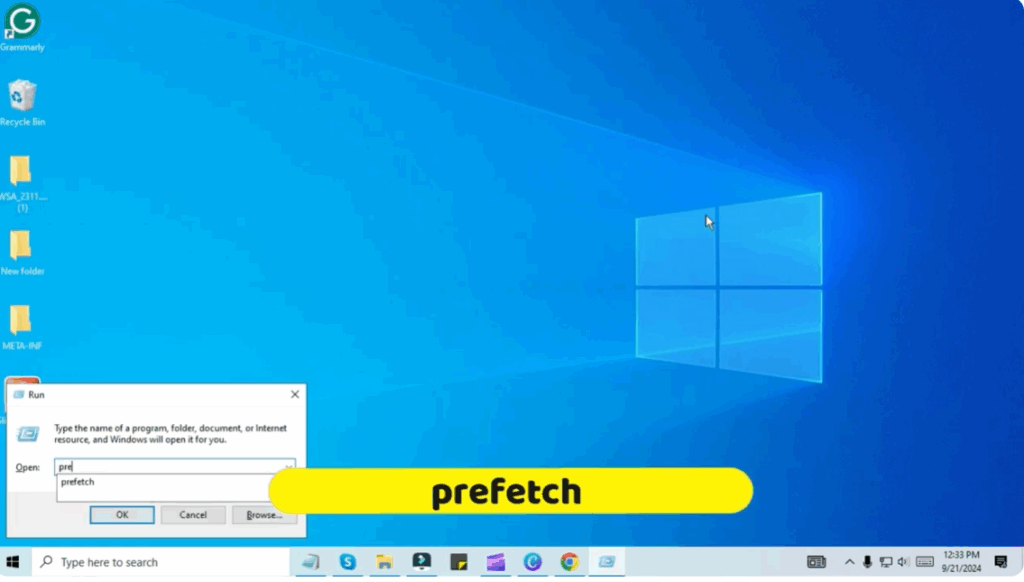
Step 1: Use the Prefetch Command
- Press the Windows + R keys together on your keyboard.
- Now type
prefetchin the run window and click OK.
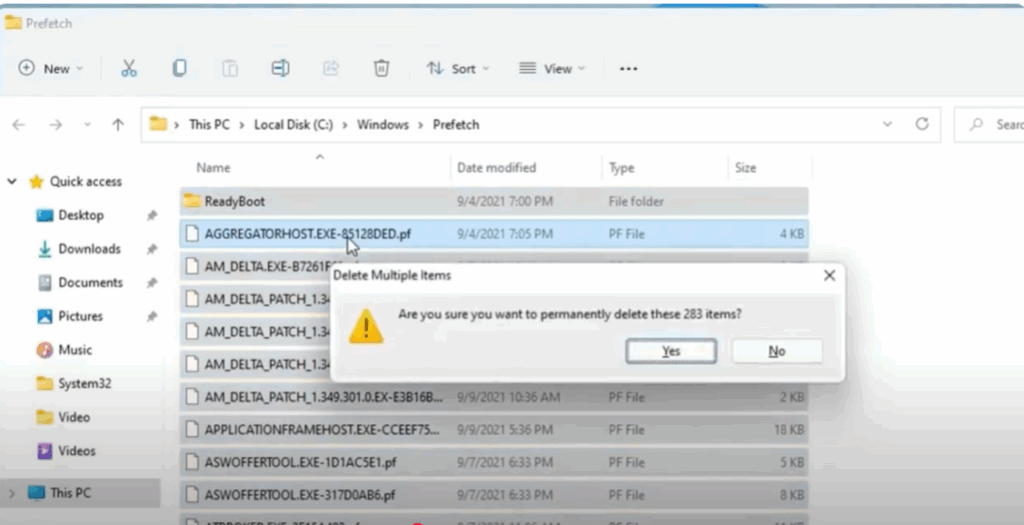
- You will see a list of cache files on the screen.
- Press Ctrl + A to select all files.
- Press Shift + Delete to permanently delete them.
- Confirm by clicking Yes when prompted.
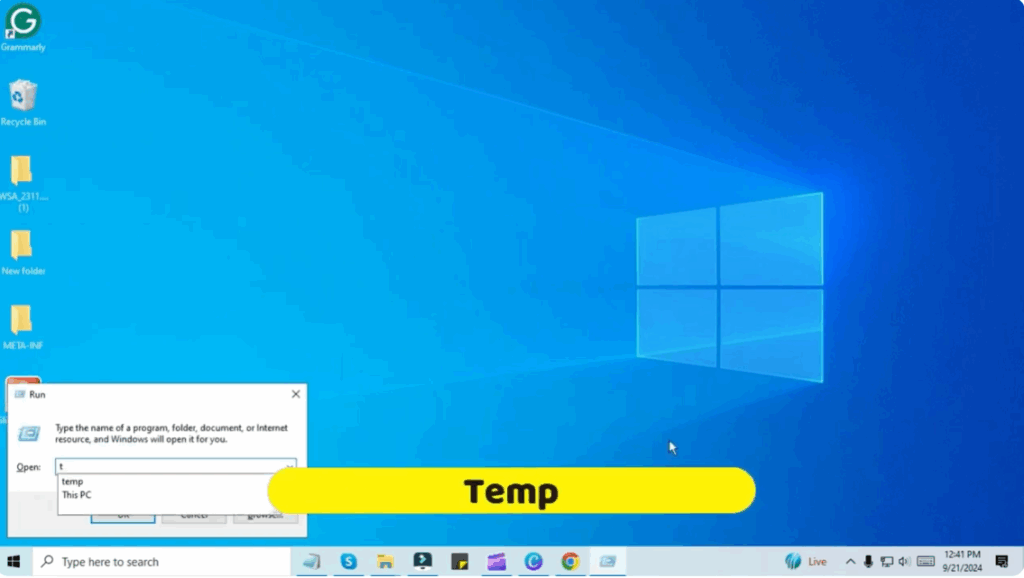
Step 2: Use the Temp Command
- Again, press Windows + R keys together.
- Type
tempand click OK.
- A folder will open showing leftover temporary files.
- Select any file, then press Ctrl + A to select all.
- Press Shift + Delete to remove them permanently.
Step 3: Use the %Temp% Command
- Once again, press Windows + R.
- Type
%temp%and click OK.
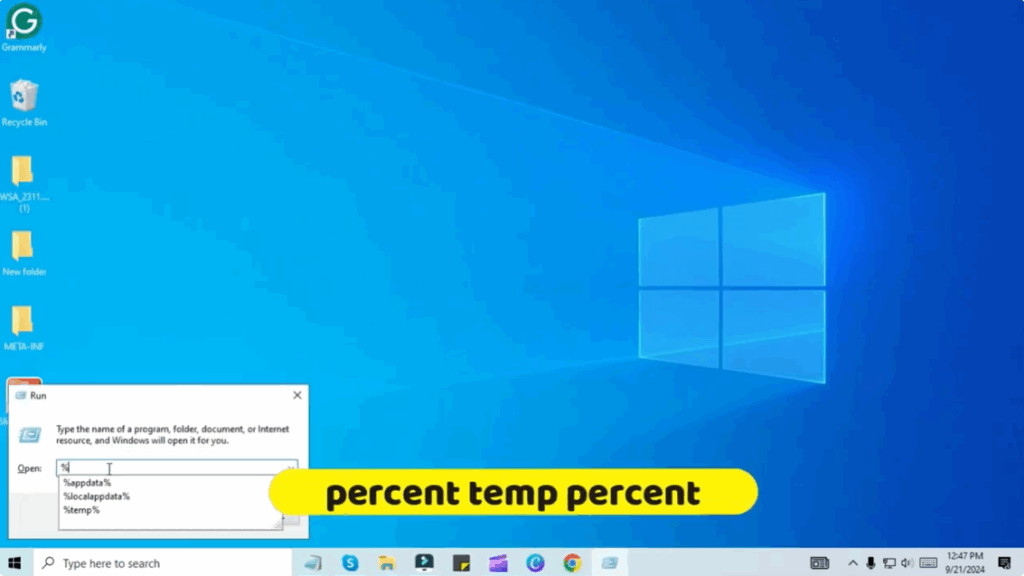
- A folder with encrypted junk files will appear.
- Select all files using Ctrl + A and press Shift + Delete.
- Some files may not delete because they’re in use by running programs — leave them and move ahead.
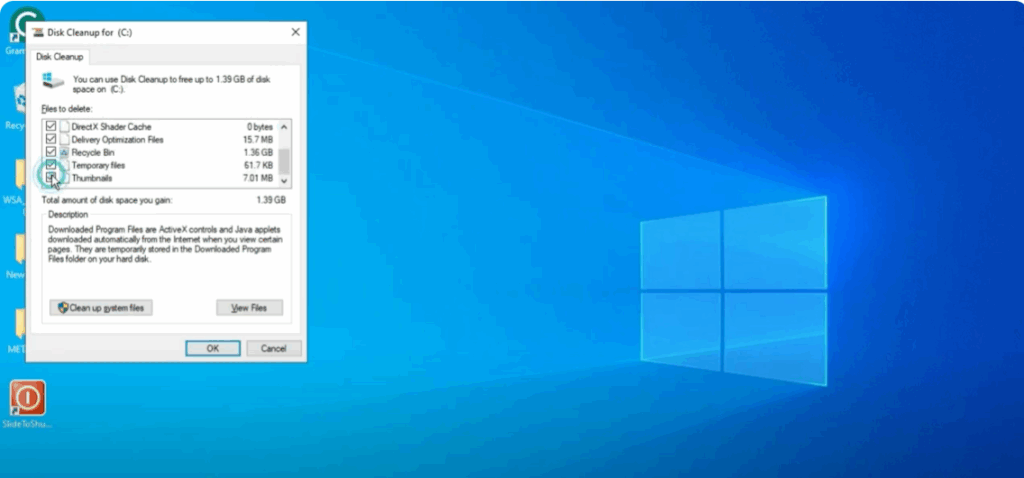
Step 4: Run Disk Cleanup
- Press Windows + R again.
- Type
cleanmgrand click OK. - The Disk Cleanup tool will appear with the C drive selected by default.
- Click OK to proceed.
- In the options list, checkmark everything:
- Recycle Bin
- Temporary Files
- Thumbnails
- Delivery Optimization Files
- Temporary Internet Files
- Click OK and then Delete Files.
Final Words
In this way, your junk files will be deleted and your computer will be clean. Removing junk files from your PC will also improve its performance.


