
Unwanted browser extensions can slow down Google Chrome, show annoying ads, or even compromise your privacy. Luckily, removing them is quick and easy—you don’t need any special tools or technical skills. Whether you installed an extension by mistake or just want to clean up your browser, Chrome lets you disable or delete it in a few simple steps. In this blog, you’ll learn how to remove unwanted extensions from Google Chrome and keep your browser running fast, safe, and clutter‑free.
🛠 Steps to Remove or Disable Extensions
Here’s what the video demonstrates:
- Open Google Chrome Launch your Chrome browser as usual.
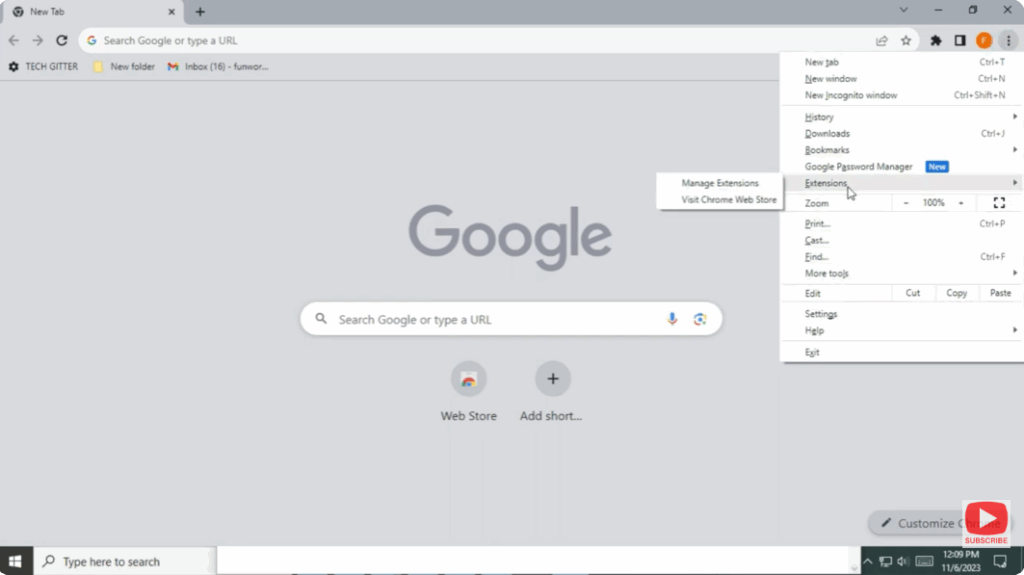
- Access the Extensions Menu
- Click the three dots (⋮) in the top-right corner of Chrome.
- Hover over More tools, then click Extensions.
- Alternatively, you can type
chrome://extensionsin the address bar and press Enter to go directly.
- Locate the Extension You Want to Remove
- You’ll see a list of all installed extensions, each in its own card.
- Each card shows the name, icon, “Details” and controls for that extension.
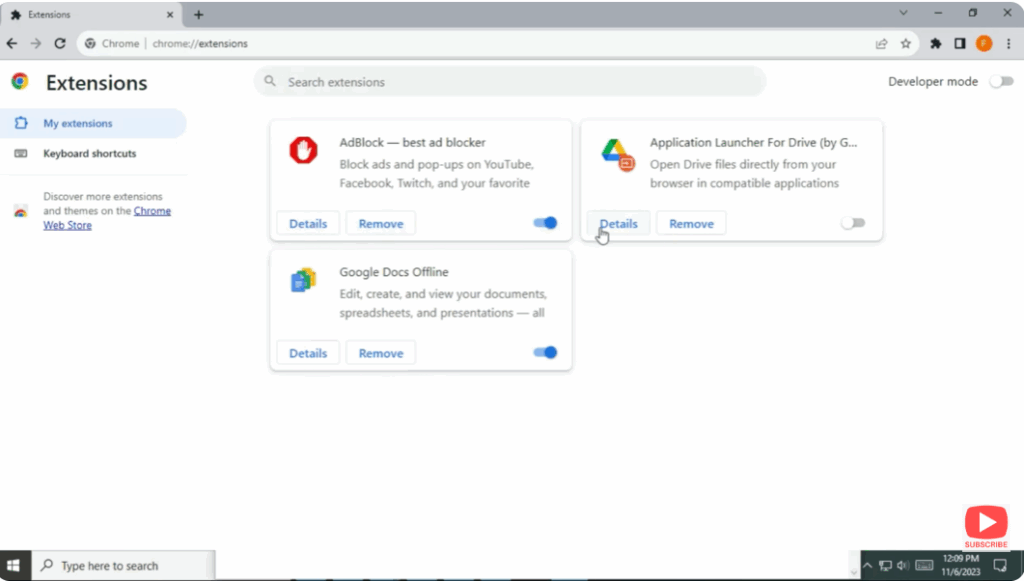
- Disable the Extension (Optional)
- To temporarily turn it off without removing it, toggle the switch on the extension card to Off.
- This keeps it installed but inactive.
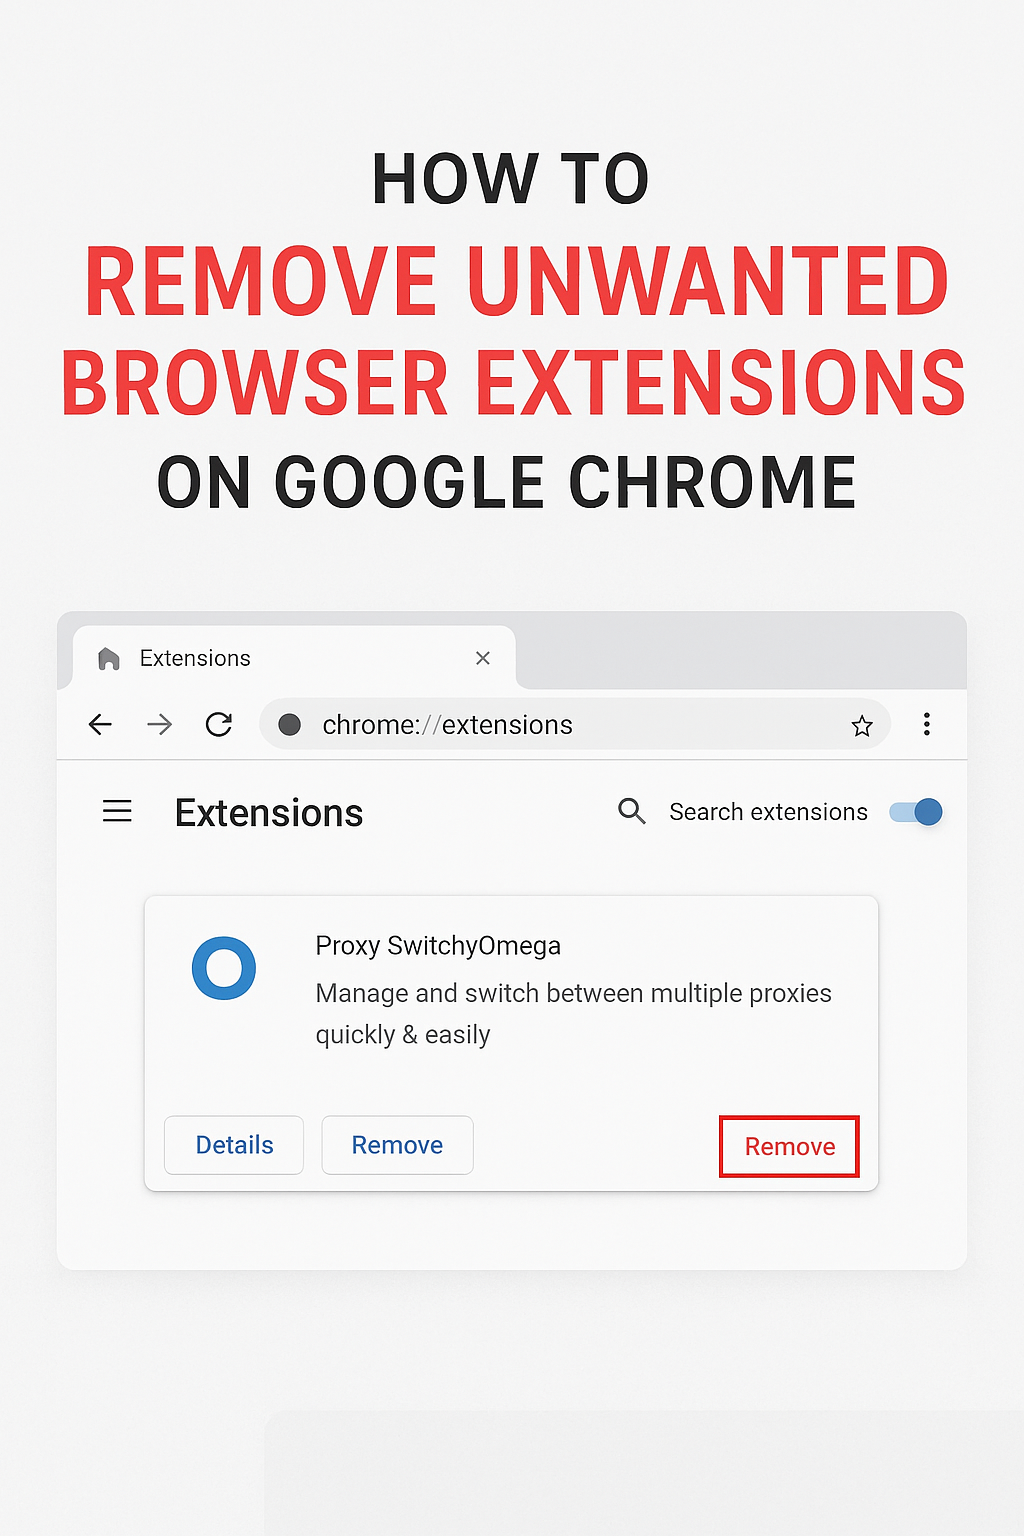
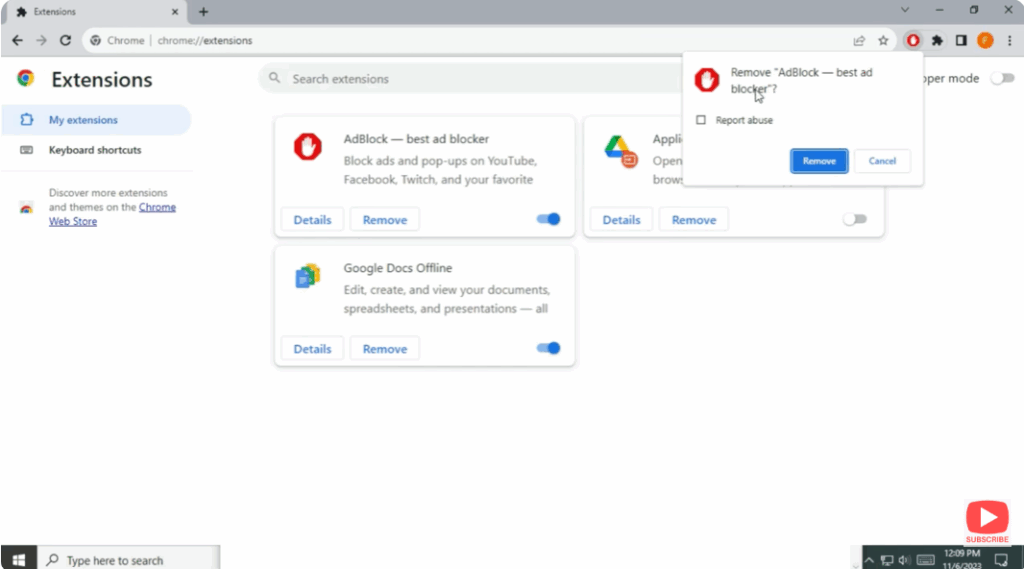
- Remove the Extension Entirely
- On the extension’s card, click the “Remove” button (often in red).
- A confirmation box appears — confirm by clicking Remove again.
- The extension is then uninstalled from Chrome.
- Check for Toolbar Icons
- After removal, check if the extension’s icon still shows on your toolbar.
- If so, right-click the icon and select “Remove from Chrome” (some extensions allow direct removal from the toolbar).
- This ensures no remnants remain.


