
Sometimes, you want to make the text and icons on your Windows 11 screen larger or smaller without changing the screen resolution. Changing only the size helps keep your display clear and sharp while making items easier to see and use. In this blog, you’ll learn easy ways to resize text and icons on Windows 11 using built-in settings, so you can customize your screen exactly how you like it without affecting the resolution.
🛠 How to Resize Text & Icons with Scaling in Windows 11
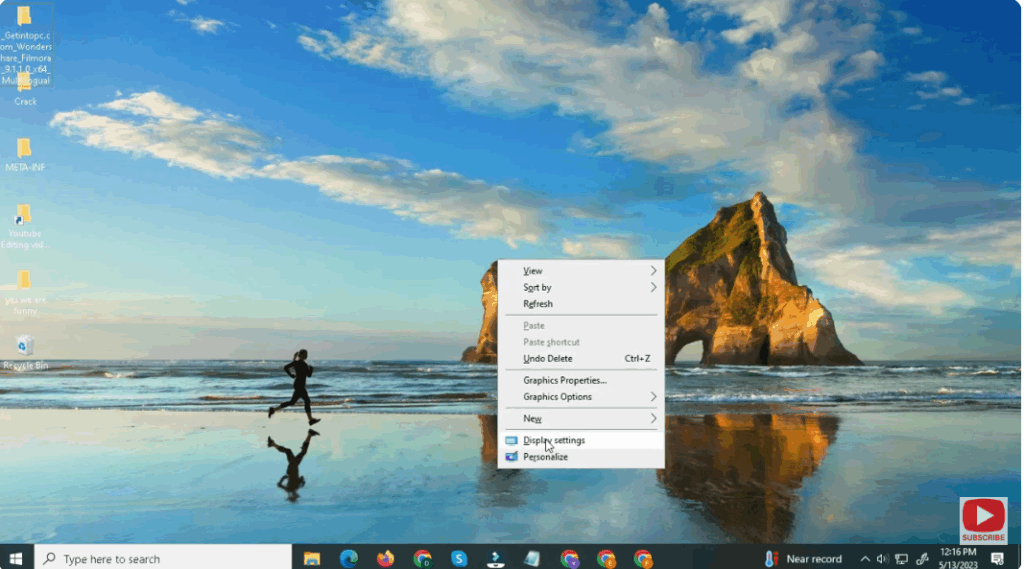
1. Open Display Settings
- Right-click on your desktop and select Display settings.
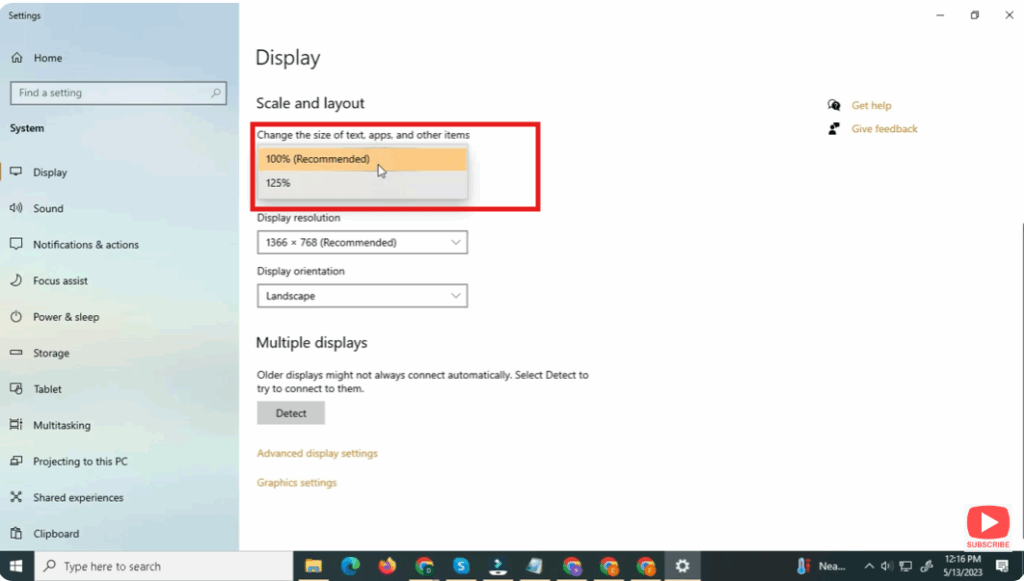
2. Use Scale & Layout Options
- Under the Scale & layout section, you’ll see a dropdown for Scale, typically set at 100% by default.
- Click the Scale dropdown. You’ll see preset options like 100%, 125%, 150%, etc. Select a value that increases the size comfortably without making things too big.
- For example, choosing 125% increases the size of text, apps, and icons without reducing screen space too much.
- Your changes will apply immediately, but some apps may require you to sign out and sign back in for the scaling to take full effect.
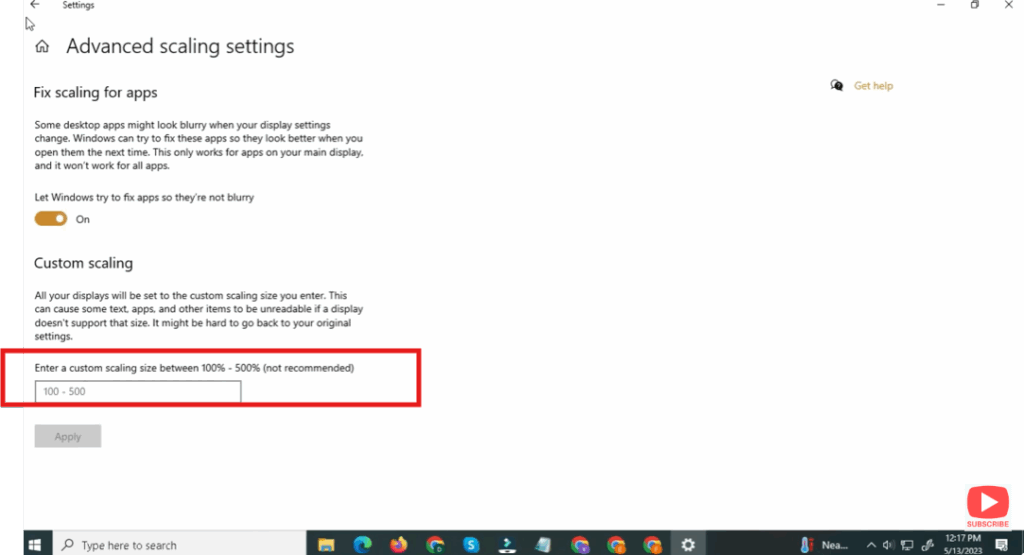
3. Change a Smaller or Custom Scaling Value (Optional)
If the preset options don’t suit your preferences:
- In the Scale dropdown, click “Advanced scaling settings”.
- Turn on the switch “Let Windows try to fix apps so they’re not blurry”; this helps improve clarity on custom scale.
- Enter a custom scaling value between 100% and 500% (e.g., 110%, 130%) and click Apply.
- Windows will prompt you to sign out to apply the new scale. Once you log back in, things will appear at your chosen scale.
✅ Final Thoughts
Using Windows 11’s scaling settings is a smart way to make your on-screen text and icons more readable without lowering your display resolution. Whether you increase scaling just a little (like 110–125%) for comfort or go bigger for accessibility, Windows can handle it cleanly — and your desktop will remain sharp.


