

Taking a screenshot on your computer helps you capture exactly what’s on your screen—whether it’s for sharing information, saving important details, or troubleshooting. Whether you use Windows or Mac, there are simple built-in tools and keyboard shortcuts that make screenshotting quick and easy. In this blog, you will learn step-by-step how to take screenshots on your computer, edit them, and save the images for later use.
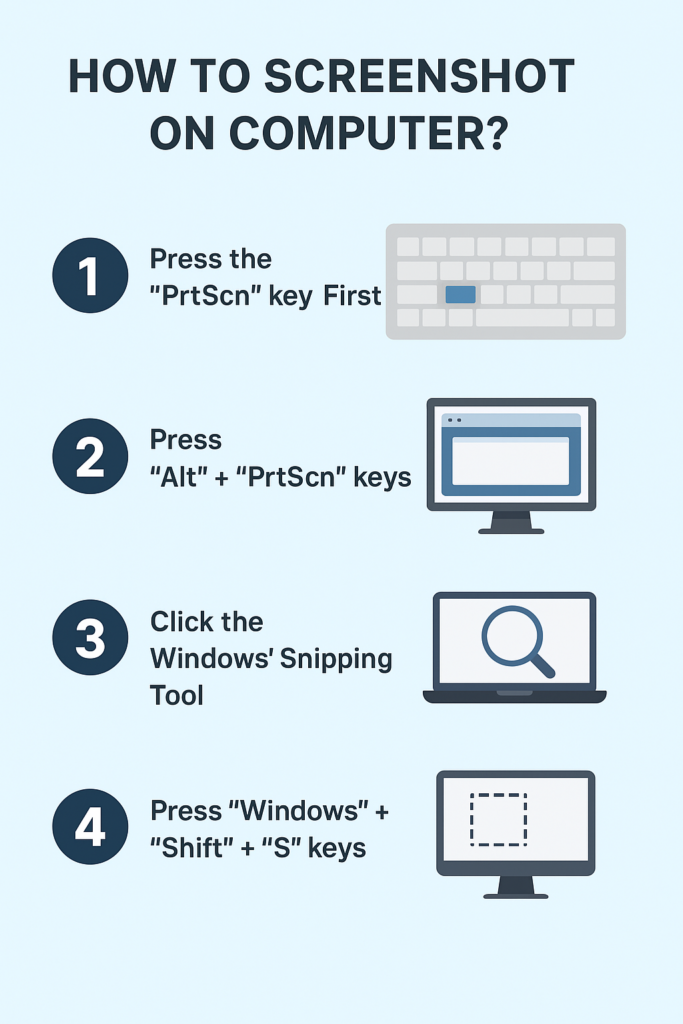
1. Take Screenshot Using Print Screen (PrtScn) Key
The PrtScn key allows you to take quick screenshots without installing anything.
Method 1: Full Screen Screenshot
- Press PrtScn on your keyboard.
- This captures the entire screen.
- The image is now copied to your clipboard.
- Open Paint, Photoshop, Word, or Email and press Ctrl + V to paste.
Method 2: Save Full Screenshot Directly
- Press Windows + PrtScn
- This automatically saves the screenshot to:
Pictures → Screenshots
2. Take Screenshot of Active Window Only
If you want to capture only the window you’re using (not the entire screen):
- Click the window you want to capture.
- Press Alt + PrtScn
- Open Paint or any image editor and press Ctrl + V to paste.
3. Take Screenshot Using Snipping Tool
Snipping Tool gives more control over screenshot shapes.
Steps:
- Press Windows Key and type Snipping Tool
- Open the app.
- Click New
- Choose the snip type:
- Rectangular Snip
- Freeform Snip
- Window Snip
- Fullscreen Snip
- Select the area to capture.
- Save using Ctrl + S
4. Take Screenshot Using Snip & Sketch (Windows + Shift + S)
This shortcut is the fastest method to take custom screenshots.
Steps:
- Press Windows + Shift + S
- Your screen will dim.
- Choose the screenshot style from the toolbar:
- Rectangular Snip
- Freeform Snip
- Window Snip
- Fullscreen Snip
- Select the area.
- Screenshot is copied to clipboard.
- Click the notification to edit or save.
5. Take Screenshot of a Specific Area (Perfect for Tutorials)
If you want to capture only a selected portion of the screen:
- Press Windows + Shift + S
- Draw the box around the area
- The captured image will show in notifications
- Save it from the Snip & Sketch editor
6. Take Delayed Screenshots (Useful for Menus)
Snipping Tool gives a delay option.
Steps:
- Open Snipping Tool
- Click Delay
- Choose 3, 5, or 10 seconds
- Click New
- Windows will take the screenshot after the timer ends.
7. Screenshot Using Xbox Game Bar (For Gaming Screenshots)
Steps:
- Press Windows + G
- Xbox Game Bar will open
- Click the Camera Icon
- Screenshot is saved in:
Videos → Captures
Final Thoughts
Now you know all the effective ways to take a screenshot on your computer—from simple keyboard shortcuts to advanced tools like Snipping Tool and Snip & Sketch. Use any method depending on your need, whether it’s capturing the whole screen, a window, or part of the screen.


