
Setting a screen saver on your Windows computer helps protect your screen and adds a personal touch when your PC is idle. Whether you want classic effects like bubbles or 3D text, or display your favorite photos, it’s easy to set up. In this blog, you’ll learn simple step-by-step instructions to choose, customize, and activate a screen saver in Windows 10 or 11, making your computer more fun and secure when you’re away from the keyboard.
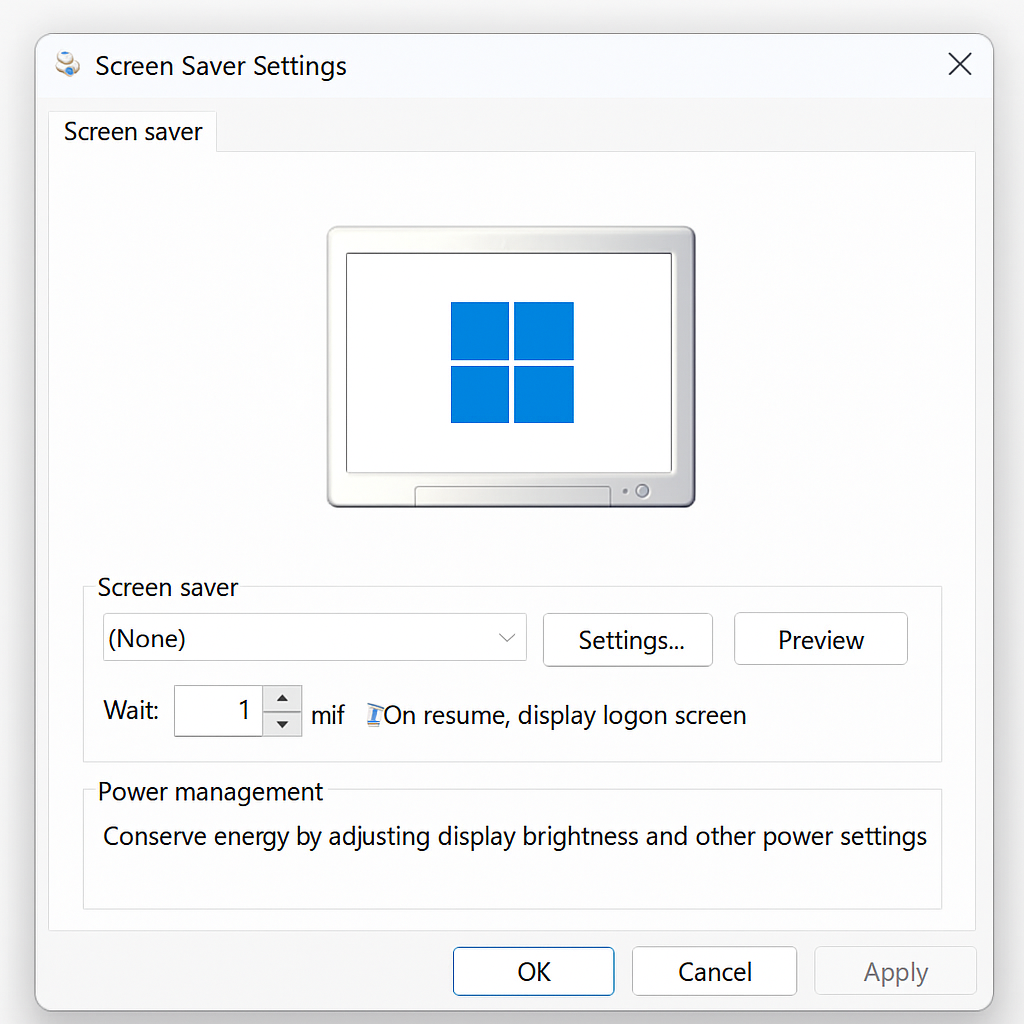
In windows search bar search “Change Screen Saver”.
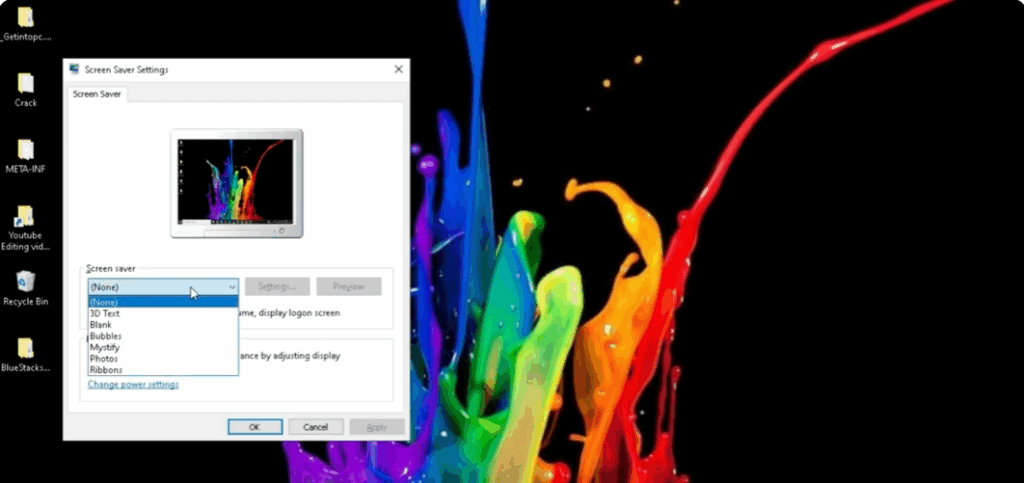
Click on the drop-down menu to see the list of available screensavers. Select the screensaver you want to use from the list.
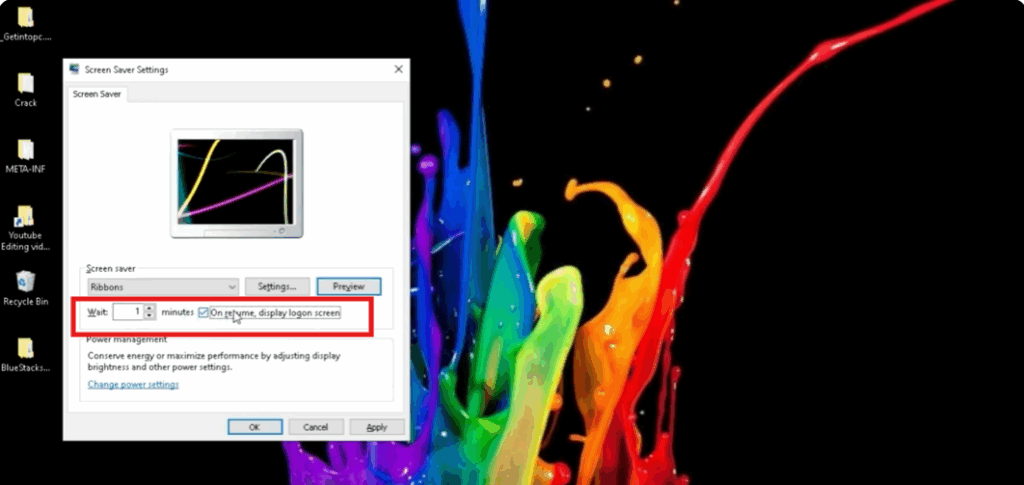
Customize the screensaver settings according to your preferences. The available options may vary depending on the selected screensaver.
You can click on the “Preview” button to see a preview of the selected screensaver.
you can add your name as screensaver
set blank
set bubbles
set mystify
you can set photos
set ribbons
Common settings include the wait time before the screensaver activates and whether to display a password prompt when resuming from the screensaver.
Once you have chosen your screensaver and adjusted the settings, click on the “Apply” button to apply the changes. If you want to revert to the default screensaver settings, click on the “Reset” button.


