
The Command Prompt window in Windows always opens with the same default size, which might be too small or large for comfortable use. Changing this default size helps you work more efficiently without resizing every time you open it. In this blog, you’ll learn simple steps to customize the default Command Prompt window size and position using Properties and Defaults settings.

🛠️ Step-by-Step: How to Set Default Size for CMD Window
Here is how you can set a default window size for Command Prompt in Windows:
1. Open Command Prompt in Admin or Normal Mode
- Press Win + R, type
cmd, and hit Enter — or open via Start menu. - If you need admin rights sometimes, right-click → Run as administrator.
2. Access the Properties of Command Prompt
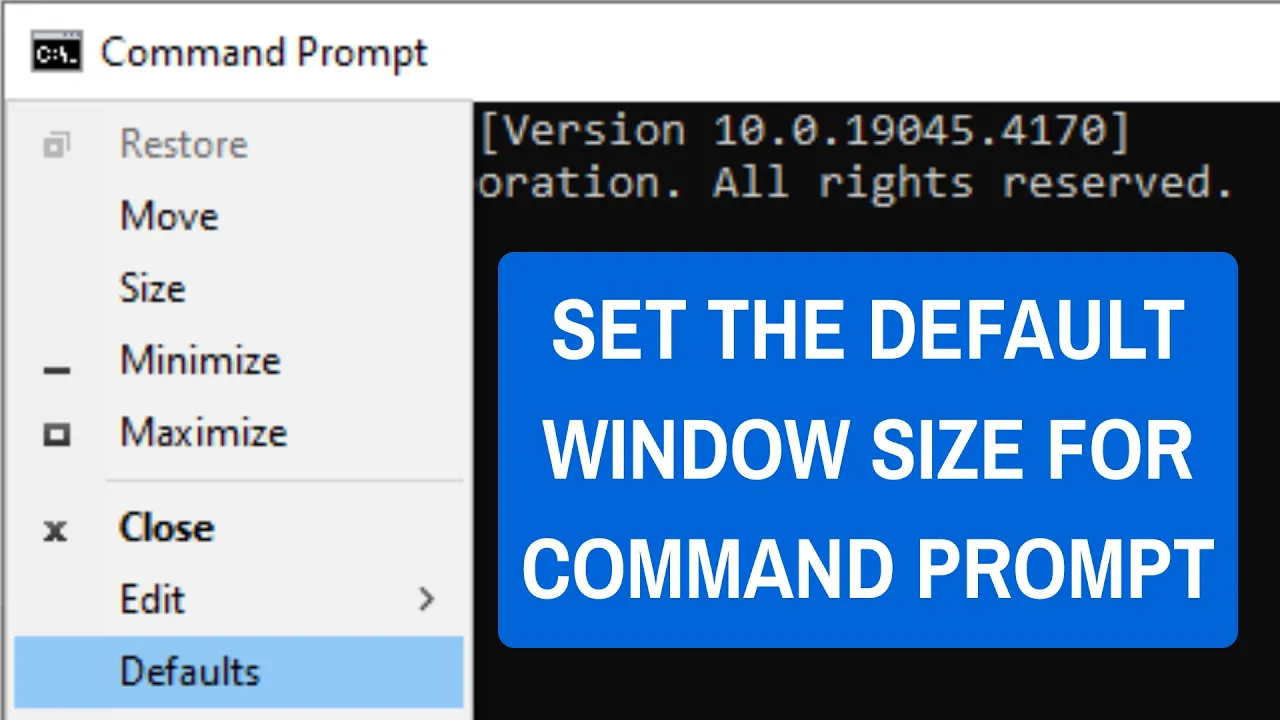
- In the open Command Prompt window, right-click on the title bar (the top border that shows “C:\Windows\System32\cmd.exe” or similar).
- Choose Properties from the context menu.
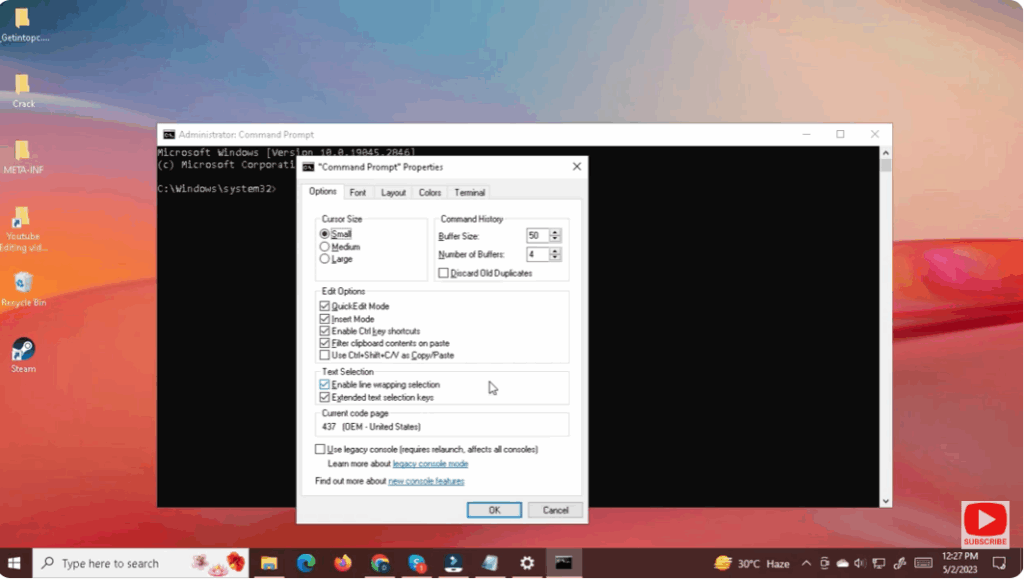
3. Go to the “Layout” Tab
- In the “Properties” dialog, click the Layout tab.
- Here you’ll see sections for Screen Buffer Size and Window Size.
4. Adjust Window Size Settings
- Under Window Size, specify the number of Columns (width) and Rows (height) that you want CMD to open with — for example, 120 columns and 30 rows.
- Optionally, you can also adjust Screen Buffer Size to match or exceed window size so you can scroll through output without wrapping.
5. (Optional) Adjust Window Position & Buffer Settings
- In the same Layout tab, you can define the default Window Position — though it’s typically fine to leave at 0,0 so it opens at your last position.
- For large logs or outputs, increase Screen Buffer Size Height so scrollback works well.
6. Save Settings — Click OK
- Once you’ve entered your desired values, click OK.
- If a confirmation prompt appears (when using admin mode), accept it.
From now on — every time you open that particular shortcut for CMD — it will launch with the window size you specified.


