

Sorting data by date in Excel is one of the easiest ways to organize your work and find information quickly. Whether you’re managing a project timeline, tracking expenses, or reviewing reports, arranging your data in order of dates makes everything clearer and more useful. The good news is, Excel has built-in tools that let you sort dates in just a few clicks—no complicated steps required. In this beginner-friendly blog, we’ll explain in simple language how to sort by date in Excel easily and quickly, so you can save time and stay organized.
✅ How to Sort by Date in Excel — Step-by-Step
Here’s how to do it — simple and quick:
Step 1: Make Sure Dates Are Recognized as Dates
- Check that the cells in your date column contain valid Excel dates, not text.
- If dates are stored as text, convert them (use Text to Columns, or format/change locale, or re-enter).
Step 2: Select the Date Column or the Entire Data Range
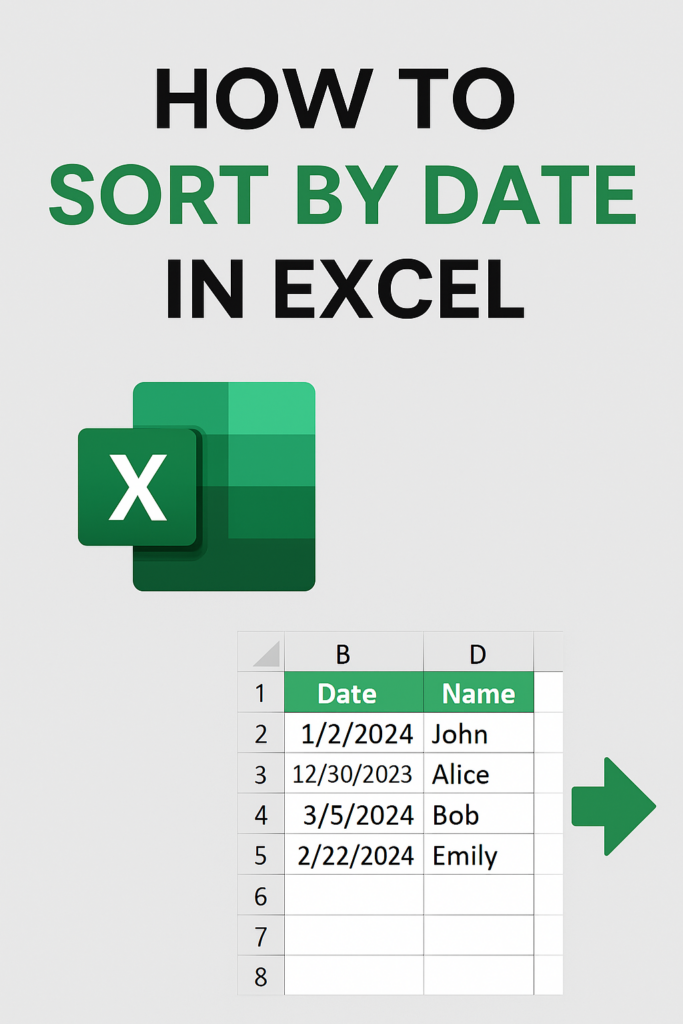
- Click the header of the date column (e.g. column “B”).
- If your data has multiple columns (e.g. Date, Name, Amount), select the full table so that rows stay intact when sorting.
Step 3: Use the Sort Buttons (Fastest Way)
- Go to the Excel ribbon → Data tab.
- In the “Sort & Filter” group:
- Click Sort Oldest to Newest to arrange from earliest date first.
- Or click Sort Newest to Oldest to get most recent dates first.
Excel instantly rearranges rows based on date order.
Step 4: Use the Custom Sort Dialog (When More Control Needed)
If you have multiple columns and need to sort by date along with others:
- Select the data range (or click any cell inside data).
- Go to Data → Sort.
- In the Sort dialog:
- For “Sort by” choose your date column.
- Under “Sort On” leave it as Values.
- For “Order” choose Oldest to Newest or Newest to Oldest.
- If you have headers, check My data has headers.
- Click OK.
Excel sorts the entire table by date — perfect when you want to keep related data intact.


