

If you want to stop signing into Windows 11 with a Microsoft account and use a local account instead, you can easily switch your account type in settings. Using a local account means you’ll sign in using a username and password stored only on your PC, without needing an online Microsoft login. This is helpful if you prefer more privacy or want to avoid internet dependency. In this blog, you’ll learn simple steps to switch from a Microsoft account to a local account on Windows 11, so you can control how you log in to your computer.
✅ Step-by-Step: Switch Microsoft Account to Local Account on Windows 11
Follow the instructions below:
Step 1: Open Windows Settings
- Press Windows + I on your keyboard
or - Click Start Menu → Settings
Step 2: Open Your Account Settings
- Go to Accounts
- Click on Your Info

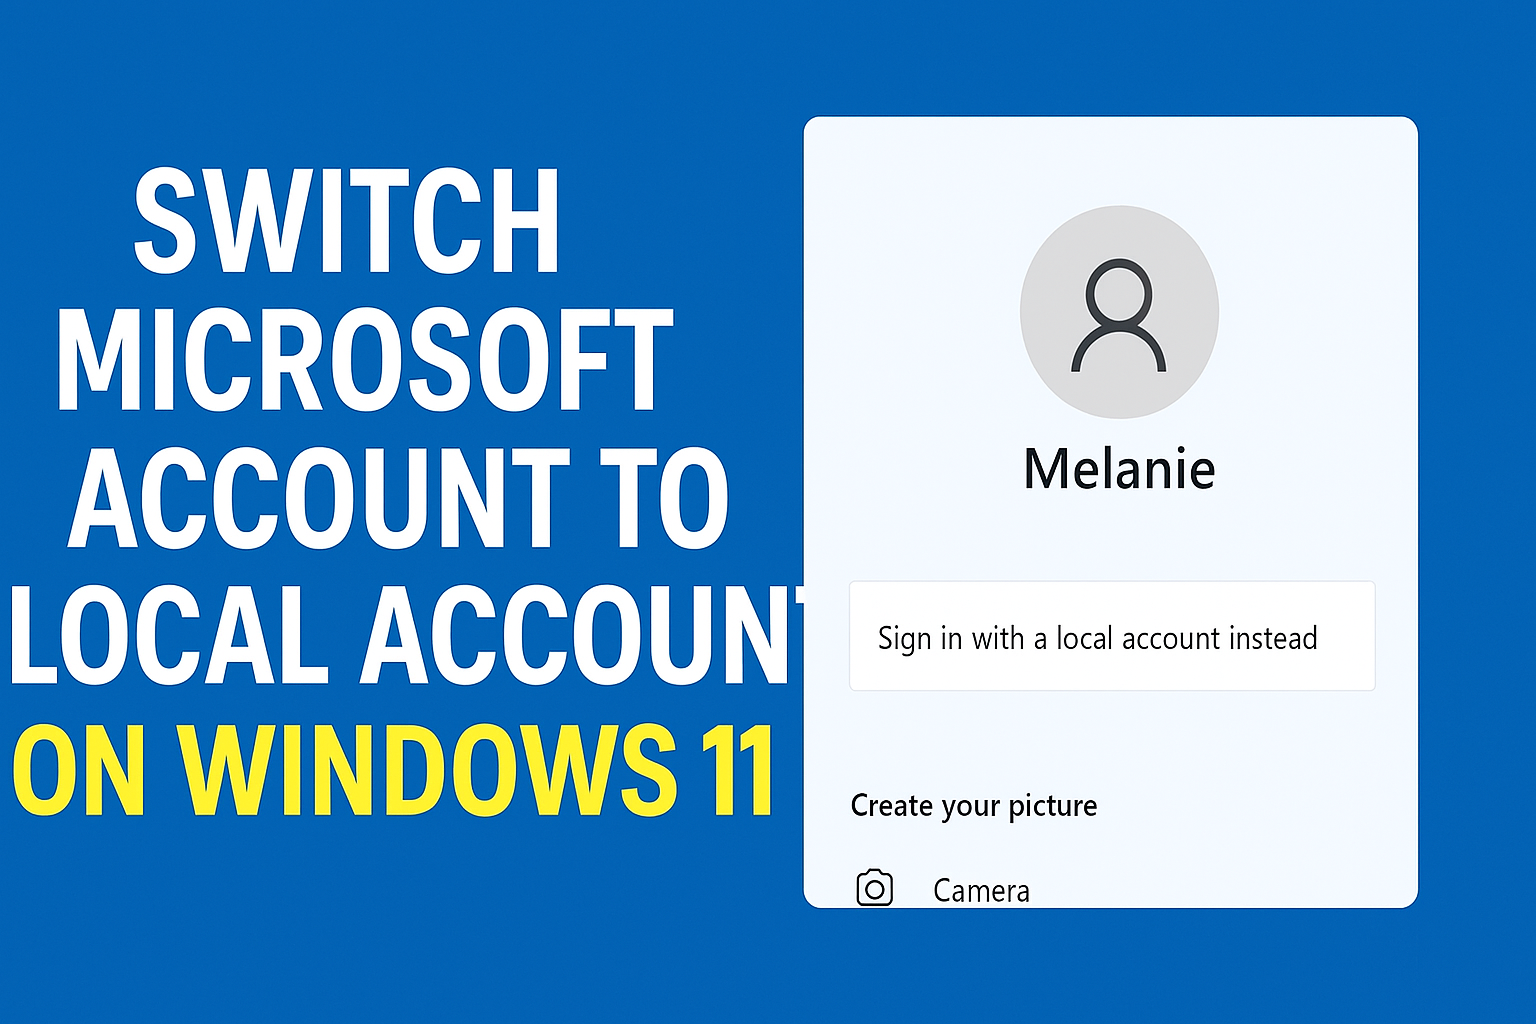
Step 3: Find “Sign in with a Local Account Instead”
- In the right panel, find the option:
Sign in with a local account instead - Click it.
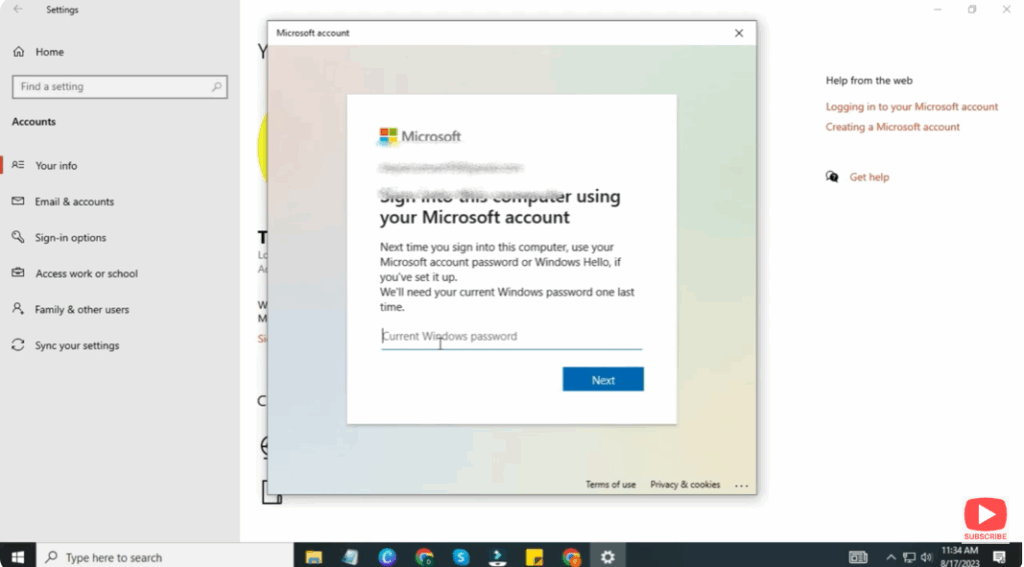
Step 4: Confirm the Change
- A pop-up will appear — click Next
- Windows will ask for your current Microsoft account password
→ Enter it to proceed.
Step 5: Create Your Local Account
Fill in the required details:
- Username (Example: Your Name)
- New Password
- Confirm Password
- Enter password hint
Click Next.
Step 6: Sign Out & Switch Account
- Click Sign out and finish
- Log in with your new local account credentials.


