
The On-Screen Keyboard in Windows is a handy tool that lets you type without using a physical keyboard. It shows a virtual keyboard on your screen that you can click with your mouse or touch if you’re on a touchscreen device. This feature is especially useful if your keyboard isn’t working properly, or if you prefer typing with touch. The good news is, turning it on is very simple and takes just a few steps. In this beginner-friendly blog, we’ll explain in easy language how to turn on the On-Screen Keyboard in Windows step by step, so you can start using it right away.
✅ How to Turn On On-Screen Keyboard in Windows (Multiple Methods)
Here are several methods — pick whichever is easiest or most convenient for you:
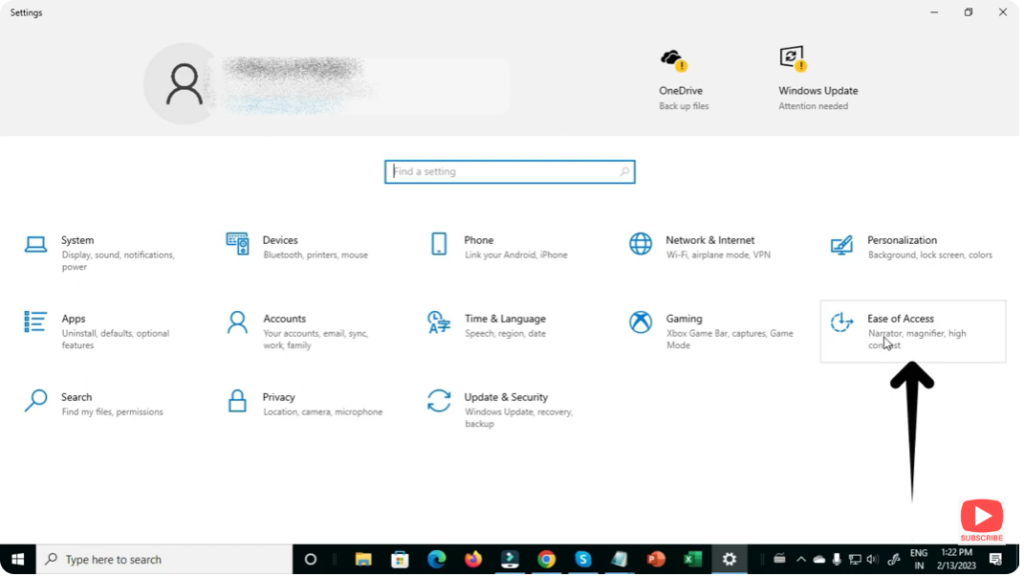
🔹 Method 1: Via Settings (Windows 10 / 11)
- Open Settings (you can press
Win + Ito open quickly). - Go to Accessibility (for Windows 11) or Ease of Access (on Windows 10).
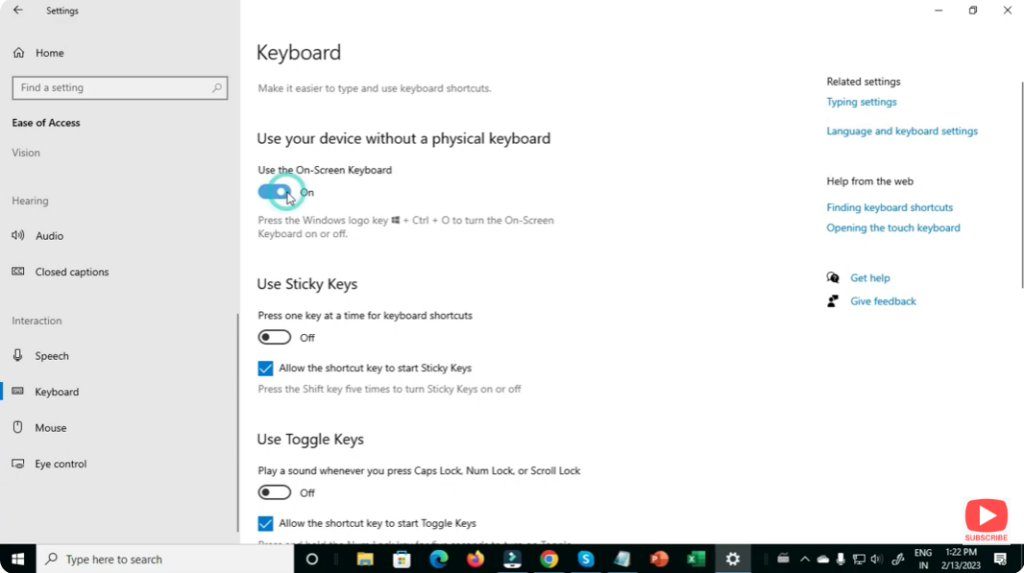
- Choose Keyboard from the menu.
- Turn on the toggle labeled “Use the On-Screen Keyboard” (or similar).
- OSK will appear on your screen. You can close it or leave it open as needed.
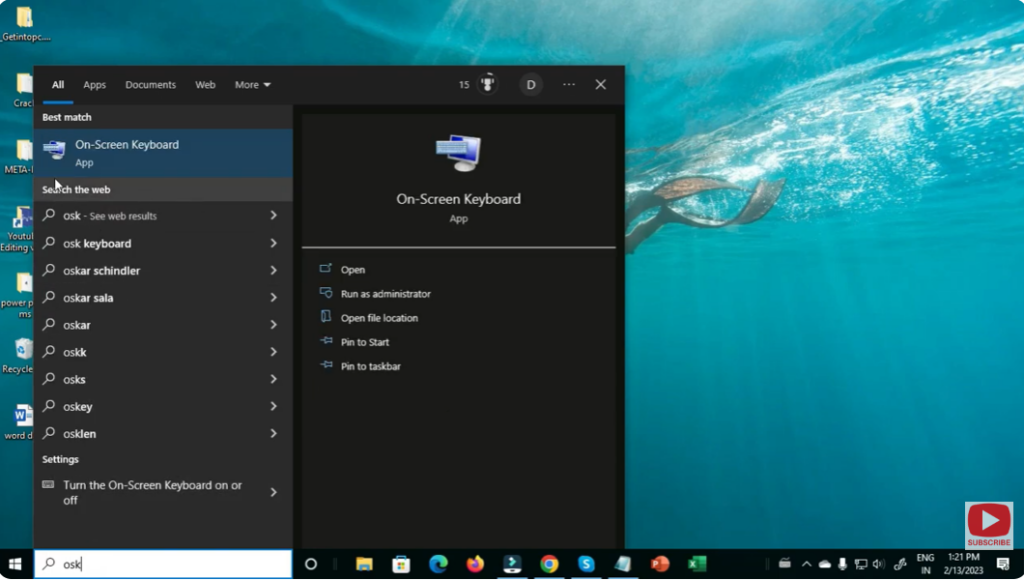
🔹 Method 2: Via Run or Search Command
- Open Run (press
Win + R), typeosk, and hit Enter — the OSK will open. - Alternatively, search for “On-Screen Keyboard” in the Windows Search bar and click the app when it appears.
✅ Final Thoughts
Whether your hardware keyboard is broken, you’re on a touchscreen device, or you just prefer using a mouse/ touch — the On-Screen Keyboard is a handy built-in feature in Windows.
With just a few clicks (or a quick keyboard shortcut), you can open it and keep typing without extra software or tools.


