
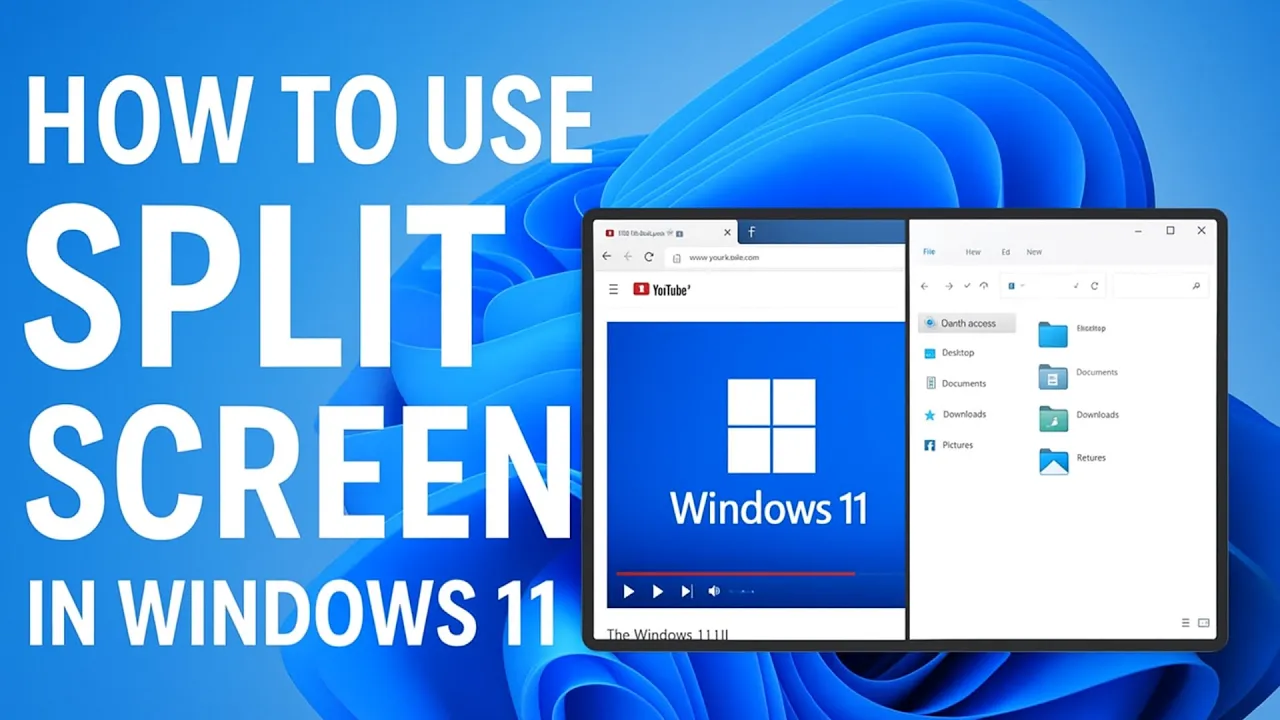
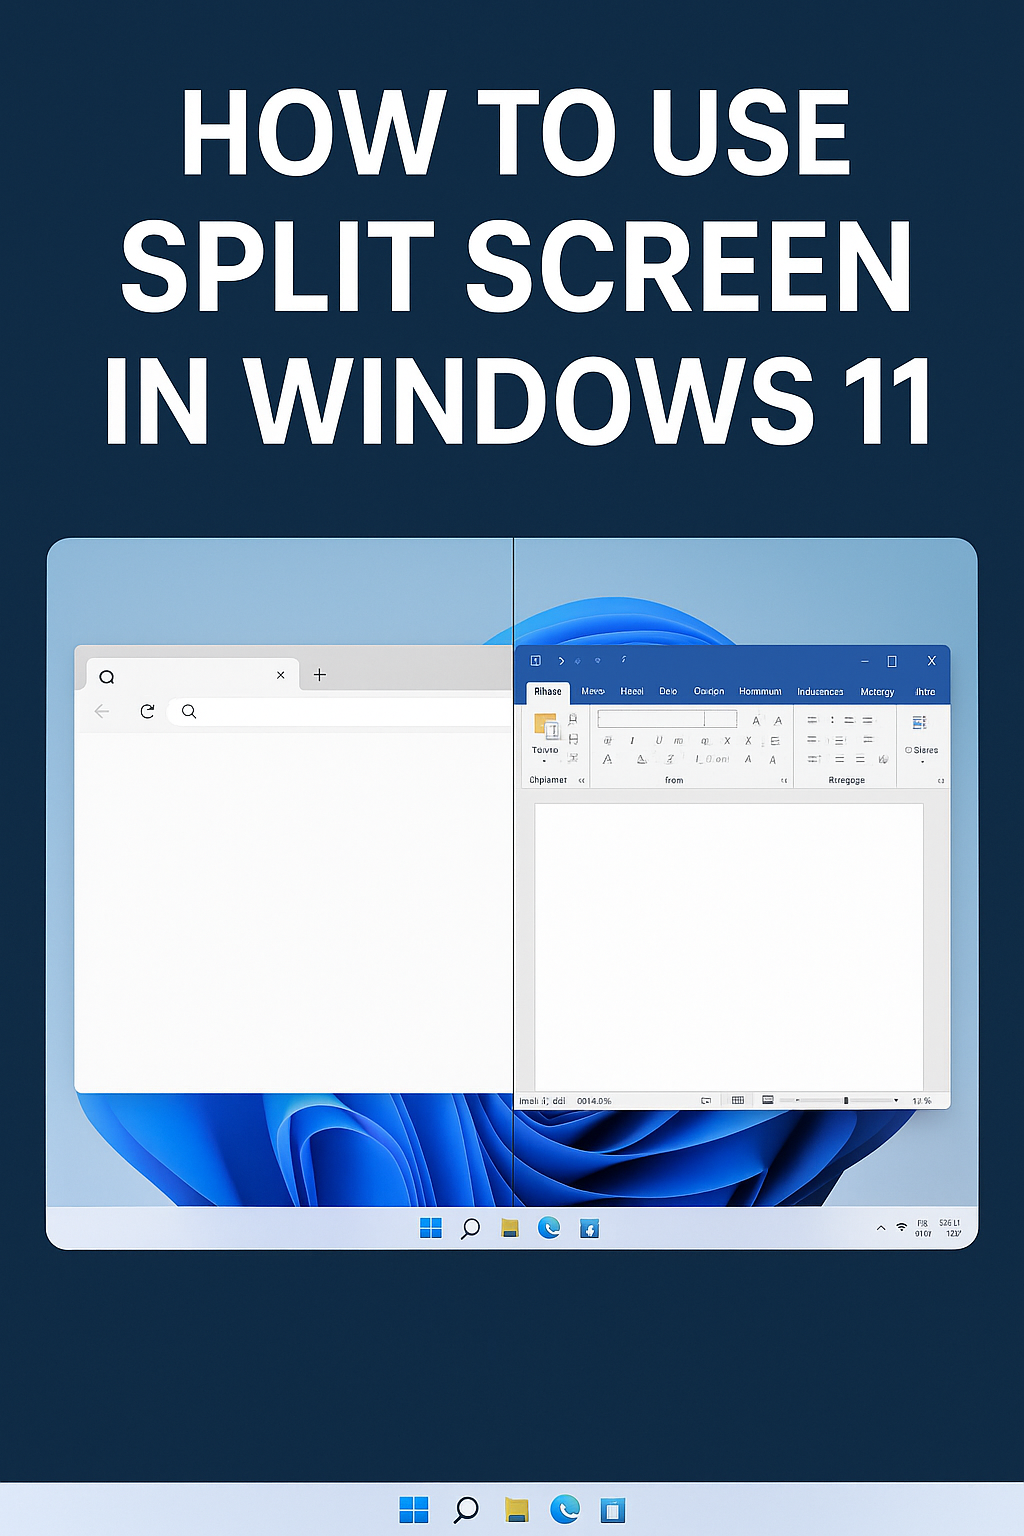
Using split screen in Windows 11 is a great way to multitask and be more productive. Instead of switching back and forth between apps, you can view two or more windows side by side on the same screen. This makes it easier to compare documents, watch a video while working, or chat while browsing. The best part is, Windows 11 has built-in tools that make setting up split screen super simple. In this beginner-friendly blog, we’ll explain in easy language how to use split screen in Windows 11 step by step, so you can work smarter and faster.
🛠️ How to Enable & Use Split Screen
1. Make sure Snap is enabled
- Open Settings → System → Multitasking.
- Turn ON the Snap Windows toggle.
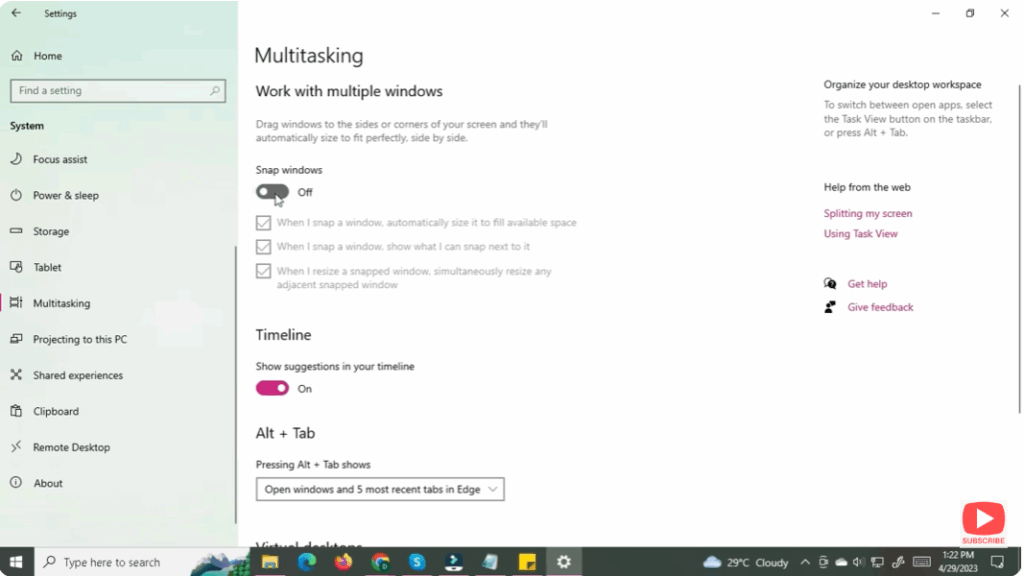
This ensures Windows will respond to snap commands and show layout suggestions.


