
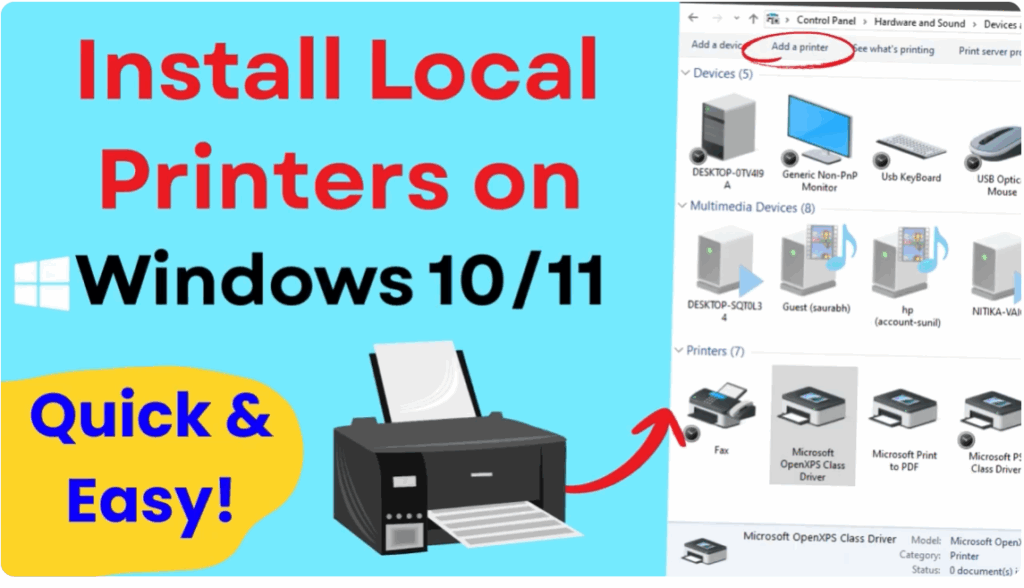
Hello friends, welcome to my channel Tech Gitter Official. In this guide, I will show you how to add a local printer on Windows 10 or Windows 11. Follow these simple steps to get your printer set up.
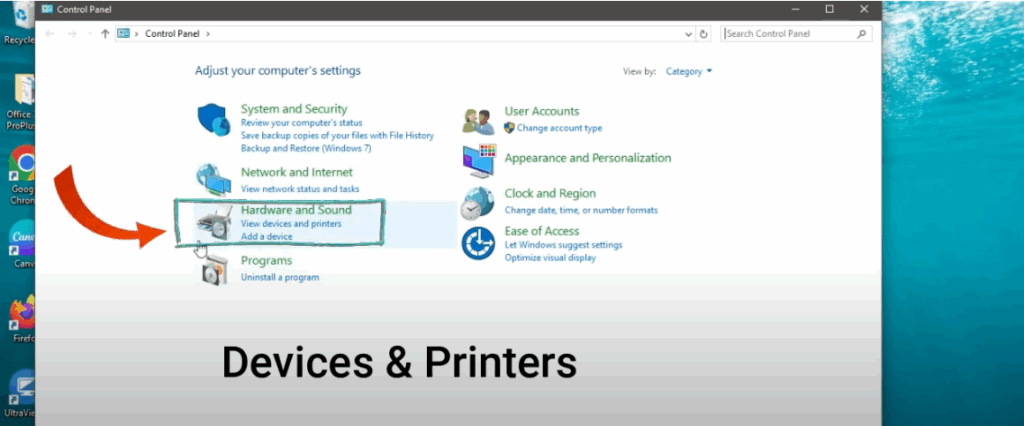
Step 1: Open Control Panel
First, go to the search bar on your taskbar. Type Control Panel and press Enter.
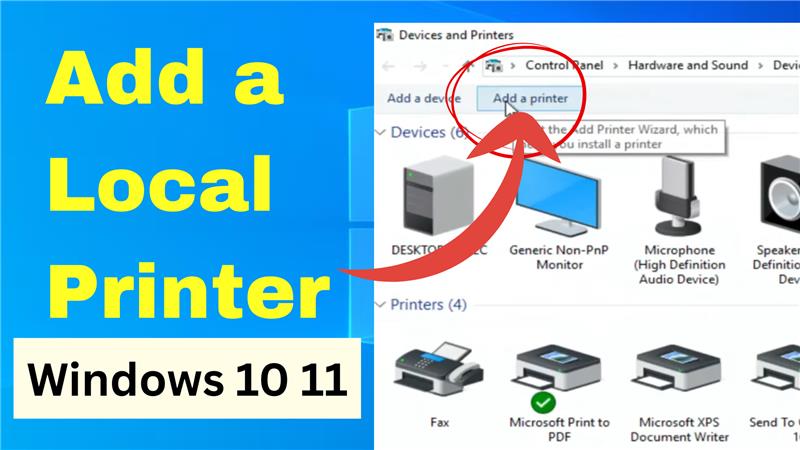
Step 2: Open Devices and Printers
Now, click on Devices and Printers. This section will display all the printers and devices currently connected to your system.
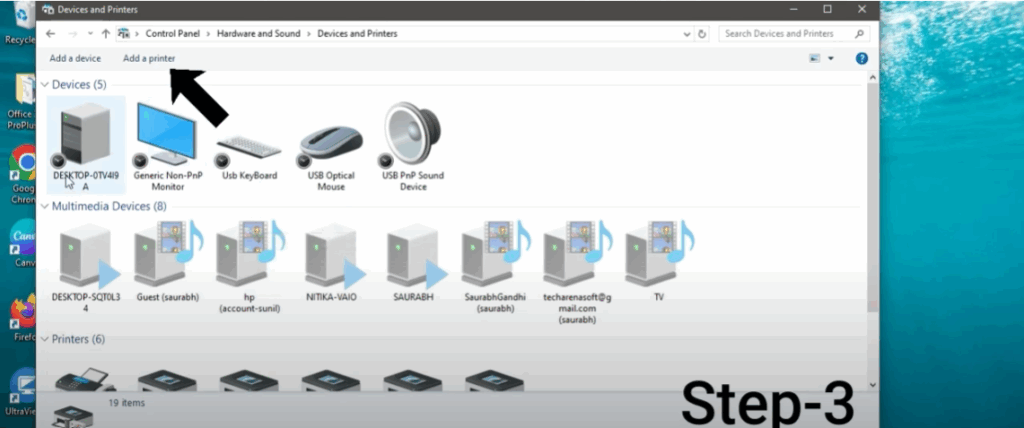
Step 3: Add a Printer
At the top of this window, click on Add a Printer. Windows will now search for available printers connected to your PC. If your printer doesn’t appear in the list, don’t worry—move to the next step.
Step 4: The Printer I Want Is Not Listed
Click on the link that says The printer I want isn’t listed. You will now see several options to manually add the printer, such as:
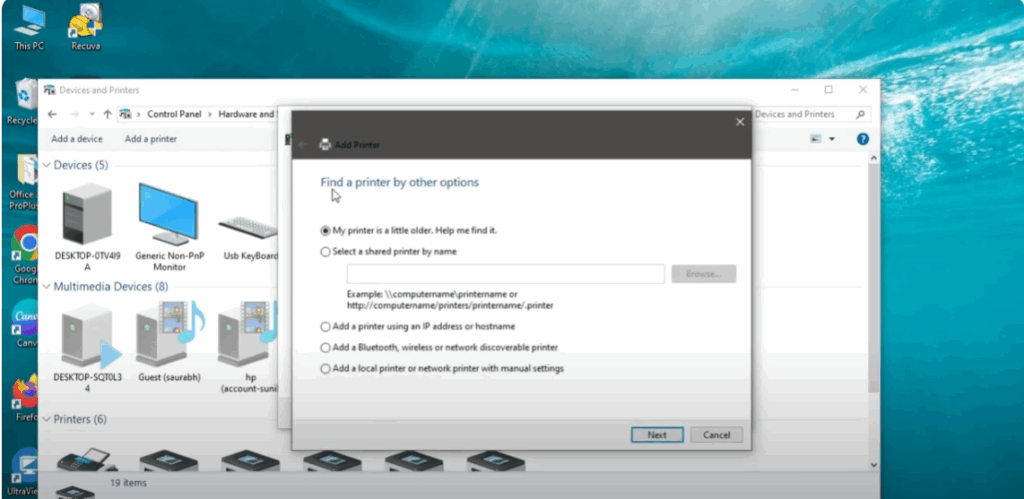
- Add a printer using an IP address or hostname
- Add a Bluetooth, wireless, or network-discoverable printer
- Add a local printer or network printer with manual settings
Choose the third option, Add a local printer or network printer with manual settings, then click Next.
Step 5: Choose the Printer Port
Next, choose the correct port for your printer.
- If you’re using an older printer with parallel cables, select LPT1.
- If it’s a USB printer, you might see USB001 or something similar.
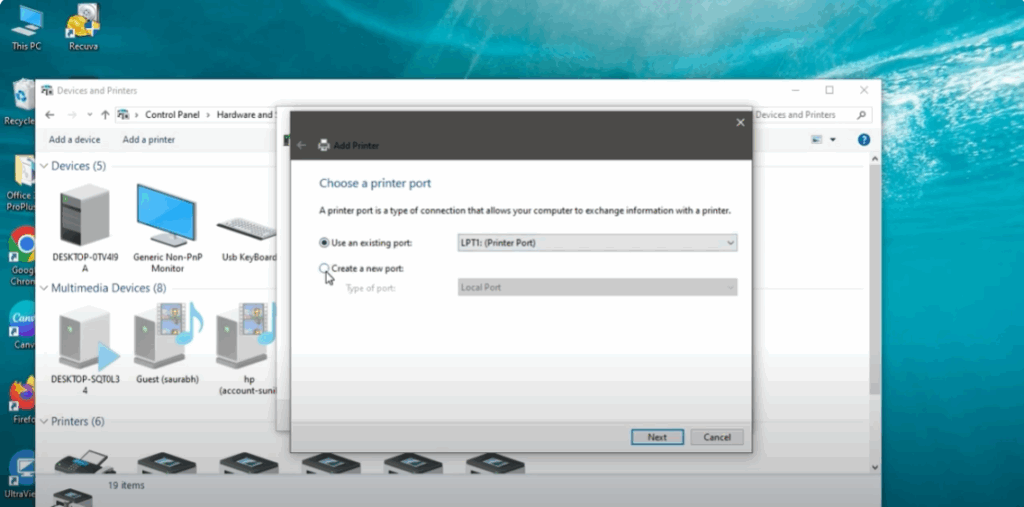
For example, if my printer is an older model with parallel cables, I would select LPT1. Once you’ve chosen the correct option, click Next.
Step 6: Install the Printer Driver
Now, install the driver for your printer.
- On the left, select your printer’s manufacturer (HP, Canon, Epson, etc.).
- On the right, choose your printer model.
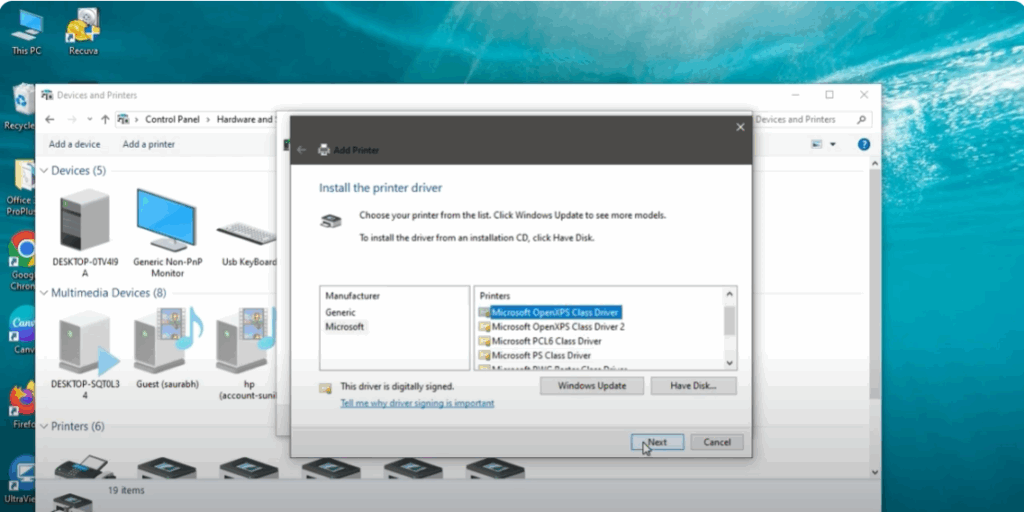
If your printer is not listed, click Have Disk and browse to the location where you saved the driver downloaded from the official website. Once selected, click Next.
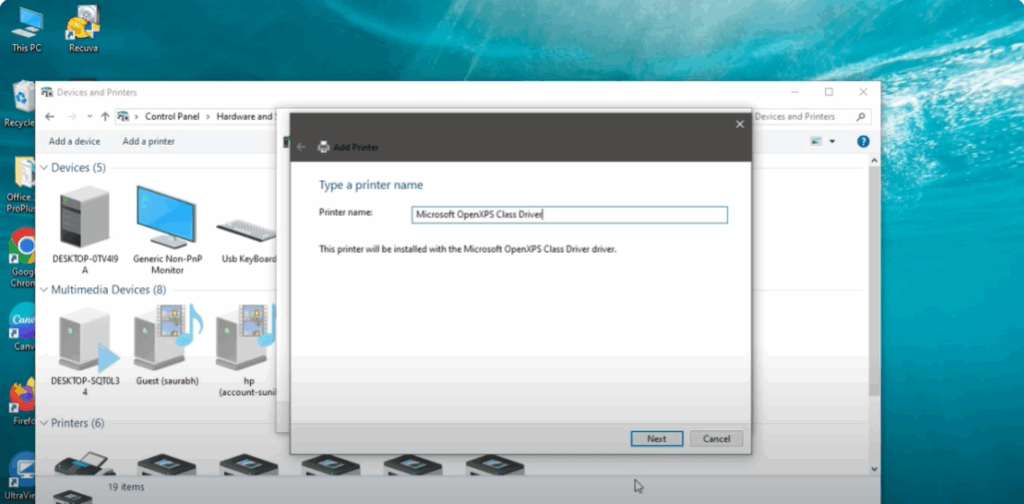
Step 7: Name Your Printer
You can now assign a name to your printer. Either enter a custom name or keep the default one. Click Next to proceed.
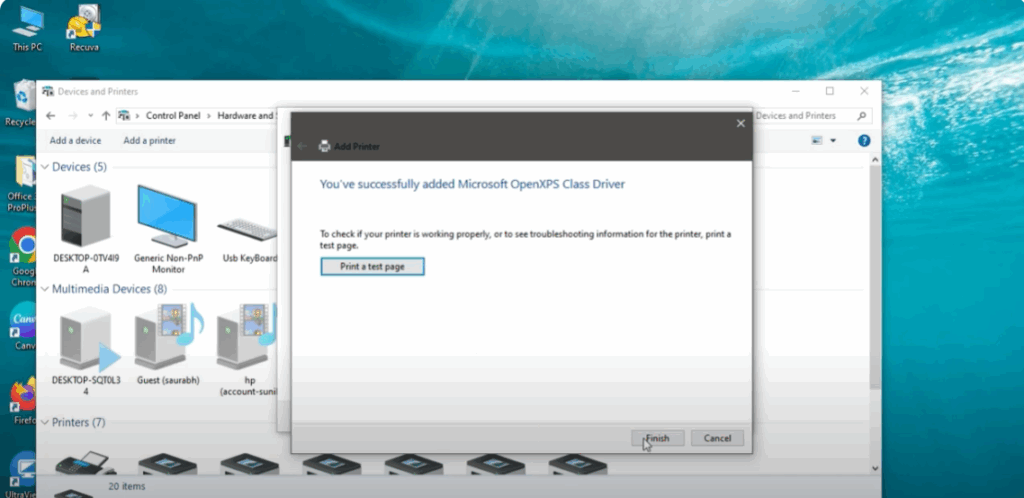
Step 8: Print a Test Page and Finish
You will now have the option to print a test page. If the test page prints successfully, click Finish.
And that’s it! 🎉 You’ve successfully added a local printer to your Windows 10 or Windows 11 system.
Thanks for reading. Don’t forget to like, share, and subscribe to Tech Gitter Official for more helpful tutorials.


