
Is your Realtek HD Audio Manager missing on your Windows 11 PC? You’re not alone—many users face this issue after updates or driver changes. Realtek Audio Manager helps control sound settings, but sometimes it disappears or doesn’t open properly. The good news is, there are simple ways to bring it back! In this blog, we’ll show you easy steps to fix Realtek HD Audio Manager not showing, so you can manage your audio settings without any trouble. Let’s get started!
🛠 How to Fix the Issue: Realtek HD Audio Manager Missing or Not Showing
Here are reliable steps you can follow to restore or make the Realtek audio manager visible and functional.
1. Check if the driver is installed properly
- Press Win + X, select Device Manager.
- Expand Sound, video and game controllers.
- Look for Realtek High Definition Audio (or similar).
- If you only see “High Definition Audio Device” (generic), it suggests the Realtek driver is either missing or replaced.
- If found, right-click it → Properties → Driver tab. Note the driver version.
- Use the PC/laptop manufacturer’s website to download the correct Realtek driver for your model (especially if DCH driver type).

2. Reinstall or update the Realtek driver
- Uninstall the existing Realtek High Definition Audio driver:
- In Device Manager, right-click the driver → Uninstall device → check Delete the driver software for this device if available.
- Reboot the system.
- After reboot, install the downloaded Realtek driver manually (run the installer
.exe) rather than relying solely on automatic update. Many missing manager issues are caused by incomplete or legacy driver versions. - After installation, reboot again.
- Check if the Realtek Manager now appears in the System Tray or Start Menu.
3. Enable the Realtek Manager in Startup
- Press Ctrl + Shift + Esc to open Task Manager.
- Go to the Startup tab.
- Look for Realtek HD Audio Manager or Realtek Audio Control. If found and status is Disabled, right-click and Enable.
- Reboot the system.
4. Launch the manager manually
If the icon still does not appear but you believe the driver is installed:
- Navigate to
C:\Program Files\Realtek\Audio\HDAorC:\Program Files (x86)\Realtek\Audio\HDA. - Double-click
RtkNGUI64.exe(or equivalent) to launch the manager manually. - If it opens, you can right-click the executable → Send to → Desktop (create shortcut) for easier access.
5. Install Realtek Audio Control from Microsoft Store (Windows 11)
For Windows 11 systems (especially OEM laptops), Realtek is moving toward a Realtek Audio Control app available via Microsoft Store.
- Open the Microsoft Store, search for Realtek Audio Control, install or update it.
- After installation, launch the app and confirm it works.
6. Windows Update and BIOS Check
- Open Settings → Windows Update and install any pending updates — sometimes Microsoft resolves compatibility issues.
- Also check your motherboard/laptop brand’s support page for BIOS/firmware updates — audio driver support may depend on it.
7. If still missing — revert to older driver version
- Sometimes the latest driver version may not be stable for your hardware.
- In Device Manager → Realtek driver → Driver tab → Roll Back Driver (if available).
- Restart the system and check if manager appears.
✅ Final Thoughts
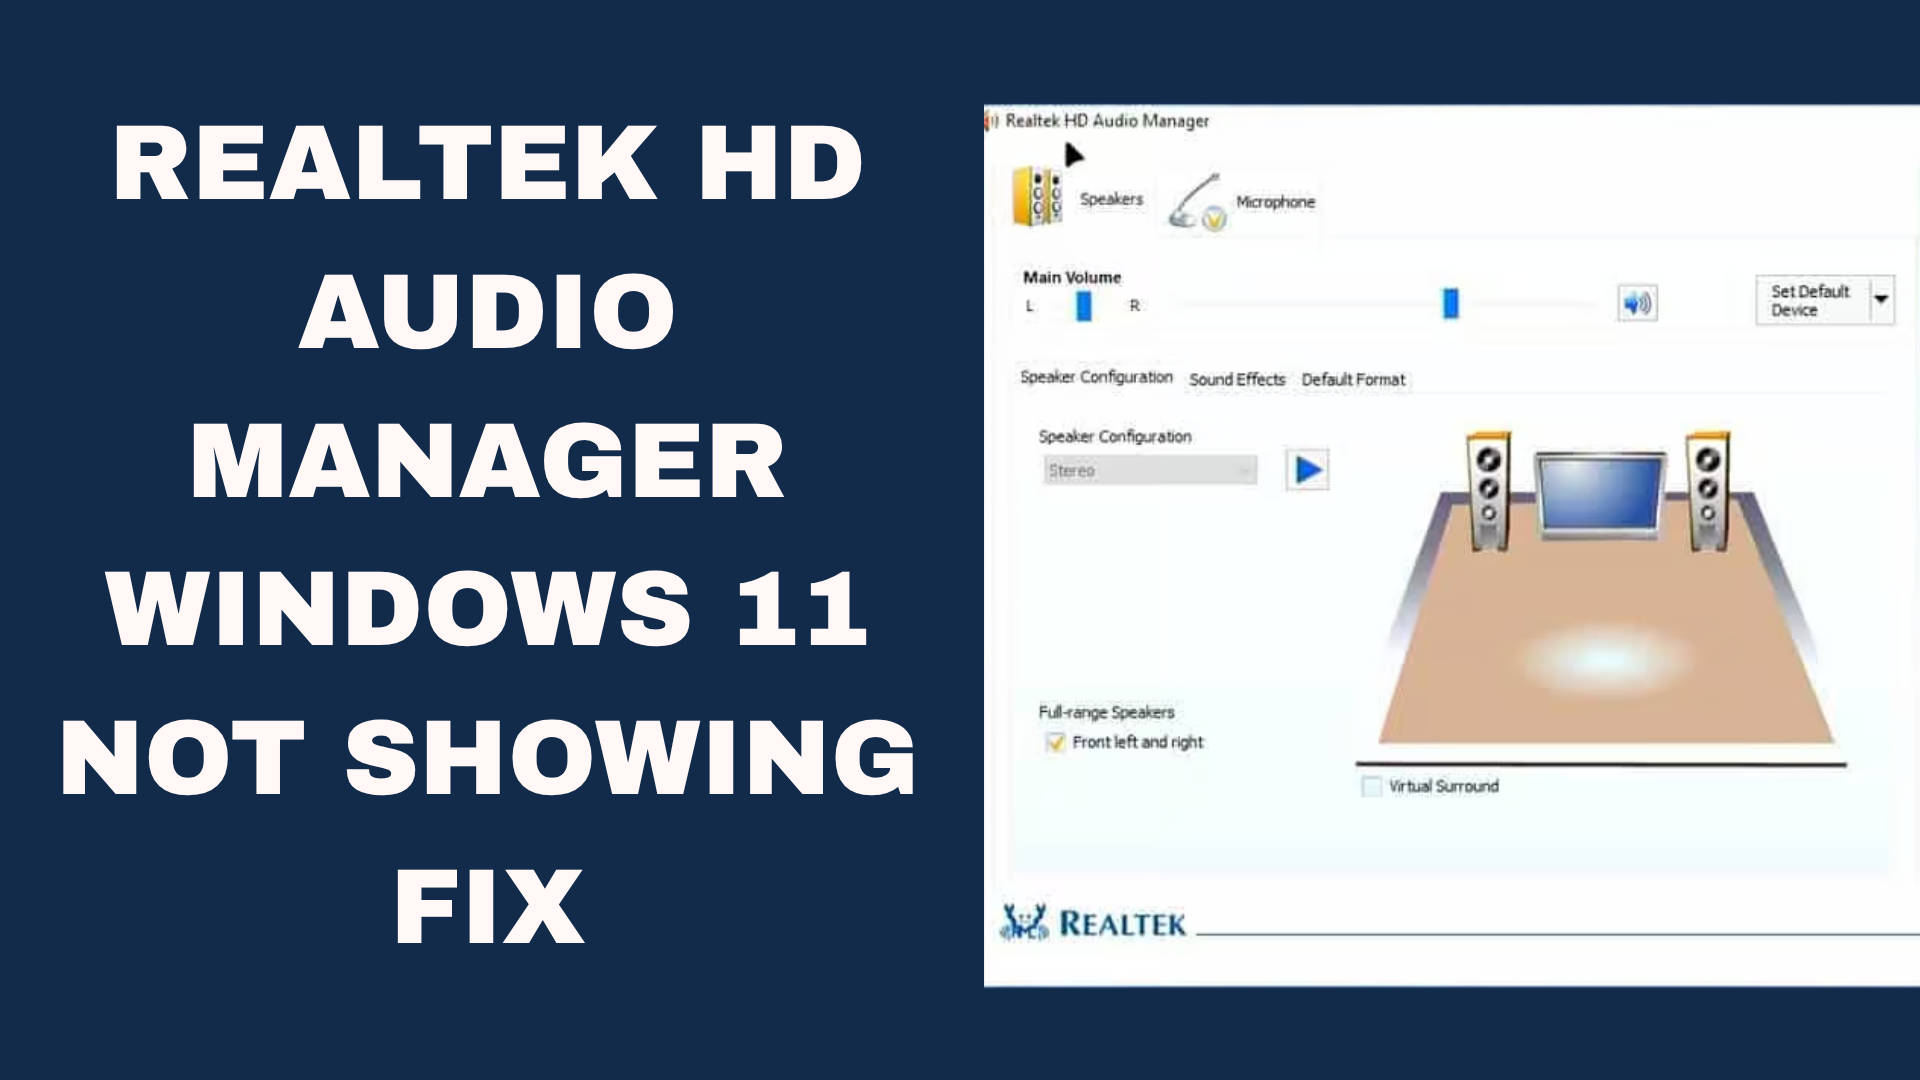
Having the Realtek HD Audio Manager or Realtek Audio Control properly visible and functioning gives you full access to your sound hardware — equalizer, speaker configuration, and more. By ensuring your driver is correctly installed, enabling startup entries, and updating windows, you can bring back the missing manager in Windows 10 or 11.


