
Does your Windows 10 user account name show something old, like a nickname you don’t use anymore or a default name from when you set up your computer? You see it every time you sign in or open a folder, and maybe you’d like it to look more professional or just be more “you.” The good news is that changing it is much easier than you might think! This quick tutorial will guide you through the simple, step-by-step process to rename your user account safely, without causing any problems for your PC. Let’s get your computer feeling truly personal.
Go to the search menu of your Windows screen and type control panel. Open it. Now, click on this little drop down here to set your view and set it to large icons.
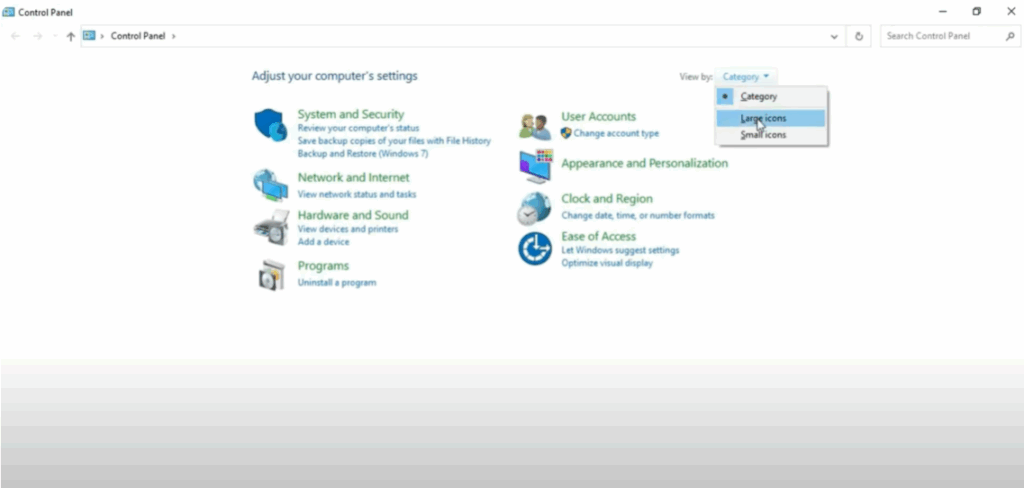
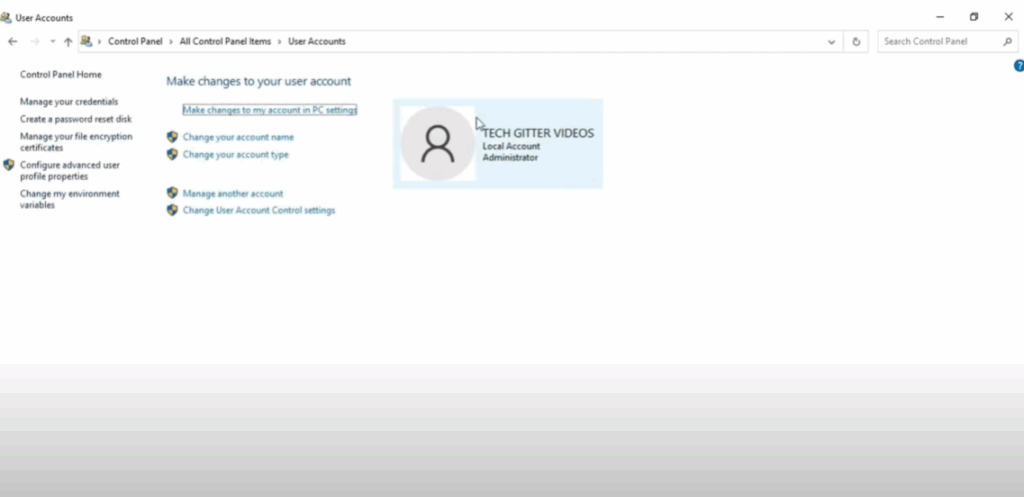
Now, come down and click on user accounts. You will see a screen like this. Click on change your account name here. Type in your account name here. I’m going to type in tech gitter videos and then click on change name.
Now you will see that your account name has changed to tech gitter videos.
Go to the Windows search menu and search for settings and open it. Here you have to click on account. As soon as you click on account your profile will be shown to you.
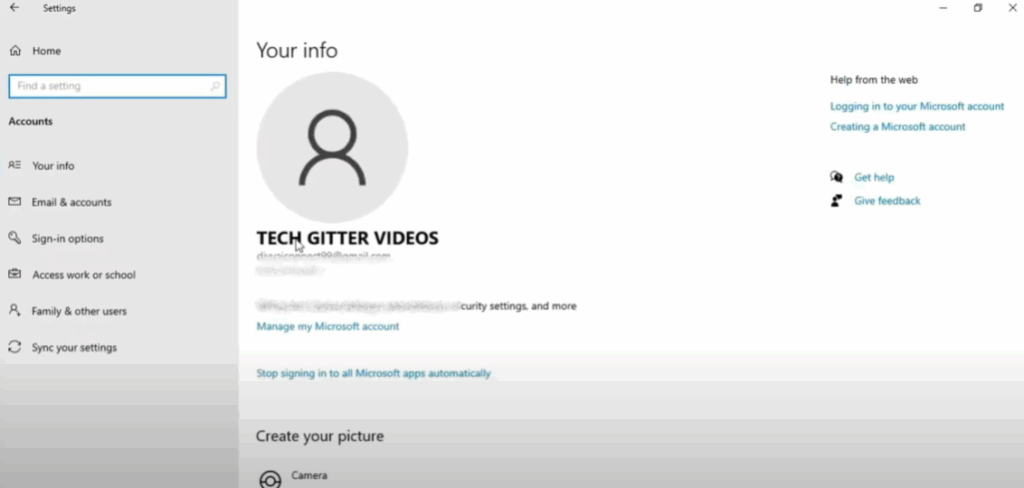
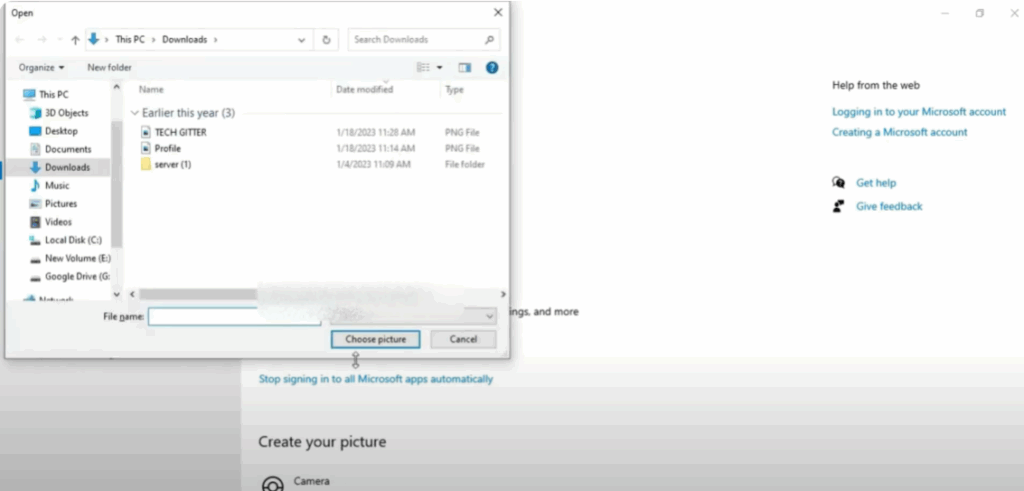
Here you will see your account name with Gmail ID. Now you can set your profile picture. Click on browse for one and select profile picture from your device. Then click on choose picture. Your profile picture has been set.
With this method, you can easily change the name of your Windows 10 user account.


