

If you see the message “Search Indexing Was Turned Off” on your Windows 10 or 11 PC, it means your system’s search feature isn’t working at its best—making it harder or slower to find your files, apps, or emails. This issue can happen if the Windows Search service is stopped, a setting has changed, or something interrupted the indexer process. The good news is that you can turn indexing back on with a few easy steps, and get your Start menu and File Explorer search running smoothly again. In this blog, you’ll learn how to fix search indexing problems and re-enable fast search on your Windows computer.
✅ Method to Turn Search Indexing Back On
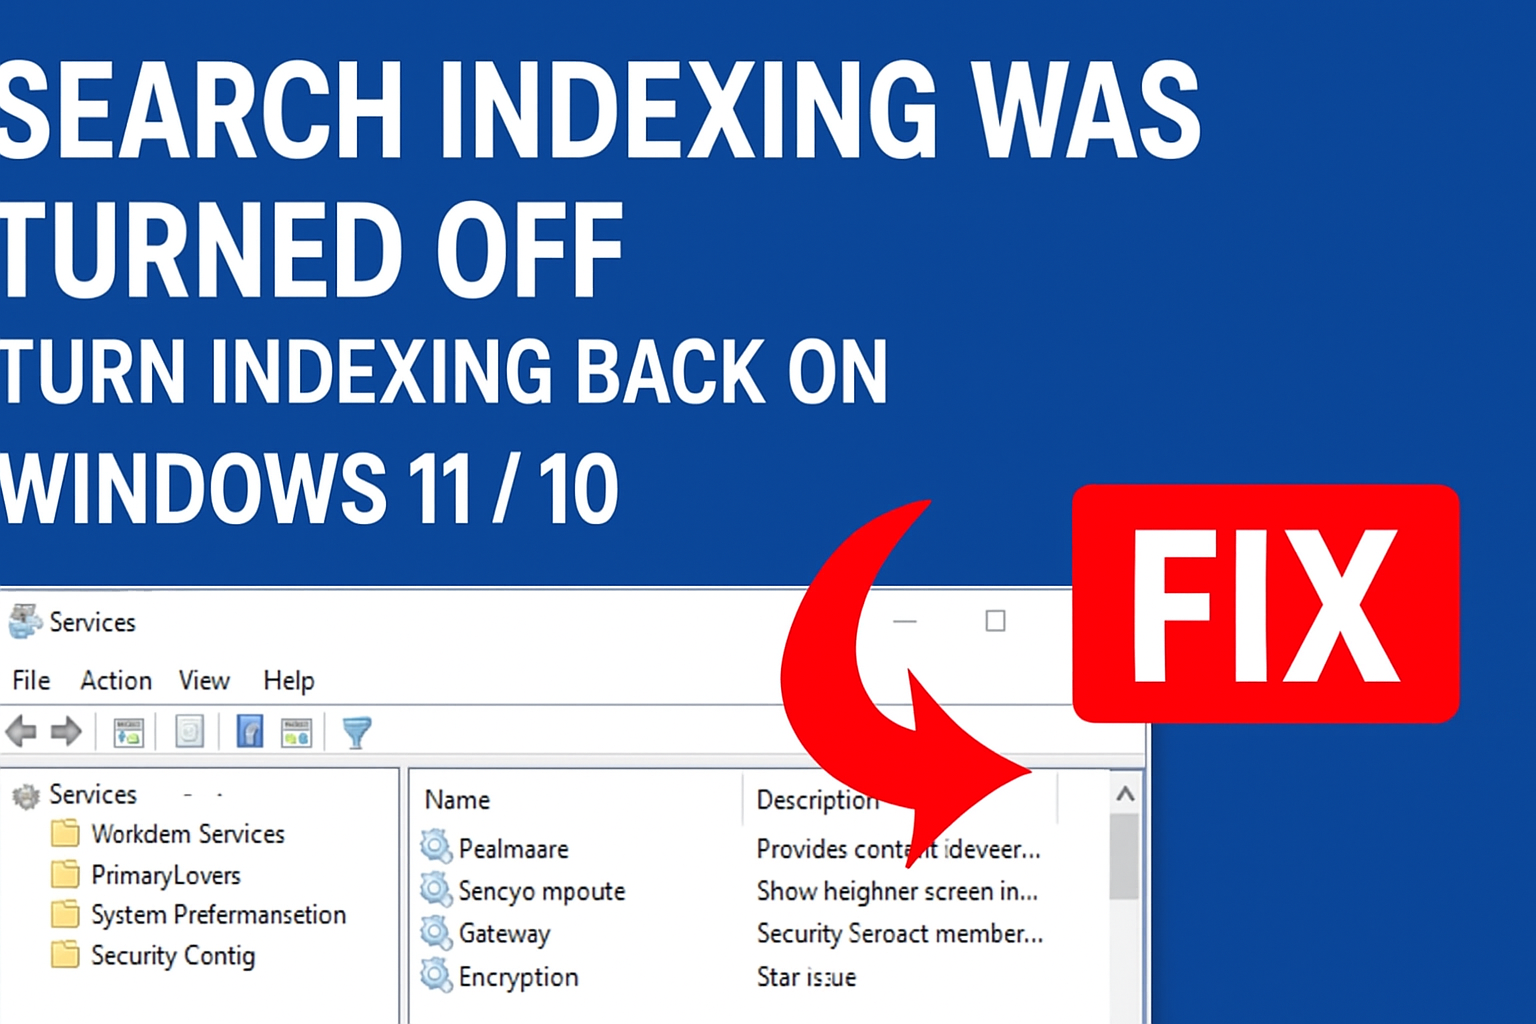
Step 1: Open Services
- Click on Start Menu.
- Type Services in the search bar.
- Click Services App to open it.
Step 2: Find Windows Search Service
- In the Services window, scroll down.
- Look for Windows Search in the list.
Step 3: Enable the Service
- Right-click on Windows Search.
- Click on Properties.
- Under Startup type, select Automatic from the dropdown.
- Click Start to run the service.
- Then click Apply and OK.
Step 4: Restart Your PC
Now, simply Restart your computer to apply the changes.
That’s It!
After the restart, the Search Indexing feature will be working again, and your Windows Search should function faster and more accurately.
Final Words
This is a very simple fix and works in almost every case when the search indexing system stops working. Just turning the Windows Search service back to Automatic and starting it solves the problem.


