
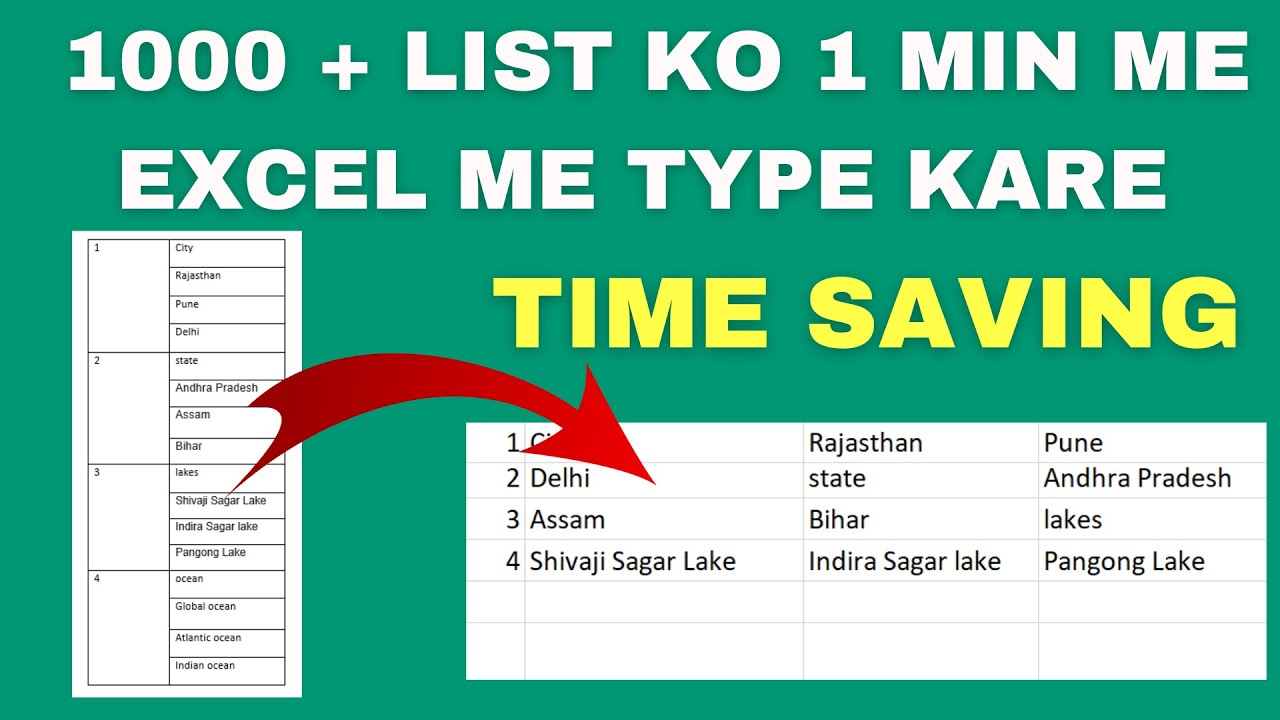
Working with messy data in Excel? Don’t worry—there’s a quick and easy way to clean it up! If you’ve ever had names, dates, or other info all jumbled in one column, Excel has a smart feature that lets you split and arrange text into different columns in seconds. It’s one of the most useful time-saving tips for anyone who works with spreadsheets. In this blog, we’ll show you how to use Excel’s built-in tools to organize your data neatly and boost your productivity. Let’s make Excel work smarter for you! 📊⏱️

How to Split and Arrange Text into Different Columns
Follow these steps:
Step 1: Select Your Data
- Highlight the column where the combined text is stored.
Step 2: Go to the Data Tab
- Click on the Data Menu from the top toolbar.
Step 3: Click on “Text to Columns”
- Under Data Tools, click Text to Columns
Step 4: Choose Delimited
- Select Delimited → Click Next
Step 5: Select the Separator
- Choose the correct separator that divides the text:
- Comma (,)
- Space
- Semicolon
- Or enter custom separator
- Click Next
Step 6: Choose Output Location
- Select where you want the split data to appear.
Step 7: Click Finish
- Your text is now separated into columns correctly ✅


