
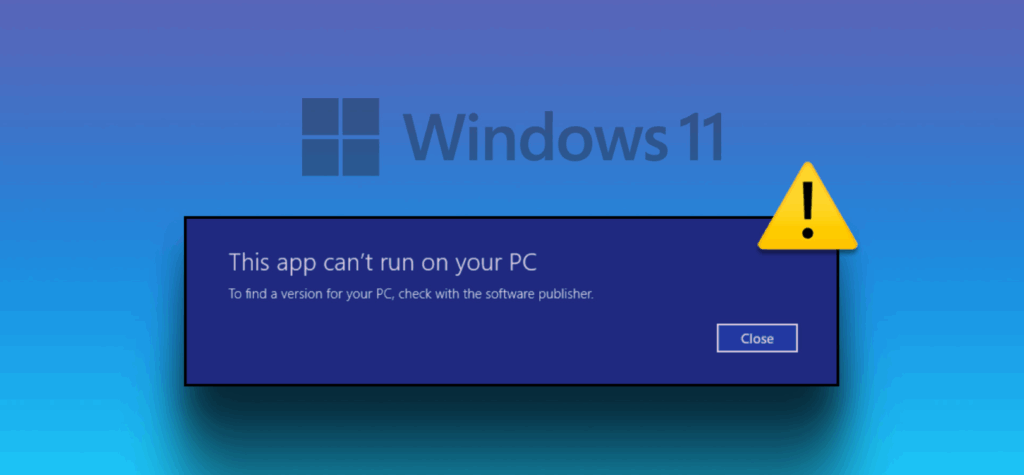
Hello friends, welcome back to my channel Tech Gitter Official. In today’s tutorial, I will walk you through how to fix the Windows 11 app not working issue. Follow these simple steps carefully to resolve the problem.
Step 1: Use Windows Troubleshooter
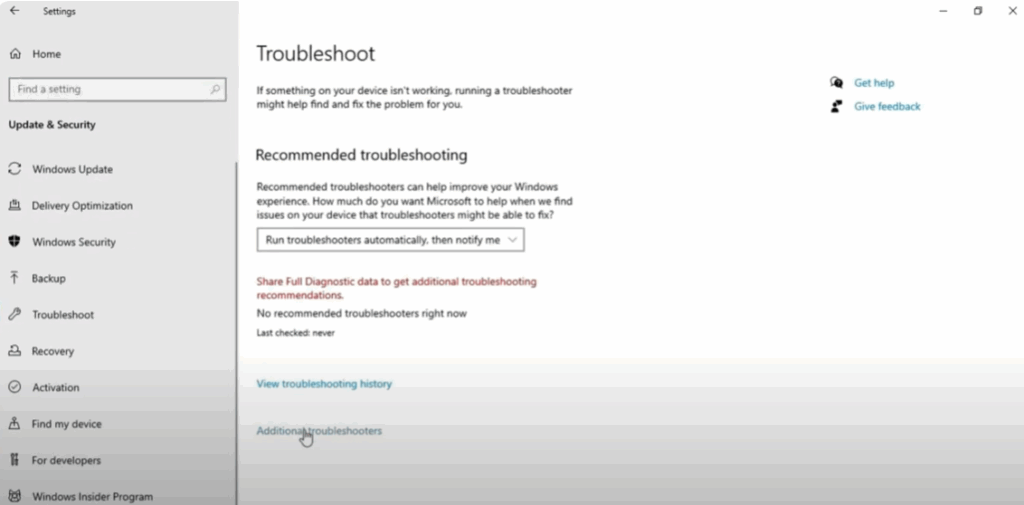
- Go to your Windows Start Menu and search for Settings. Open it.
- Click on System.
- In the Settings search bar, type Troubleshoot Settings and open it.
- Click on Additional Troubleshooting.
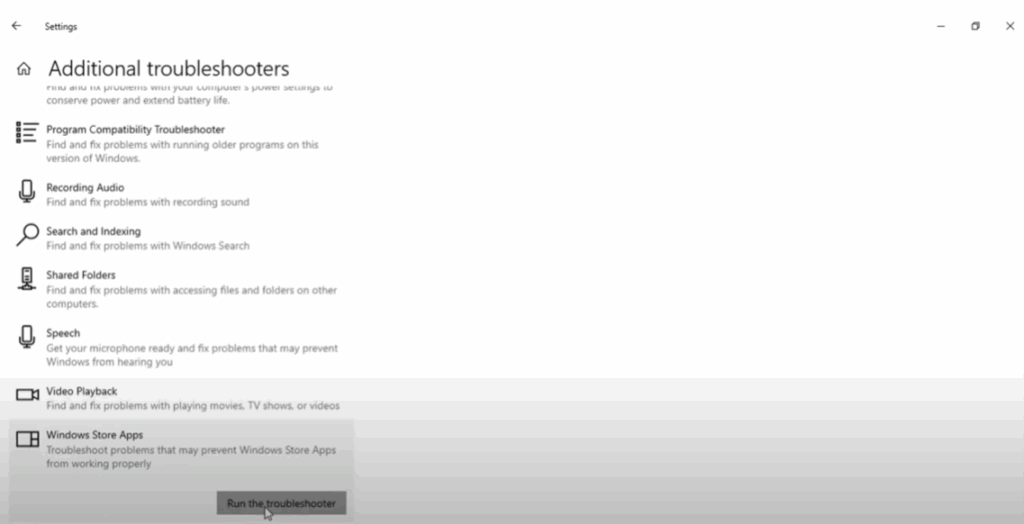
- On the screen, scroll down and find Windows Store Apps.
- Click on Run the Troubleshooter.
- Windows will start detecting problems automatically.
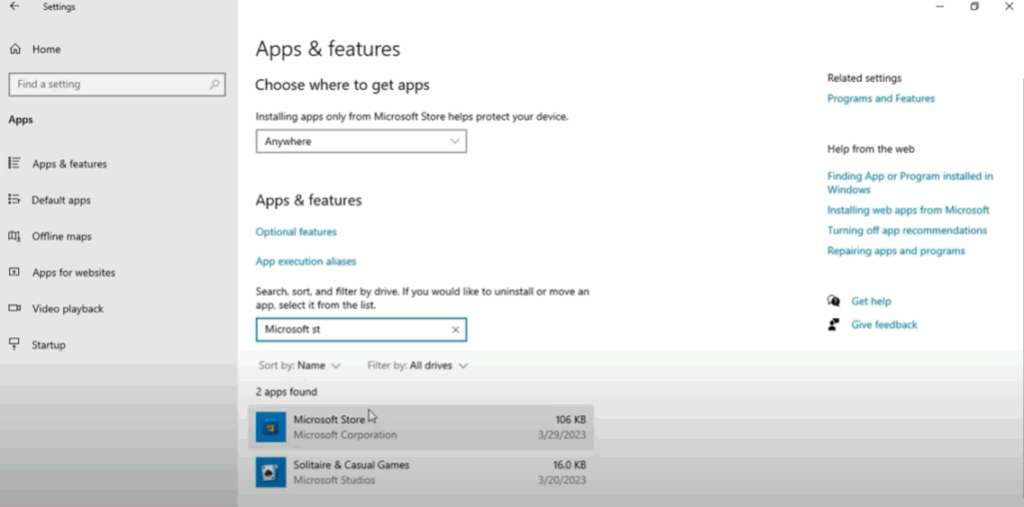
- You will see the option Open Apps and Features; click Next.
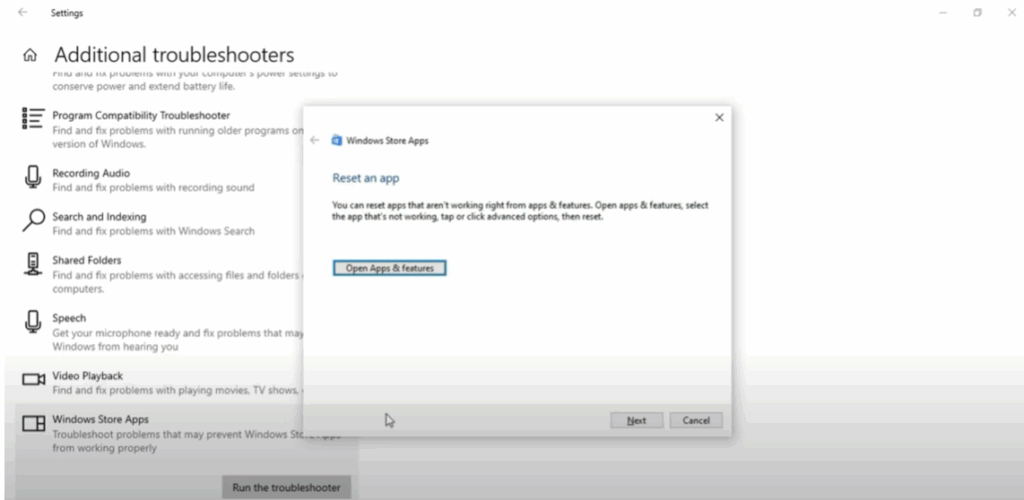
- Additional problems will be detected.
- Once completed, a message Troubleshooting is completed will appear. Click Close to exit.
Step 2: Reset Microsoft Store via Settings
- Go to the Start Menu again and open Settings.
- Click on Apps.
- In the search bar, type Microsoft Store.
- Click on Microsoft Store.
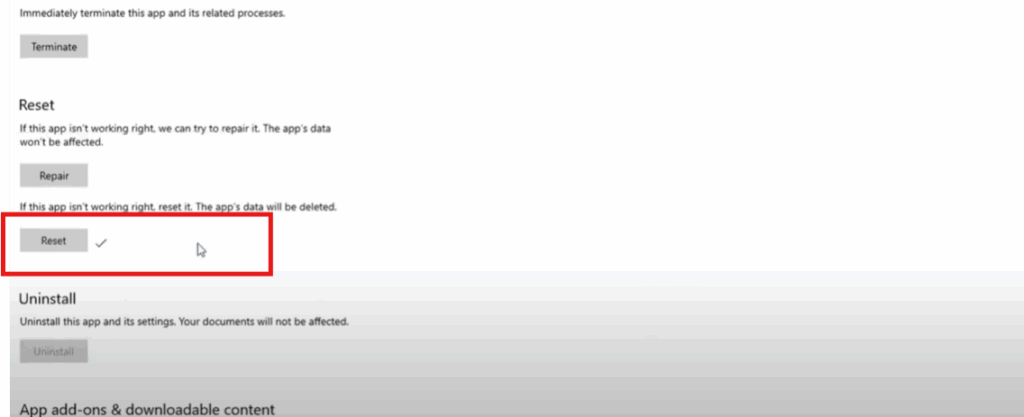
- You will see the Advanced Options; click on it.
- Scroll down and click on the Reset option.
- After the reset is complete, close the window.
Step 3: Reset Microsoft Store via App Settings
- Go to the Start Menu and search for Store.
- Right-click on Microsoft Store and select App Settings.
- Scroll down and click on Reset Apps.
- After the reset is done, close the window.
Step 4: Use PowerShell Command
- Go to the Start Menu again and search for Windows PowerShell.
- Right-click on PowerShell and select Run as Administrator.
- Once the PowerShell window opens, paste the command provided in my video description.
- Press Enter and wait for the command to execute.
- Close the PowerShell window.

Final Words
Hopefully, your Windows 11 app not working problem will be solved by following these four methods.
If you found this guide helpful, please like and share it with others.
Thanks for reading and have a nice day!


