
Want to give your Windows 11 screen a fresh look when you’re away from your PC? Screensavers are back with a modern twist! While they used to just prevent screen burn-in, today’s screensavers offer style, privacy, and personalization. In Windows 11, you can enjoy new features and easier controls to customize your screensaver just the way you like. In this blog, we’ll explore what’s new and show you how to set up and enjoy screensavers on Windows 11 in a few simple steps. Let’s make your screen look awesome.
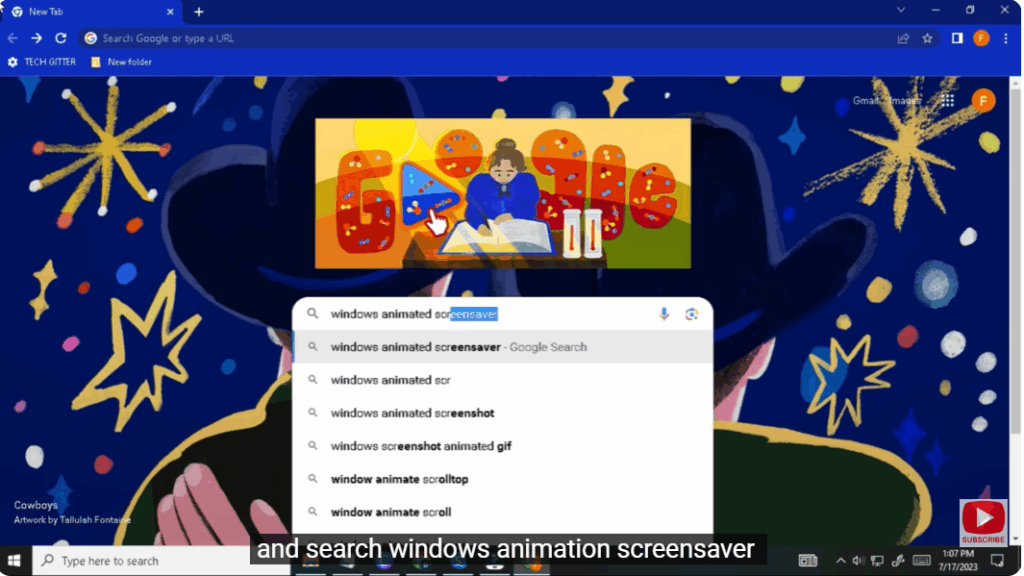
Step 1: Open Chrome
First, open Google Chrome on your Windows PC.
Step 2: Search for Screensavers
In the search bar, type:
Windows animation screensaver
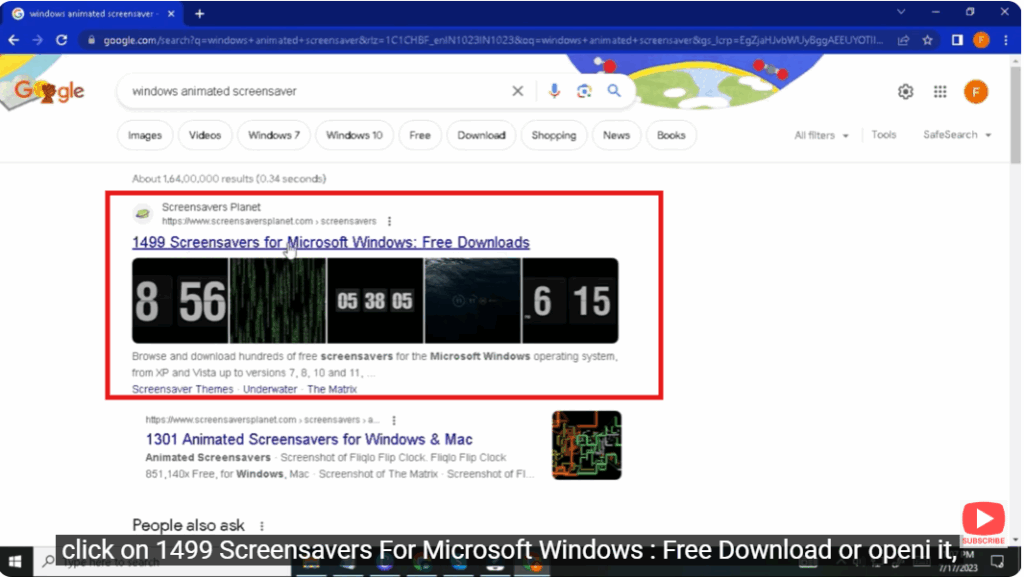
Step 3: Open Screensaver Website
Click on the website titled:
1499 Screensavers For Microsoft Windows : Free Download
(or any similar trusted site that appears in the results).
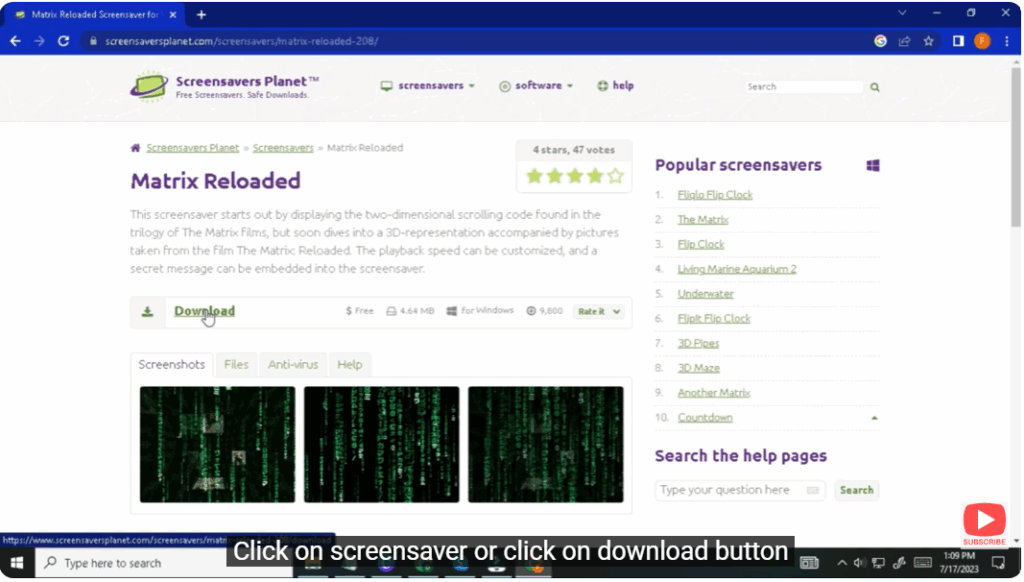
Step 4: Choose a Screensaver
Once the website opens, scroll down and browse through the available screensavers.
Here you will find many types of screensavers including animated, 3D, nature-themed, abstract, and more.
Click on the screensaver you like, or directly click on the Download button.
Step 5: Install the Screensaver
After downloading, open the file.
It will show an Install button.
Click on Install to add it to your system.
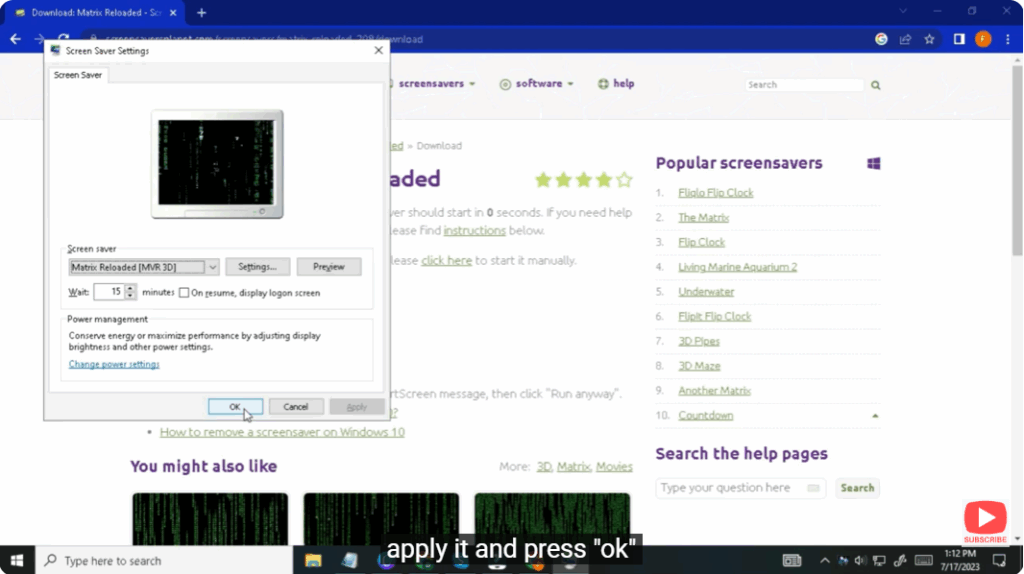
Step 6: Preview and Apply
Now, go to your Screensaver Preview option (Windows personalization settings).
You can preview the screensaver to see how it looks.
If you like it, click Apply and press OK.
Enjoy Multiple Screensaver Options
There are many screensavers available, so you can choose and apply any one according to your preference.


