
Welcome back to my channel Tech Gitter Official. In today’s video, we will learn step by step how to install the Xbox Game Bar on your Windows 10 or Windows 11 PC.
First, go to the search bar on your taskbar and type Microsoft Store. When you see the Microsoft Store app in the results, click on it to open.

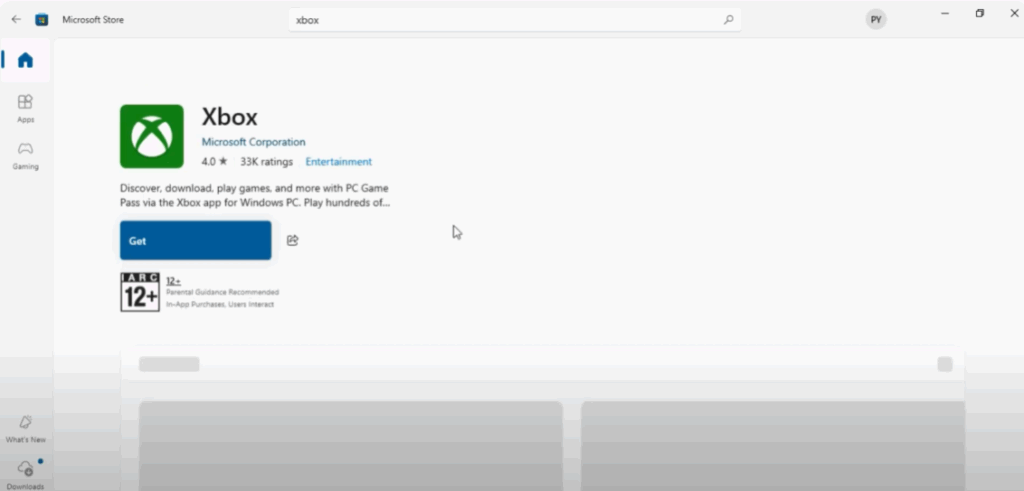
Once the Microsoft Store window appears, go to the search bar at the top of the store. Type Xbox and press enter. From the search results, click on Xbox to open its details page.
Now, click on the Get button to start downloading the app. This will automatically install it on your system.
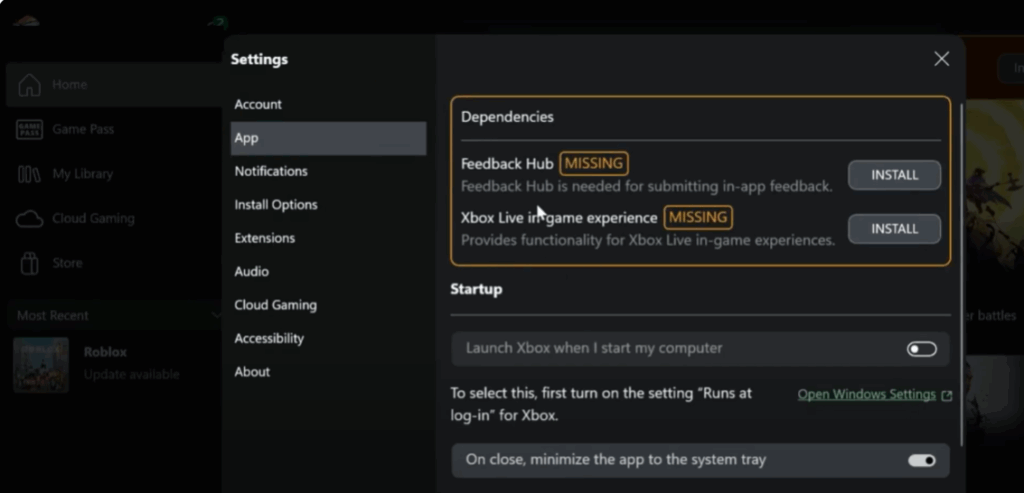
Once the installation is complete, click on your profile icon in the Microsoft Store and go to Settings. From here, select the App section. In the Dependencies section, look for Xbox Live in-game experience. Click the Install button next to it and wait for it to finish. This will enable online features and multiplayer options inside the game bar.
From there, you can record your gameplay, take screenshots, and use many more tools.
And that’s all for today. Thanks for watching. If this video helped you, don’t forget to like, share, and subscribe to Tech Gitter Official.


